
Tips & Tricks
Bag Photography Tips
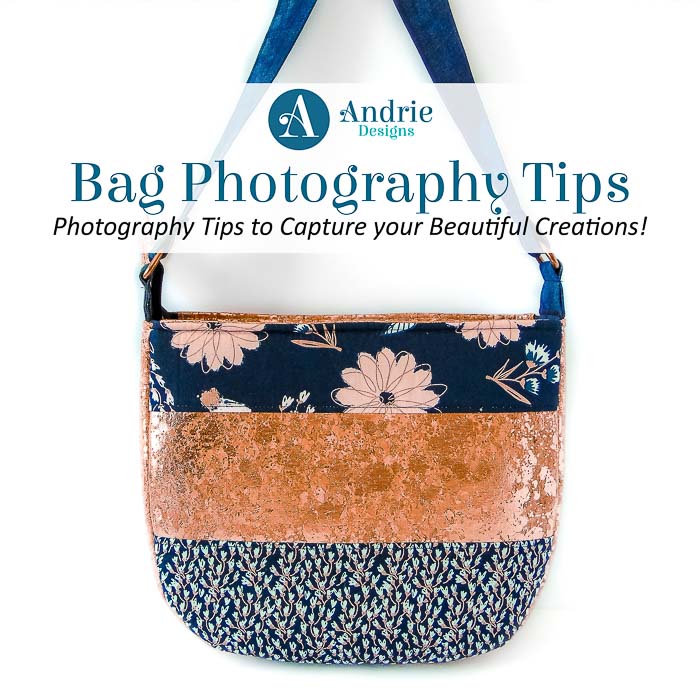
Today we thought we would share with you something a little different – photography tips for capturing your beautiful bags! Together with Lisa and Jane from S’more House, we have put together a list of our top tips for beautiful bag photos!
The Bag
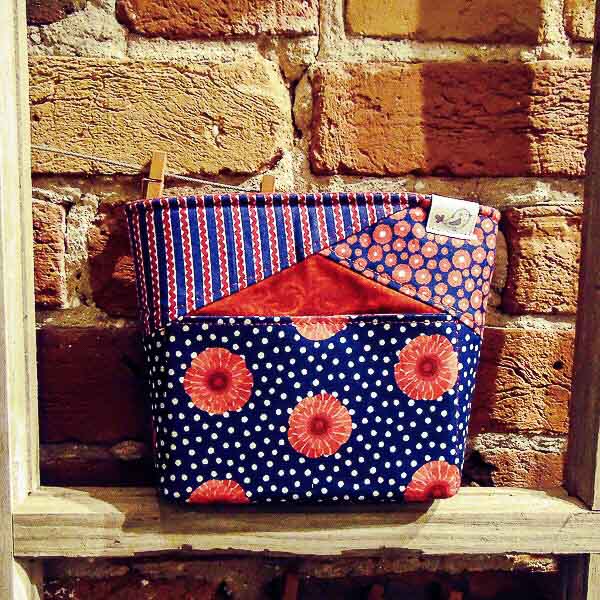
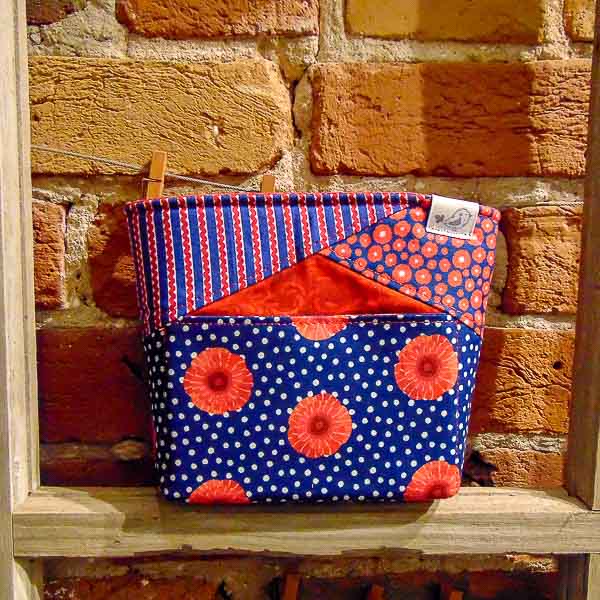
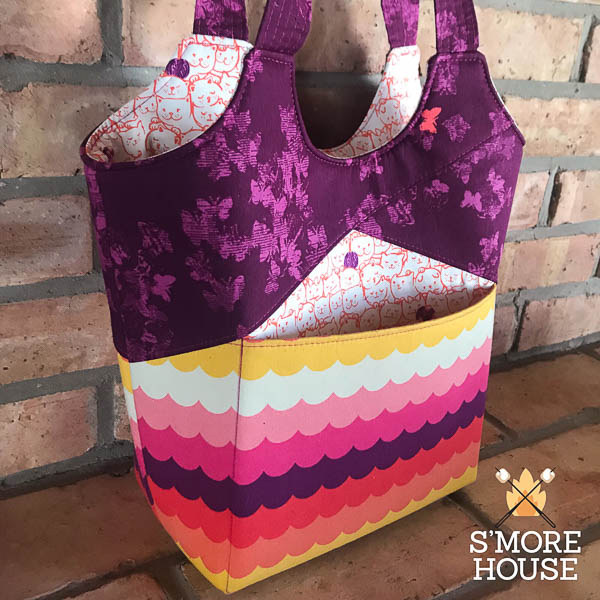
Our #1 tip when photographing any bag is to make sure it looks it’s best before even starting! Give your bag a good press just before you take any photos. The fresher the press, the better the image! Along with making sure the outside is smooth, make sure you stuff it with towels or fabric scraps so it sits/stands up beautifully while you are snapping your pictures! Keep a lint roller handy as well to snag any loose threads or hairs.

Lighting
When it comes to actually taking the image, your lighting situation is the most important thing! Whenever possible, use natural sunlight to take your photos. It will give you the most accurate colours. Just be sure that you are not in DIRECT sunlight or you will end up with some serious light flares and over-exposed images. Shaded areas are best and try to never ever use your flash unless you have a real fancy set up!

Backgrounds
Neutral is best! I know it can be tempting to splurge on really fun and trendy faux brick wall backgrounds but honestly, the simpler the better. Opt for something that won’t distract your eye from your beautiful creation! You want it to be the star after all! You also want to make sure that your background of choice is as smooth as possible. While it is possible to edit the wrinkles out later, staring with something smooth is much easier!

Filters Aren’t Your Friend
I know, I know, we have SO many at our fingertips but if you really want your bag to be the star (and get reposted by the fabric/pattern designer) stay away from filters as much as possible! A lot of times filters will distort your colours so much that the fabric/colours are unrecognizable. Like backgrounds, we want the bag to be the star of the image, NOT the filter!
Focus
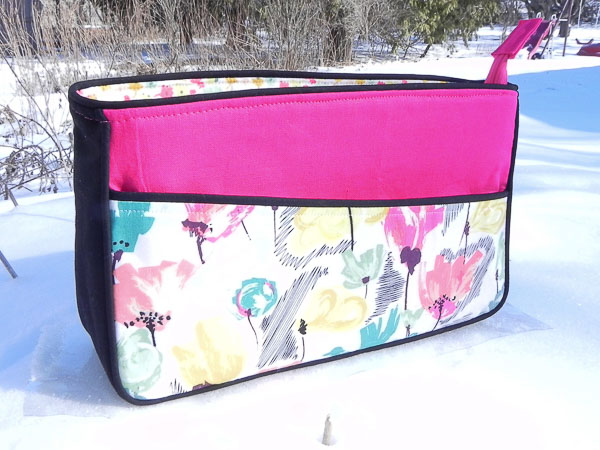
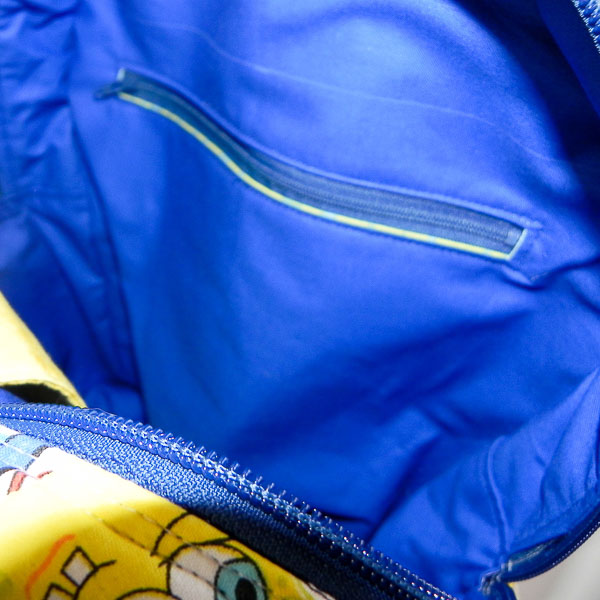
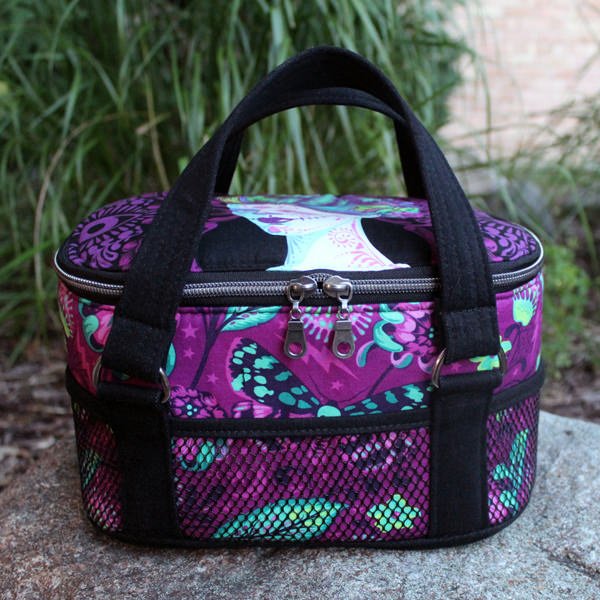
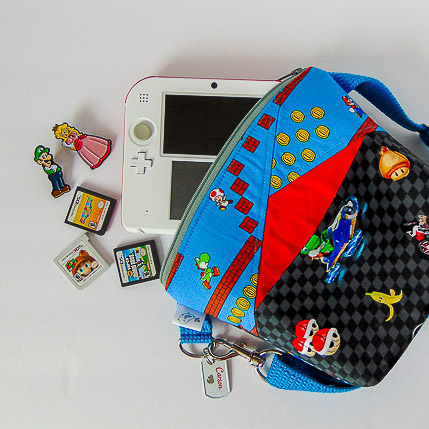
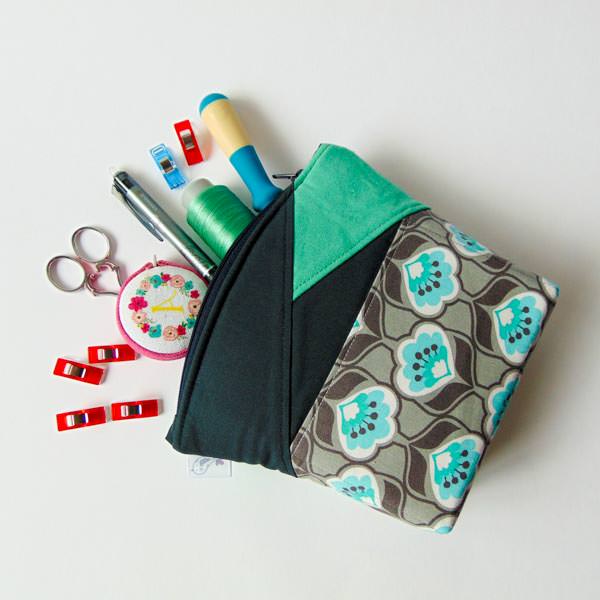
Focus, focus, focus. Make that bag the star of your image! If you have no choice but to have a busy background, blur it out a bit so that beautiful creation shines! Also, don’t forget to take all kinds of different angles of your bags! People love to see what every little bit looks like, so shoot from the side of the bag and even the inside! Show off those pockets you worked so hard to create! Snap some fun close ups while you are at it too! Get real close to your bag and take photos of that gorgeous zipper you installed or the pretty hardware you used! Focus on more than just the full bag itself and you’ll find even more people will fall in love with what you make!


Watermarks
One easy way to be sure you are always credited for making a bag is to add a watermark or logo. Use something small and discreet and most importantly, DON’T put it directly over your bag so we cant see the bag itself! I also suggest not putting a tiny watermark at a bottom edge because that can easily be cropped off. Use a soft grey or white, or make your logo transparent and place it close to the bag itself. I sometimes like to just put my website in a light colour along the side of the image or bag so it’s there but also not noticeable. Whatever you do, make sure its not taking over the image!

Flat Lays for Days!
One of the easiest and most fun ways to show off your bags is to create flat lays! A flat lay is an image shot from directly above and is usually styled on a simple or white background. One of my biggest tips I can give you when styling flat lays, is to have a theme! If you are taking a photo of a Hang About Toiletry Bag for example, theme all the items in your image around toiletry or travel! Or for the Classic Market Tote, why not take that market theme and run with it! You could have fresh veggies and things “flowing” out of the bag! Another great way to style flat lay themes is to pick a shape and organize your photo in a grid-like fashion with images of the same shape or colour! It’s a really fun way to use up items you have laying around the house OR to showcase multiple handmade items in one picture!
Have Fun!
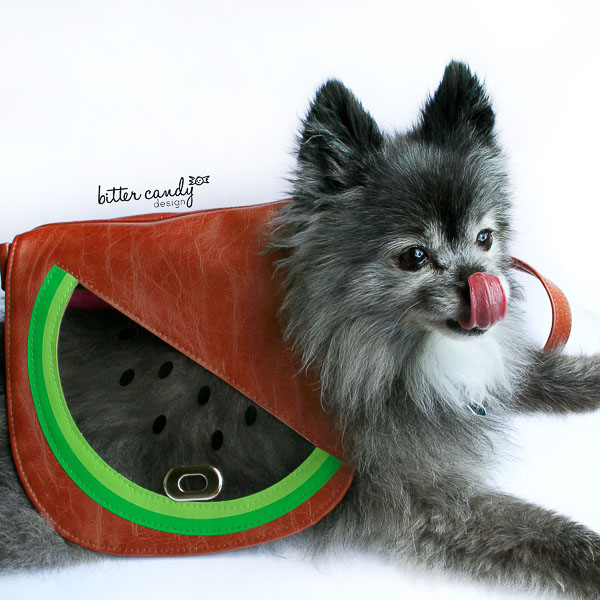
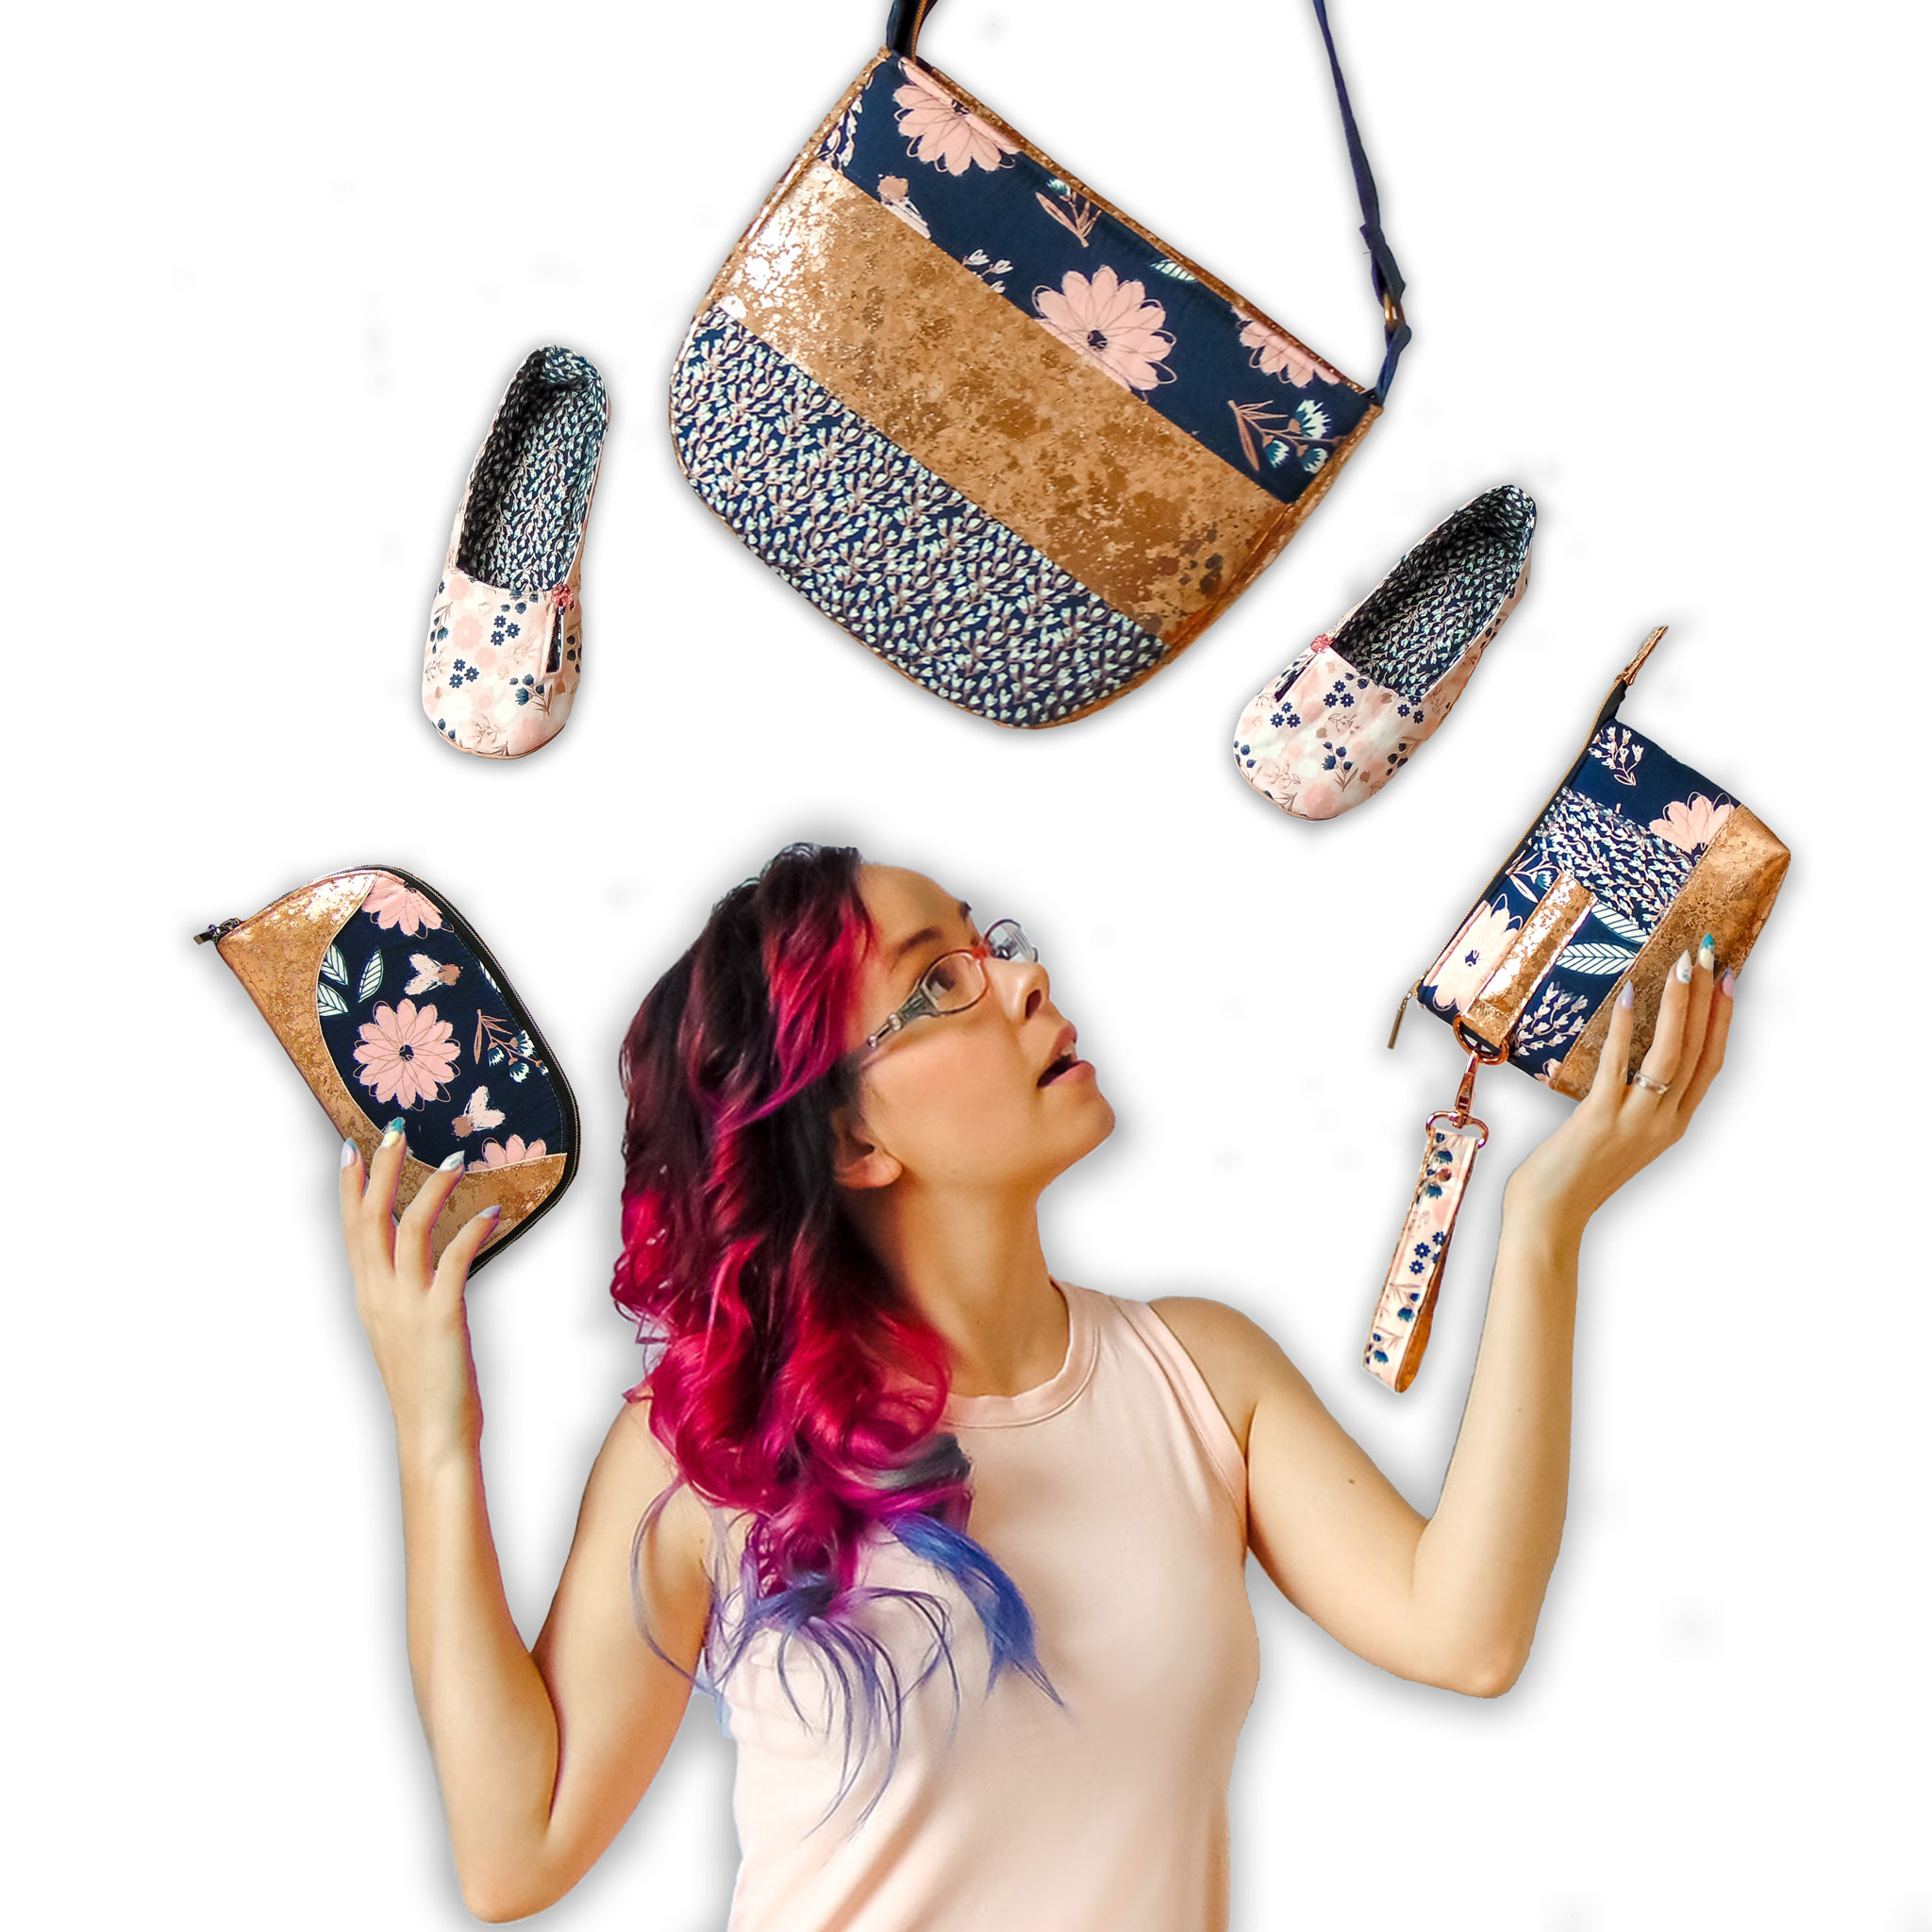
Most importantly, have fun with your images! Add some “movement” to your images by showing you holding them at different angles. Maybe even include some pets like Elizabeth from https://www.instagram.com/bittercandydesign/ does. I even went a little wild and composed a photo of my things “falling” onto me, in photoshop. You worked so hard making each item so have a blast showing them off! (Link to the class I used to make my falling bag image: Creative Photography)
Links
We thought we would also share with you our favourite sites for photo editing in case you want to know how and what we use!
- Lightroom CC – there’s an app and a desktop option! More advanced use!
- Plann – it is an instagram scheduling app BUT has an awesome photo editor built in!
- Color Story App
- iWatermark App – for watermarking your images.
- Most smart phones come built with basic photo editing that work well too!
We hope you love these tips we have shared with you today! If you want to have some real fun, share a before and after pic in the Andrie Designs Patterns Group on Facebook so we can see how your photos have changed or improved! As always, if you have any other tips or questions, let us know in the comments below!
Happy Snapping 📷
<3 Aimee

Thank you Andrie this has been an extremely useful post full of tips ideas and apps to use.
No worries at all Lyn! Glad it was helpful!