
Tips & Tricks
Create a Strap with Directional Fabric
Today we have a quick little tutorial for you on how to create a handle or strap using directional fabric. This tutorial shows you the steps to ensure the print on the fabric runs in the right direction once your handle or strap is attached to your bag. Plus how to join them with a really nice diagonal seam to reduce bulk!
We’ll be sewing the S & S Tote in this tutorial. Not familiar with the S & S Tote pattern? Not to worry! You can find the PDF Pattern here and the Comprehensive Video Class here.
Instead of cutting one continuous length for your handle or strap, you’ll cut two pieces and then we’ll join them together. Joining on the diagonal reduces bulk once it’s all folded together. If you join straight across you end up with a folded seam all in one spot that is thick and chunky. It doesn’t look very nice and is not a very professional finish.
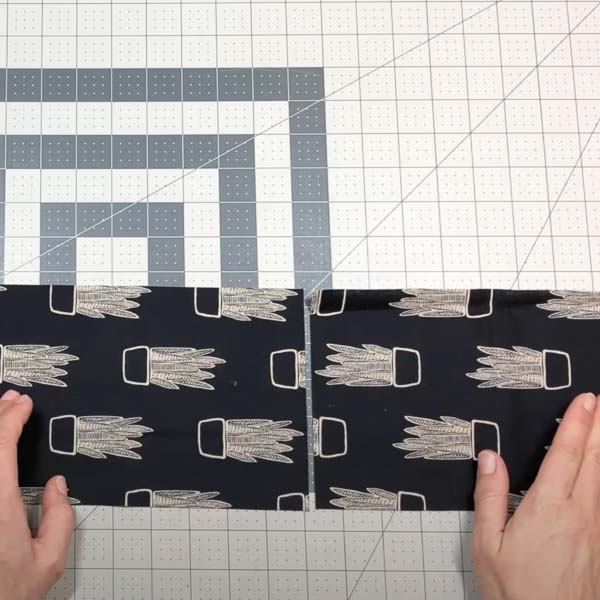
For this tutorial, we’re making the S & S Tote. The strap required for this bag is 6” wide so we’re going to cut two strips out of the directional fabric 6” wide.
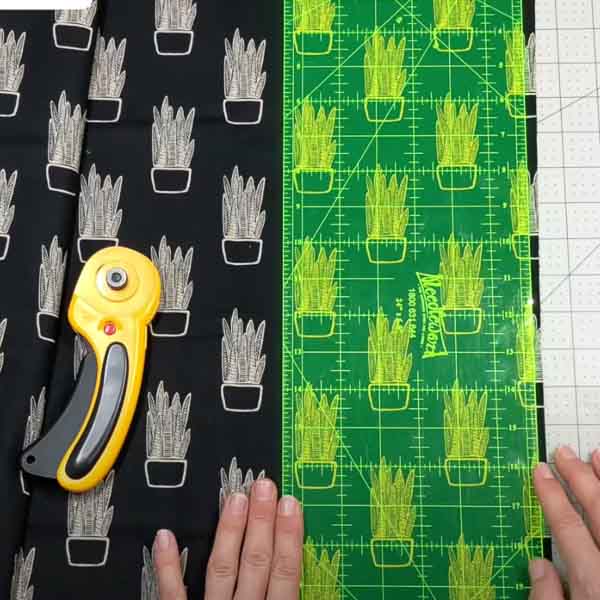
To get the length of your strap, take the length of your strap and divide it by 2. If your strap piece is supposed to be 20” then that number will be 10”. We need to add a little extra room for placement when we join them. We like to add the width of the strap about one and a half times. So our strap is 6” wide and one and a half times equals 9”. So you’ll need to add 9 inches extra onto each half. In the end, that means we will be cutting 2 strap pieces that are 6” wide by 19” long to make sure you’ve got enough to play with.
We’d rather have the strap slightly too long and be able to cut it down rather than be too short and have to add lots of pieces together.
First, we need to square up the top edge of each strip using your ruler and rotary cutter. This is the edge that will be joined together.
From there we’re going to join these as you would for creating a length of bias or a straight piece of fabric that you want to have a join on the diagonal to make it longer.
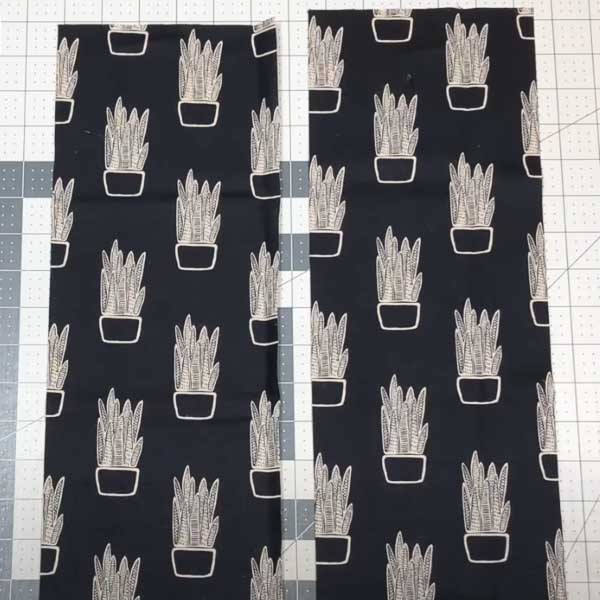
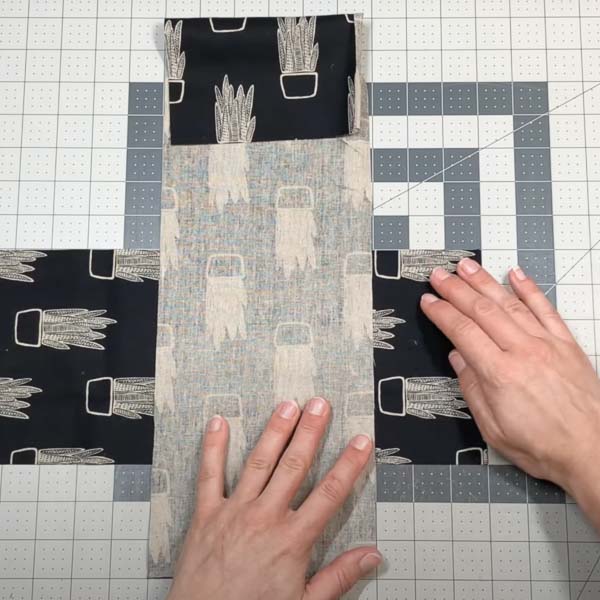
With the right sides together make sure that they’re both pointing in the direction you want them, so you’ve got the tops of each piece of fabric head to head.
We’re going to take one and fold it up and over out at 90 degrees with the right sides facing and the bottom two corners meeting and matching up the raw edges.
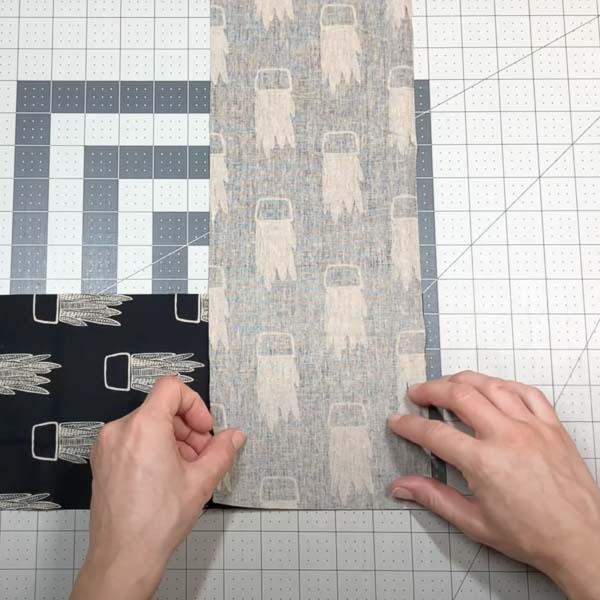
If you aren’t fussy cutting your prints, you will sew from the top right corner to the bottom left corner.

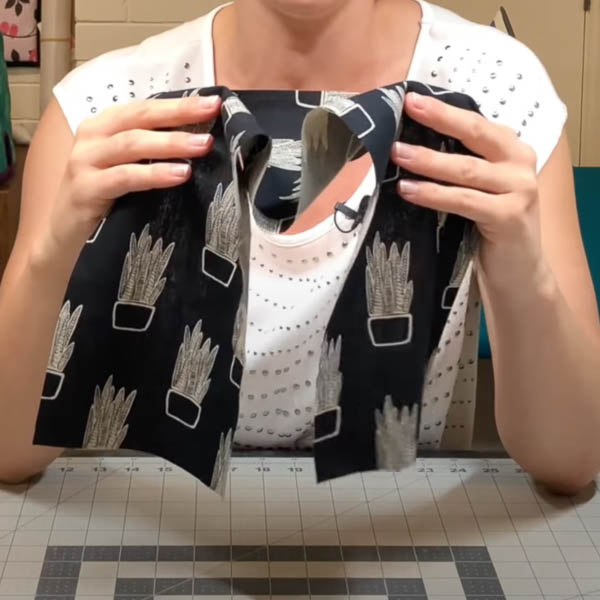
We’re fussy cutting the cactus so we’re going to just mock-fold the fabric back at what will be the stitching line to see where it’s going to sit.
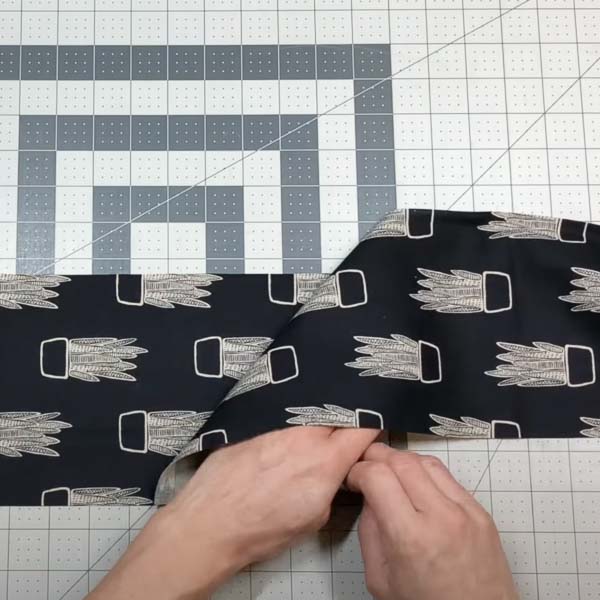
Some cacti are sort of cut off with the current fold so what we’re going to do is move the whole fold along so that I get a nice seam in the black space.
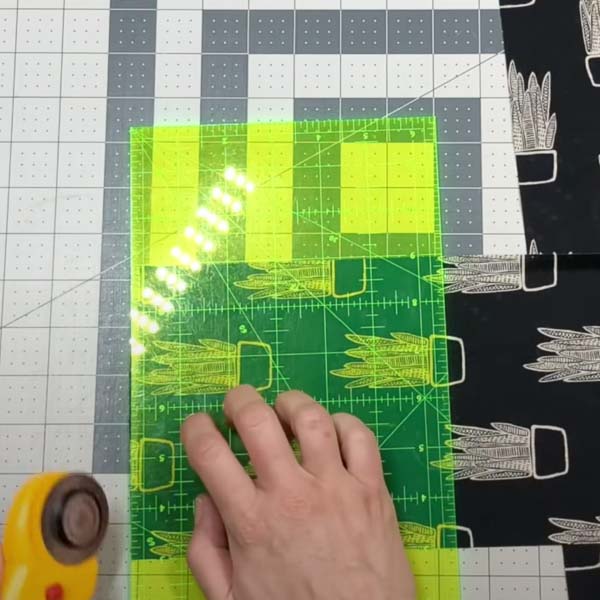
To do that, fold your piece back so they’re right sides together. Line up your bottom piece with the marks on your cutting mat. Then we’re going to move this top piece to where we need it. The rule of thumb is however far you move it left, you need to move it the same distance down.
The cacti are a couple of inches tall so we’re going to start with 2” left and 2” down making sure the pieces stay nice and square on the mat. This ensures they’ll stay nice and square with each other and then we’re going to repeat the folding process. It takes a bit of a trial and error to get correct.

Fold this out until the raw edges of this top piece match the raw edges of the bottom piece giving us a nice 45-degree line. You can see we’ve still got overlap of the print so we’re going to go back and try another inch.


So 3” left and 3” down, again squaring up on my fabric with each other folding it back matching the raw edges of the top piece with the raw edge of the bottom.
We’ve almost got it, just got a little bit left.

Let’s just try ½” this time so the total would be 3 ½” left and 3 ½” down and fold this one back.

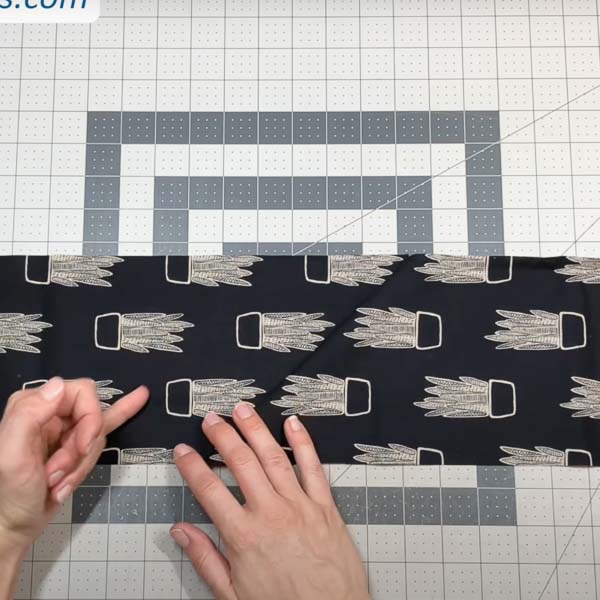
Look at that beautiful black and black no cactus has been cut off. It looks really good so that’s going to be the stitching line.

From here carefully fold that back up, making sure that the fabrics are still nice and square with each other and draw a stitching line from the top right-hand corner down to the bottom left. Pin it in place.

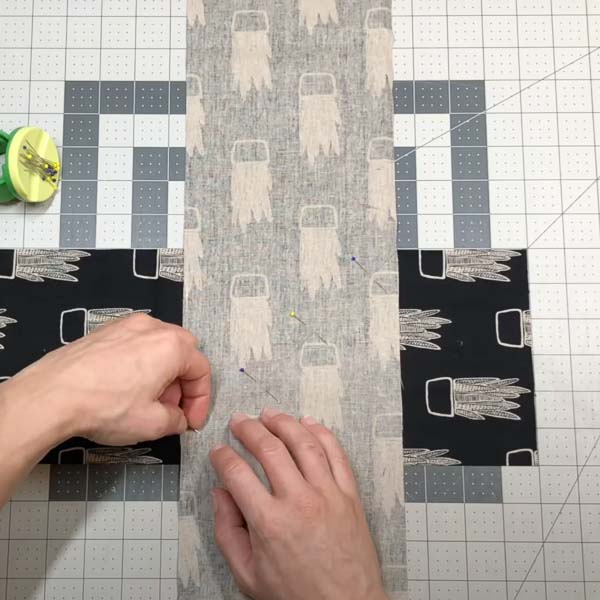
Stitch along the line to join the two pieces together.

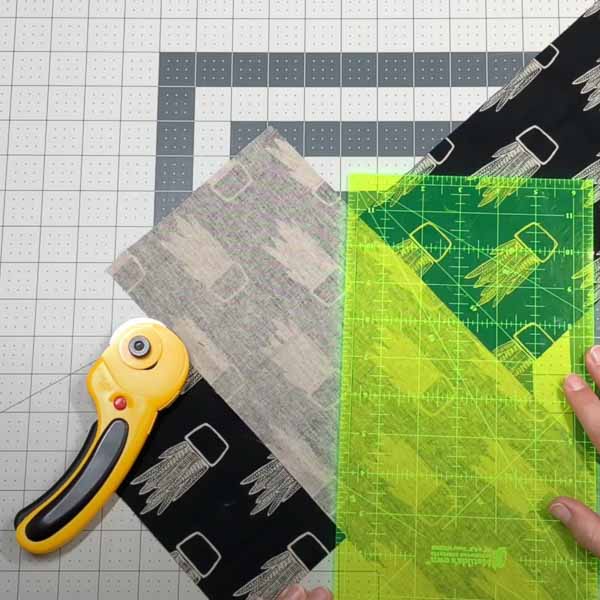
Trim this excess fabric off using a ¼” seam allowance so you don’t have too much bulk at the seam.
When you open your beautiful little seam out on the diagonal you have a nicely joined Strap!
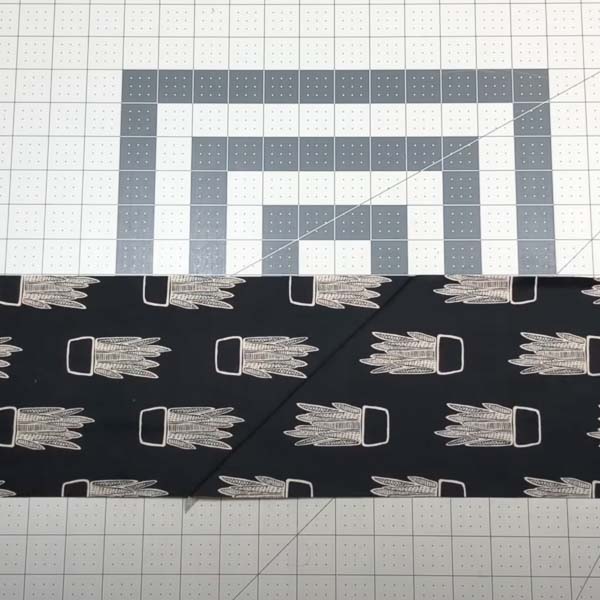
Press your seam OPEN so it sits nice and flat prior to fusing your interfacing.

Once it’s all tucked in and folded there’s no huge bulk in the middle!

If you need to add further lengths on for some reason you can go ahead and repeat the exact same process to lengthen your strap.

You now have a beautiful length of fabric ready to be folded and stitched into a handle or strap and you know that once it’s folded in half and attached to your bag the direction of your fabric or the direction of the print will be running the right way on both sides. Plus you’ve got a lovely discrete diagonal seam across the back that reduces the bulk and gives a really professional finish!

Want a video version of this tutorial? Head to our YouTube channel and check out the video FREE Tutorial – Creating a Handle or Strap Using Directional Fabric.
Happy Sewing!
-Aimee
The Little Bird Designs
