
Tips & Tricks
How to Cut and Join Bias Strips

If you are a fan of Andrie Designs, you know that we love adding piping to gussets and bias edging to pockets! In today’s tips and tricks, we are going to share with you the steps to create bias strips that you can use to not only make your own piping but add to your pocket edges too! You can even use these steps for your next quilt project!
Let’s dive into creating bias strips so you can get sewing!
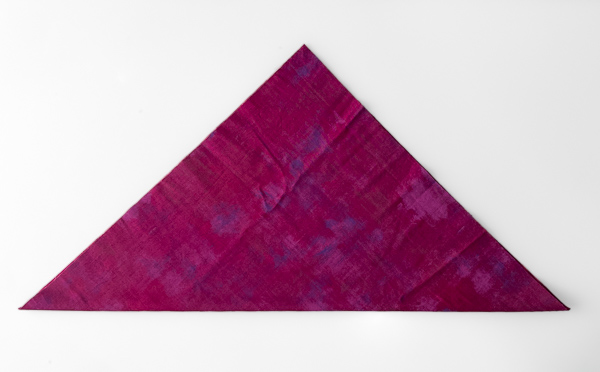
To get started making bias strips with our method, you will want to begin with a square piece of fabric. Any size will do! I will be using a 21″ (53.4cm) square cut from a 1/2m of fabric.
Important note: If you have never made bias strips before, use a fabric with a print. It will be much easier to make sure the right sides are together when sewing the long strip. Often with solids, you can end up with things upside down!
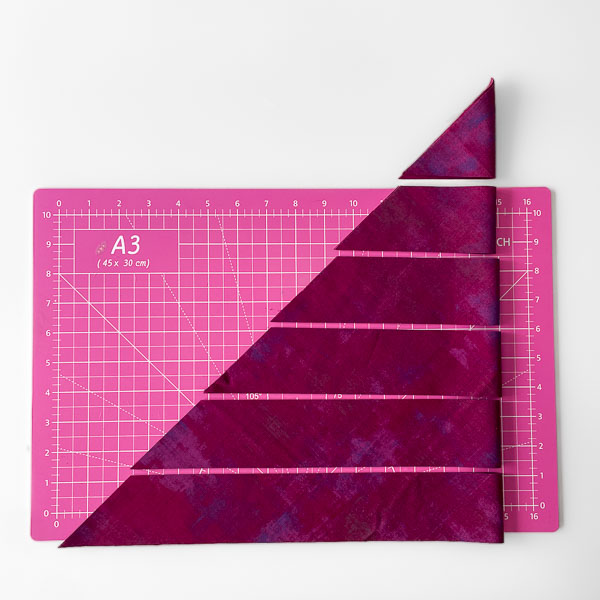
Lay the fabric you will use out flat in front of you. Fold the bottom corner up and over to meet the top corner diagonally opposite it, ensuring the top and side edges are square and the fold is on a nice 45° angle.
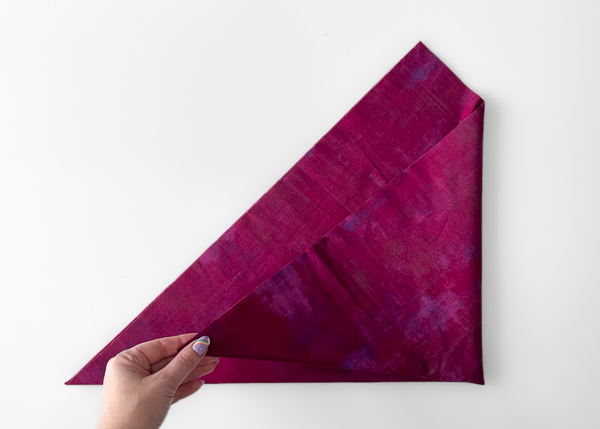
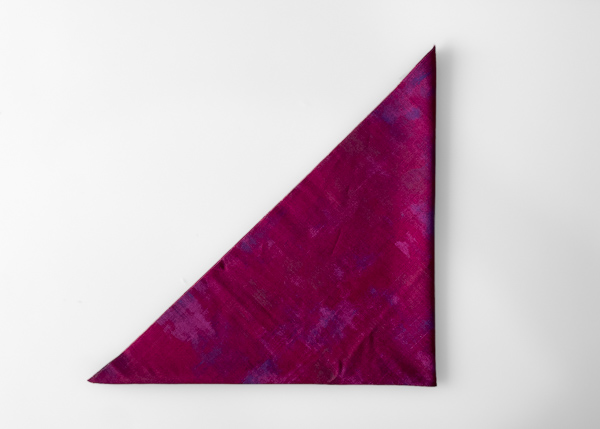
Fold the bottom right corner over to meet the left corner opposite it, matching the folded edges down the bottom side together. You will now have two folds on this bottom edge.
Trim the folded edges off along the bottom side (folded edges) cutting no more than 1/8” (0.3cm) from the folded edges.

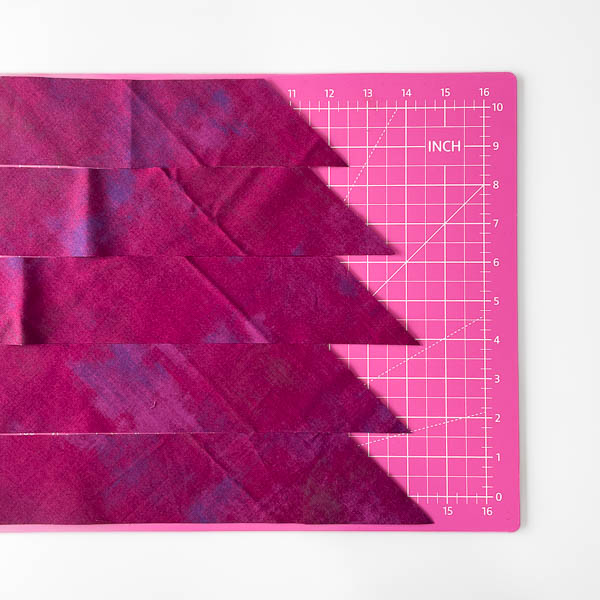
Still cutting from the bottom side, cut bias strips at the required width as per your pattern. I am using my strips for a quilt so mine are cut at 2.25″ (5.7cm) wide.
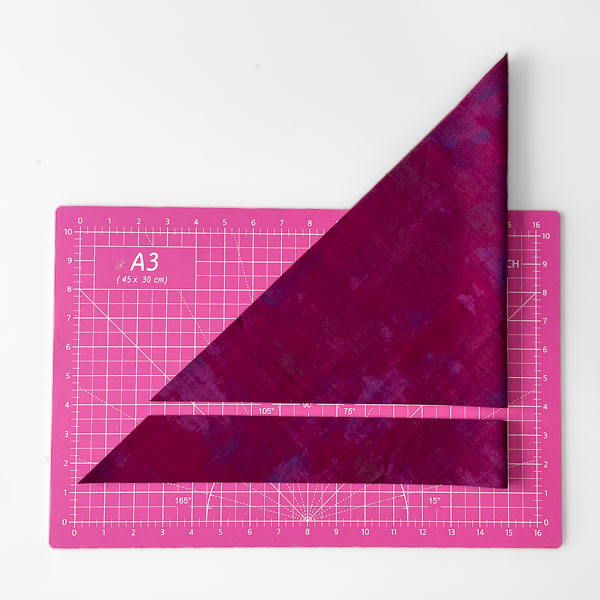

Square up the ends of your bias strips.
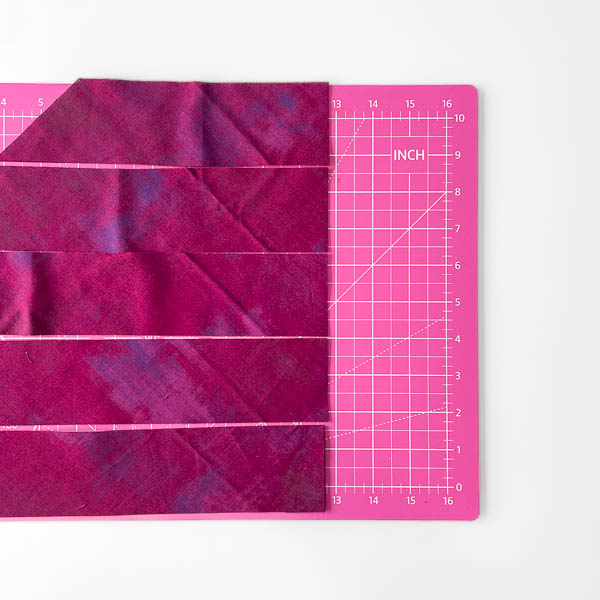
Bonus note: there is a process you can use to attach the strips together on the diagonal cuts but for this tutorial, we are squaring them to keep it as easy and accurate as possible!
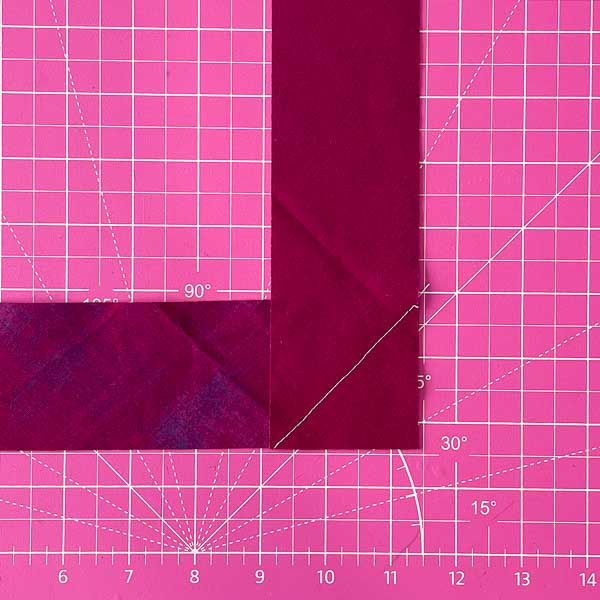
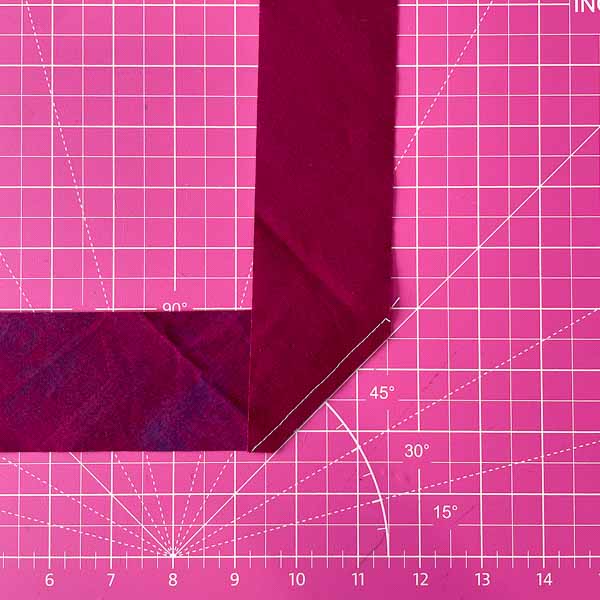
Take two strips and lay them out on your work surface so the ends are right sides together and at right angles to each other. Draw a diagonal line across the fabric from one corner to the other. Pin in place. Stitch along the line you’ve drawn to join the two pieces together
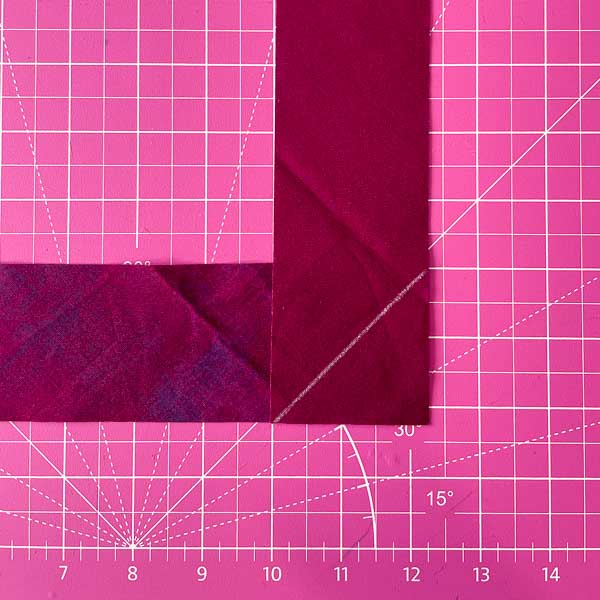
Trim the seam to ¼” (0.6cm). Press the joining seam open.
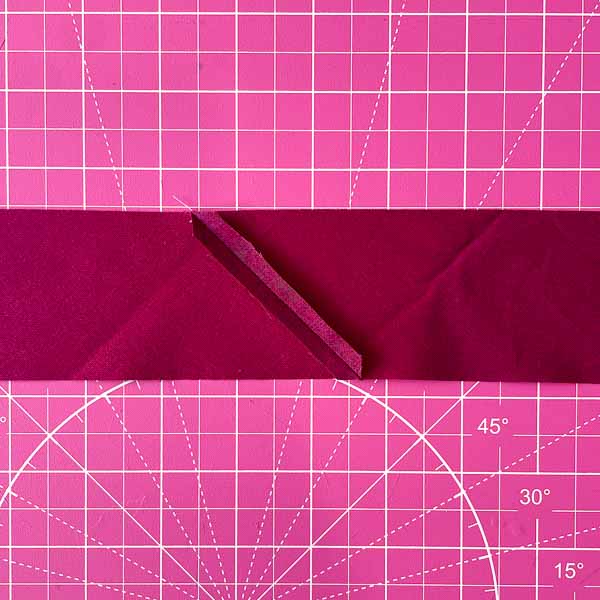
Repeat to join additional pieces as necessary. Press all joining seams open.
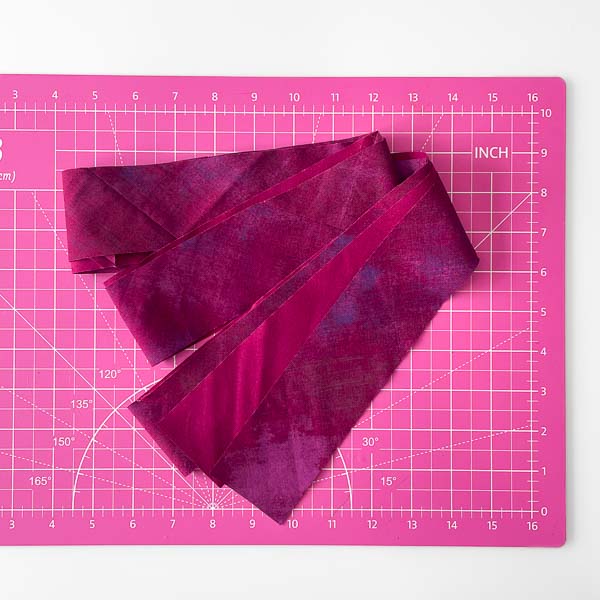
And there you have it, a whole strip of bias to use for your next project. For those curious, my 21″ (53.4cm) square cut into 2.25″ (5.7cm) wide strips, created a long strip of bias that is 144″ (3.6m) long! That is impressive!
Get the Free PDF Tutorial version of Cut and Join Bias Strips here!
You can use this long bias strip with our Free PDF Tutorials Create and Attach Piping or Finish Edges with Bias Strips.
In what ways have you used bias strips in your latest projects?
Happy Sewing!