
Frequently Asked Questions
FAQ Post #4 – My pattern pieces are tiny! How do I print them correctly?

Hi! Since 2016, I have been offering a ‘large print’ option with most of my patterns which basically means there’s a second PDF included whereby the pattern pieces are formatted to print on a larger sized piece of paper such as A3, A2 or in a couple of cases, A1. For those in the US and other countries that use different paper sizing, that’s the equivalent of sizes ranging from 11.7″ x 16.5″ up to 23.4″ x 33.1″.
As handy as this is, (because, let’s face it, trimming and taping pattern pieces together can get a little tedious at times, right?!), I know that sometimes some people, without realising, will open the large print file and try to print the pieces on their home computer which only accommodates A4 or letter sized paper (or similar).
SO! If this has been you at one point or another, never fear! I’m here to clarify things for you.
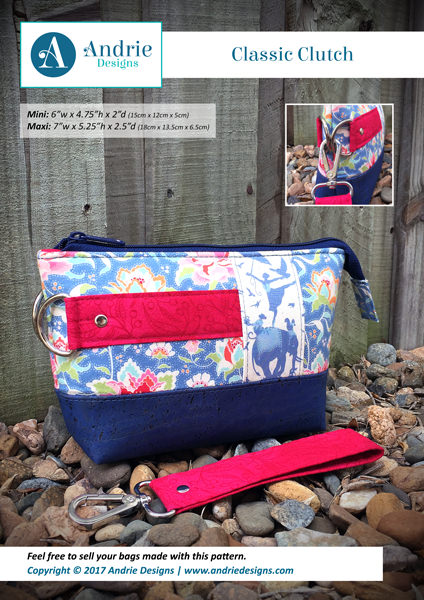
Step 1: First, ensure you have opened the INSTRUCTIONS file in your PDF reader program. Your instructions file will have a pretty, full page cover image such as this on the first page of the file –
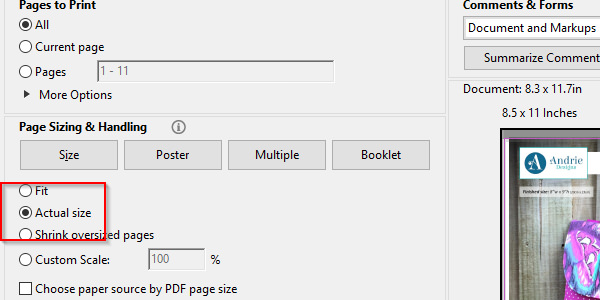
Step 2: Navigate to the pieced pattern pages at the end of the file. These pages (at the end of the file) are for printing on your home printer at ‘Actual size’/’100%’ on A4 or letter sized paper.
As mentioned earlier, the separate pattern pieces file is for printing at your local print shop on the correct sized paper such as A3, A2 or A1.
The file name of the large print pattern pieces file will be something like –
Andrie Designs – (NAME OF PATTERN) – LARGE Print Pattern Pieces
Step 3: For the pieced pattern pages, print the first page only to check the size of the test square. It is imperative that this square measures exactly 2″.
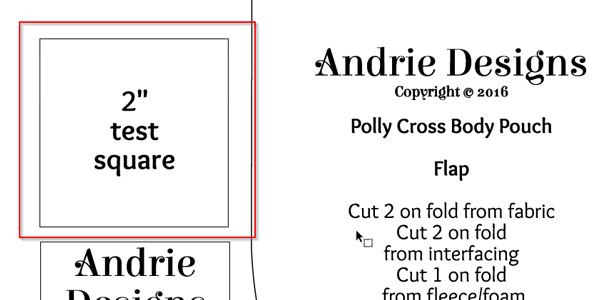
If, for some reason, it does not measure 2″, you will need to adjust your print settings by enlarging or reducing the scale slightly (i.e. above or below 100%) until the test square measures correctly.
Step 4: Once the test square is measuring correctly, you will be right to print the rest of the pieced pattern pages (using the same settings as for your test square page) and trim/assemble and per usual.
If you need further assistance printing your pattern file, please see the PDF Troubleshooting blog post (from my two pretty poppets days haha) as it may just contain the answer you’re looking for. You can find the blog post here.
https://www.andriedesigns.com/pdf-troubleshooting/
Step 5: If you are still unable to print your pattern pieces correctly for whatever reason (and have double checked you are trying to print the pieced pattern pages, NOT the large print file), please contact me via the Contact page.
Happy sewing! Lisa x