
Pattern Hacks
S & S Tote – Magnetic Snap Pocket

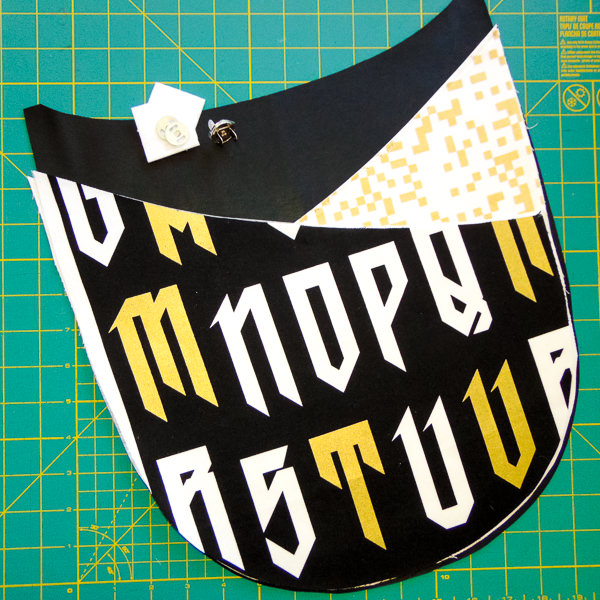
Are you as obsessed with the S & S Tote as I am? Well you are in luck! Today I am going to share with you one of a couple hacks we have lined up for this pattern. Yes, pattern hacks already 😉 First up is adding a magnetic snap to your front pockets. While the tote is meant to be soft and slouchy, some might find that front pocket a little too open for them. This will fix all of that! So let’s get to it!
Not familiar with the S & S Tote tote bag pattern? Not to worry! You can find it here. Plus! There’s also a full length video tutorial available for this pattern as well! Click here to find out more!
Here is what you will need:
- Your Outer Slip Pocket pieces cut and interfacing fused
- Outer Panel cut and interfacing fused (for the front of your bag)
- 1 magnetic snap
- 2 squares of Peltex or heavy felt 2″ by 2″ (5cm by 5cm)
- The remainder of your bag completed or ready to be completed
First up we will be marking where the magnetic snap will be placed on your Outer Slip Pocket LINING. We’ll be placing the snap on the pocket that sits ON TOP. This will actually keep BOTH pockets closed and reduce the need for multiple snaps!
My top pocket will have the high point on the left side of the front of my bag. If you have yours opposite, adjust accordingly!
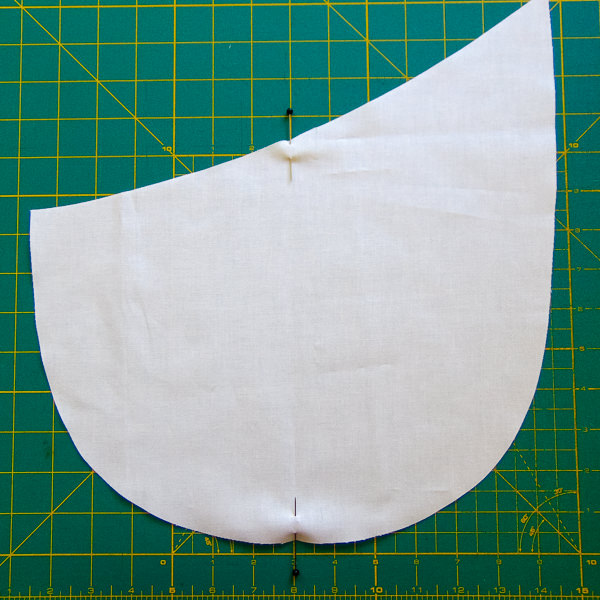
Place your Outer Slip Pocket LINING right side up. Fold your pocket piece LINING in half and mark the top and bottom with a pin or pen like so:
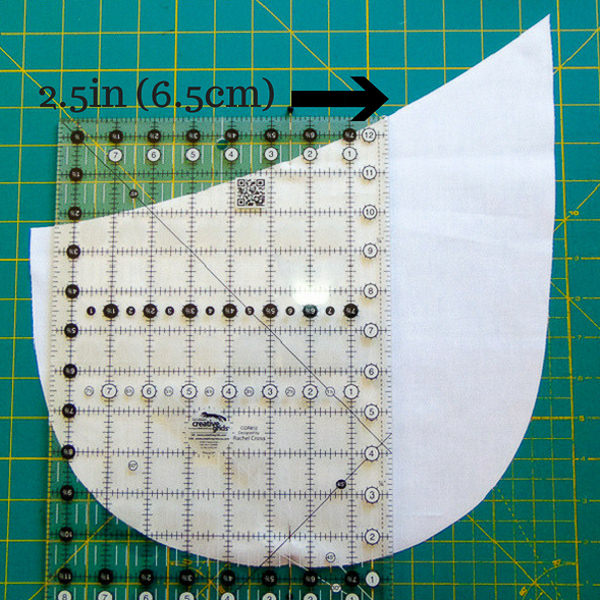
Then we will be measuring IN towards the upward curve of your lining. Use both centre points as a guide to ensure the line you draw is straight. Measure is as follows:
- Tall (small and large): 2.5″ (6.5cm)
- Wide (small and large): 3″ (8cm)
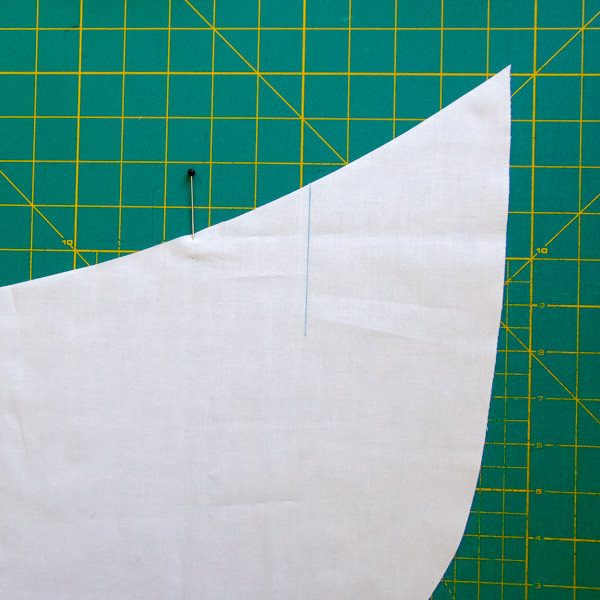
Next you will be measuring DOWN along that line as follows and marking the point with a dot:
- Tall (small and large): 1.5″ (4cm)
- Wide (small and large): 2″ (5cm)
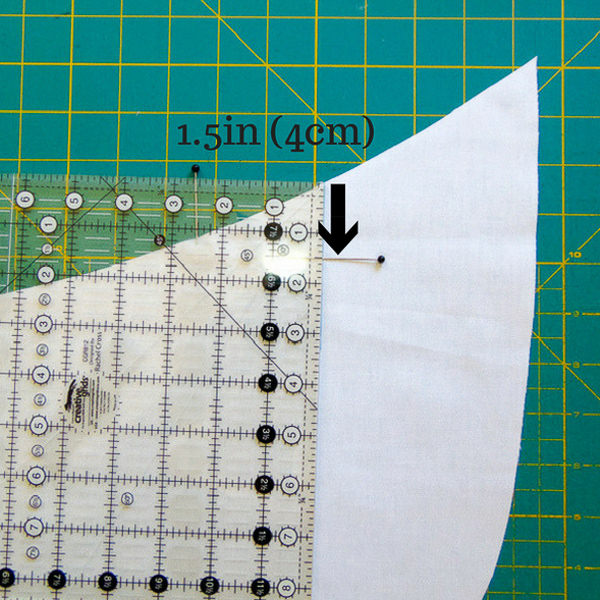
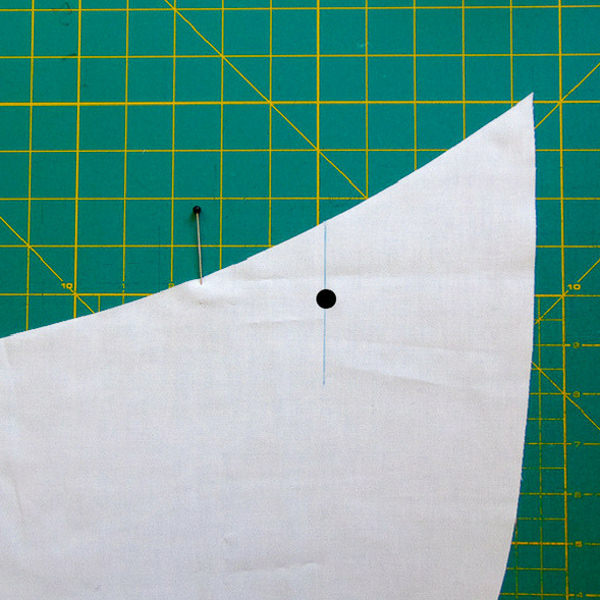
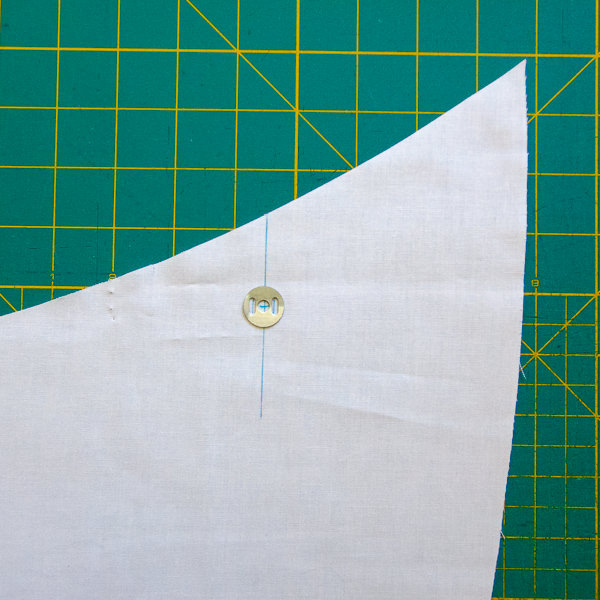
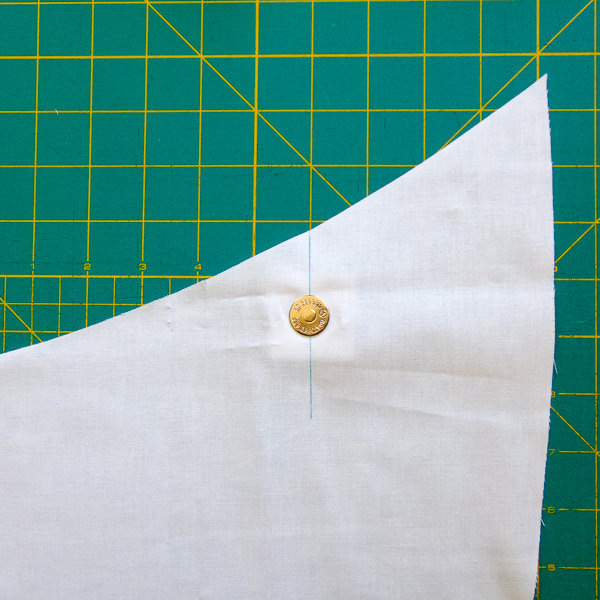
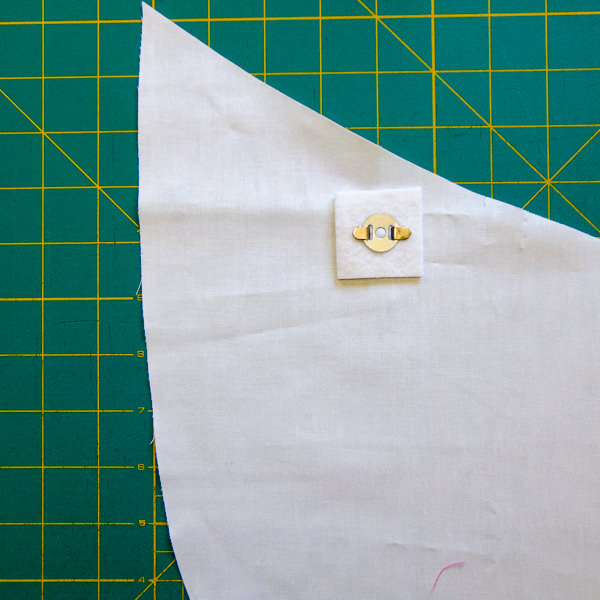
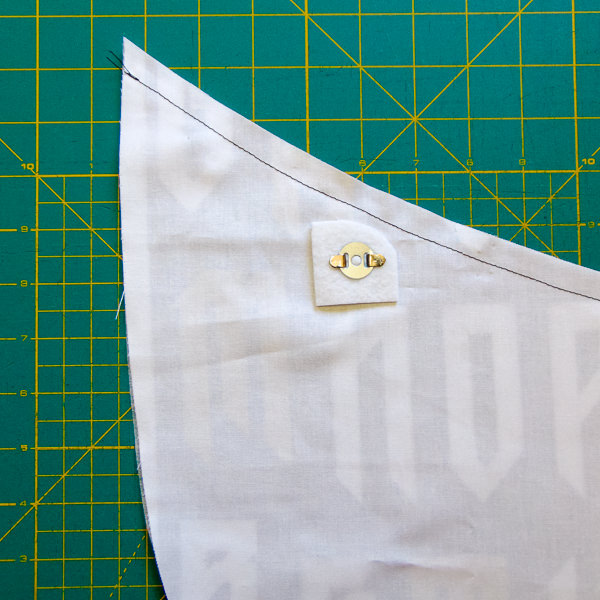
This point will be where the “male” side of your snap will be installed. Follow Lisa’s “Install a Magnetic Snap” steps to ensure you are installing it correctly.

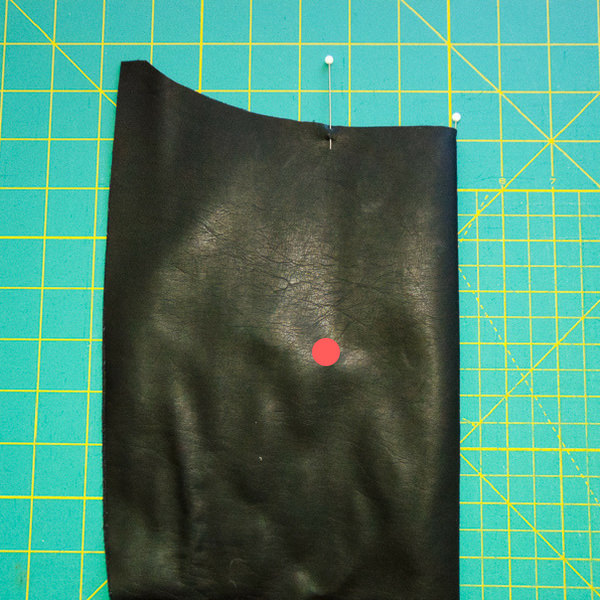
Now for the other side of the snap! Take your Outer Panel piece and fold it in half so wrong sides are together. If the high edge of your pocket is on the left, make sure you are marking on the LEFT side. If the high edge of your pocket is on the right, make sure you are marking on the RIGHT side.
From the fold measure IN as follows:
- Tall (small and large): 2.5″ (6.5cm)
- Wide (small and large): 3″ (8cm)

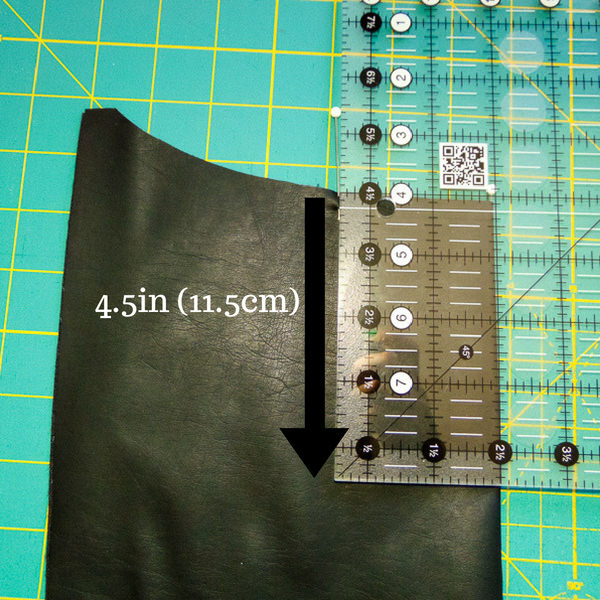
From that point measure DOWN as follows:
- Tall (small): 4.5″ (11.5cm)
- Tall (large): 5″ (13cm)
- Wide (small and large): 4.5″ (11.5cm)
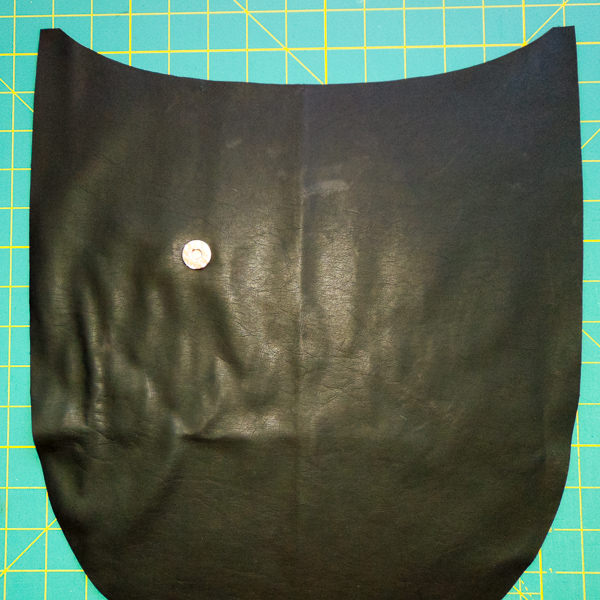
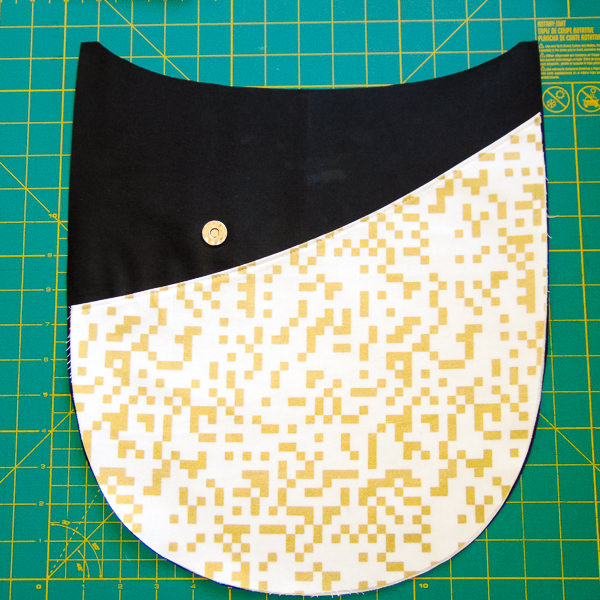
You can add the other side of your snap here!
Now go ahead and finish your pockets as per Creating Your Outer Slip Pockets: Step 3 in the pattern. You may find you need to curve your Peltex/felt behind your snap to make sewing the pocket easier.
To complete the front of your bag, lay your bottom pocket on first then attach the magnetic snap to line up the top pocket. This ensures the snap lines up perfectly before you baste the pockets in place.
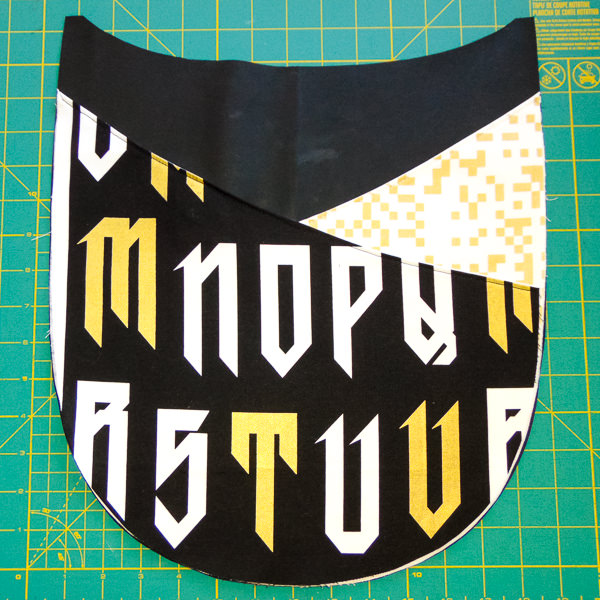
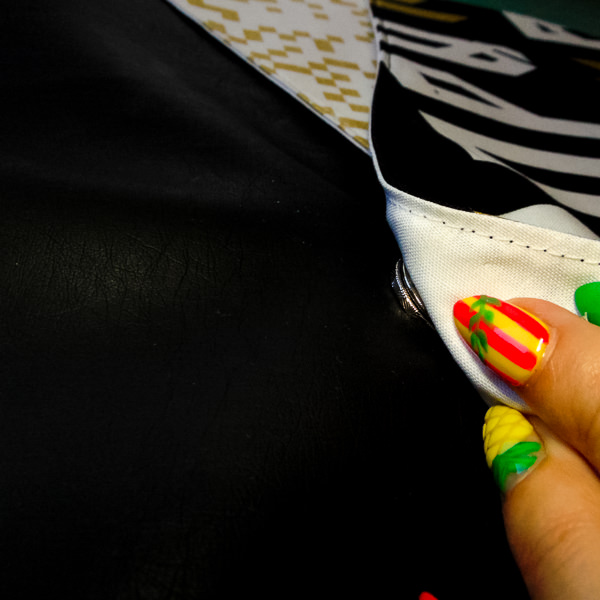
Now you can go ahead and complete your bag! Enjoy it knowing that your front pocket will be get closed with a magnetic snap!

But wait! Why isn’t my bag completed? Stay tuned for another hack on how I finished my straps!

Will you be adding a magnetic snap to your next S & S Tote? I know I will be!
-Aimee
The Little Bird Designs
