Tips & Tricks
Stitching Curves and Odd Shapes

Hey bag maker! We recently asked in the Andrie Designs Patterns Facebook Group if you had any bag-making questions for us to answer! We got some excellent questions so we are going to make our way through them as blog posts! Up first we have a question from Maria:
I’d love to learn how to topstitch different shapes.
So let’s hop into our top tips for stitching curves and other odd shapes!
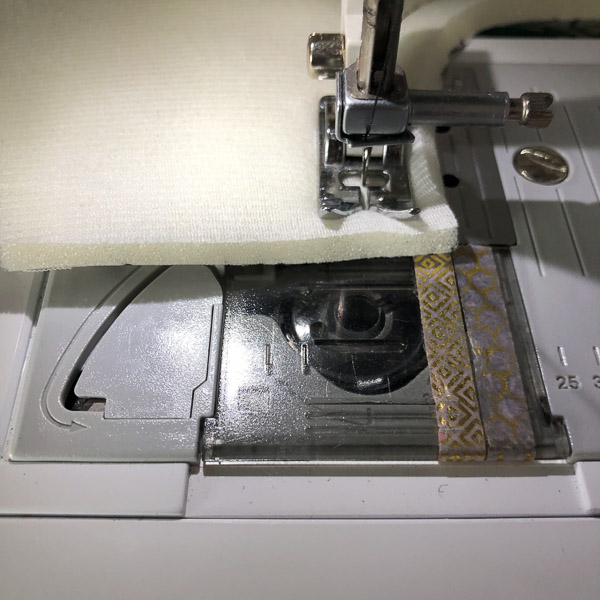
First up is where to watch for your seam allowance. This applies to sewing panels together and topstitching. Watch your seam allowance at the side of the foot where the need is entering the fabric. This will ensure you get an accurate sew each time.
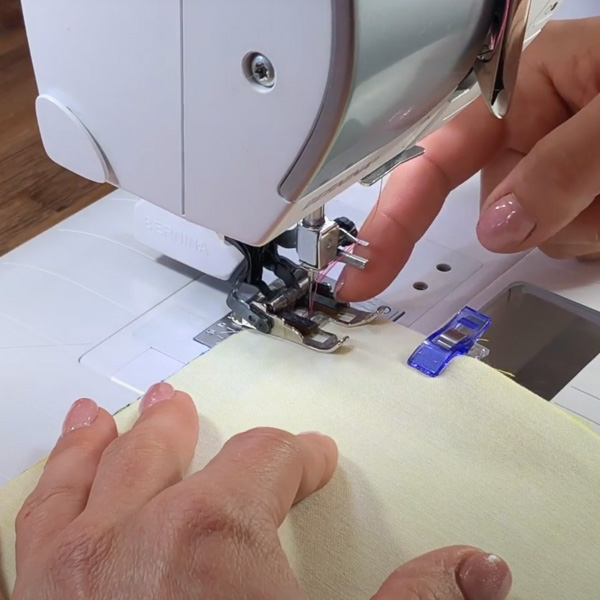

If you watch your seam allowance where the panel is entering the foot instead, you will notice your seam allowance get wider or wobbly!

The number one thing to remember when stitching curves is to maintain a steady speed throughout the process. Using a walking foot will help with gently pulling the fabric through and keeping that speed. The less you stop, the better your stitching will be.
As you stitch around the curve, the front end where it enters the foot may look like a smaller seam allowance, just make sure that you are maintaining the seam at the needle entry point instead!
For topstitching, the same rules apply. You will often find that using a smaller stitch length, 3-3.5mm, will make topstitching much easier to maintain your speed. If you need to, shorten your stitch length and it will move the fabric slower so you can go at a manageable speed!
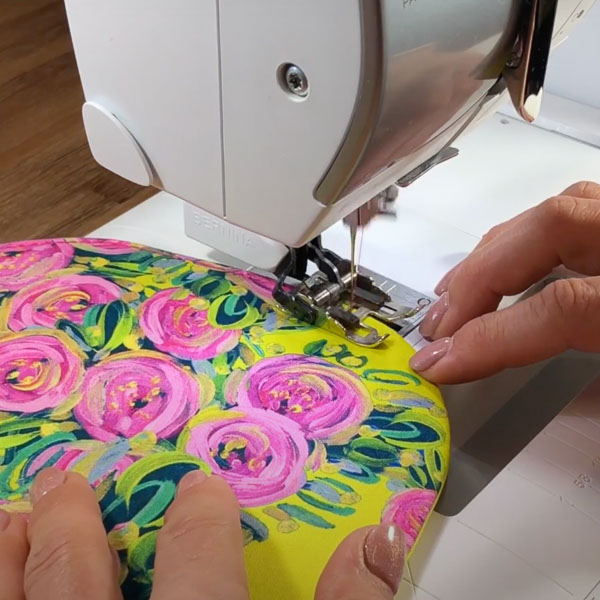
If you want to see a video version of these tips above head to our YouTube video all about Stitching Curves!

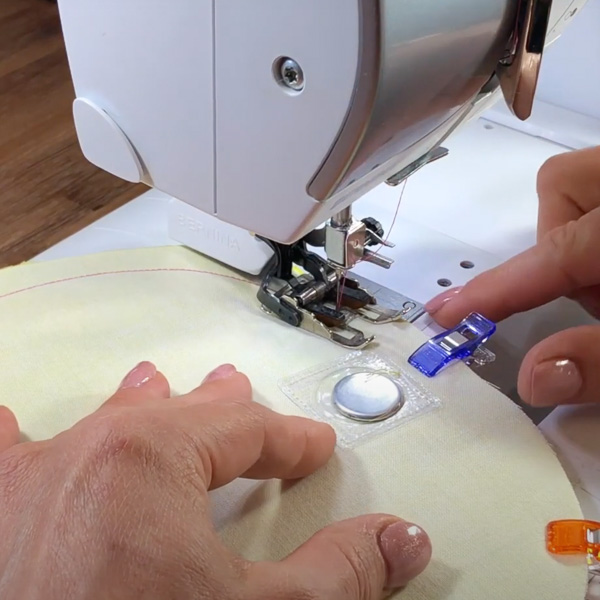
For intense curves or shapes like the top of the Stand Up and Tote Notice Tote, drawing on your seam allowance at those extreme points can make your stitching easier. Just by adding the crossing seam allowances you can maintain the angle and turn easily when needed.

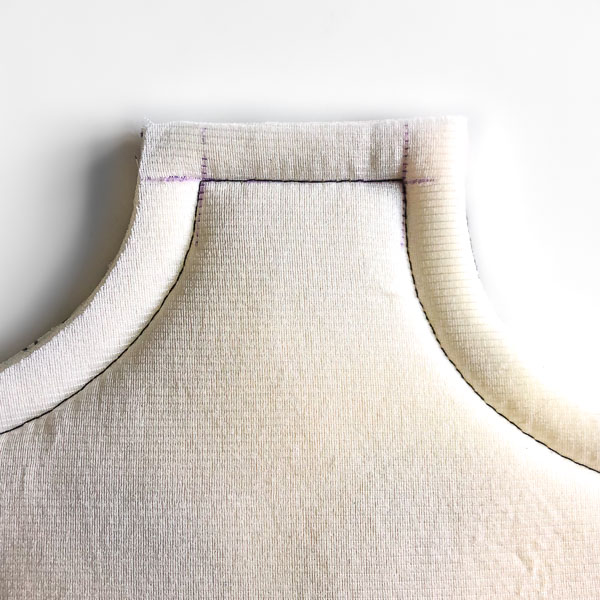
If you don’t want to draw on your seam, here is another way to achieve this. Stitch until you feel you have gone just far enough, stop with the needle in the down position and turn with your presser foot up. Check to see if you need to add another stitch or two. You can see in the second image, I am not quite far enough to get the 1/2″ seam allowances when I turn.

Turn your piece back, lower the presser foot and add that extra stitch or two and test again. Now you have the seam allowance you need when you turn!


Bonus tip!
This is something I like to share in my classes for those that don’t have a walking foot or struggle with maintaining the 1/8″ seam allowance for topstitching!
If your machine allows, move your needle all the way to the left and choose your preferred stitch length, I like 3mm.
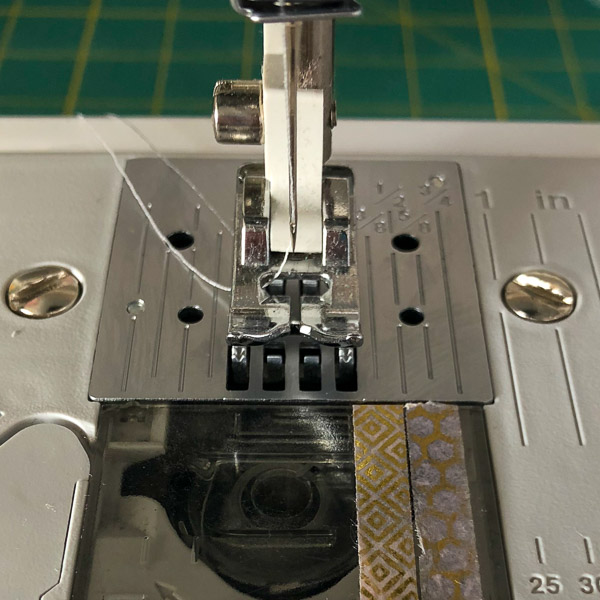
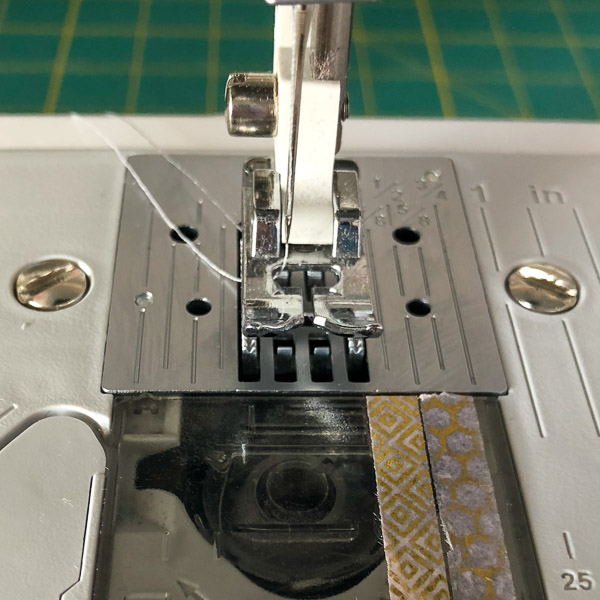
Using the center of your foot as a guide, you now have the perfect 1/8″ seam allowance as you stitch! This means you maintain your focus at the needle entry point and you get the same seam allowance for your entire project!
*Make sure you move your needle back to the middle when you are done!*

A few important things to remember when you are stitching curves or unusual shapes:
- ALWAYS leave your needle in the down positing when you turn otherwise you will get loose stitching or inaccurate lines.
- If you struggle with really tight curves, shorten your stitch length. This causes the feed dogs of your machine to move at shorter intervals allowing you to stitch at a slower speed.
- Don’t rush curves. Take your time to maintain that speed.
- For sharp angles, test your seam allowance before moving onto the next stitch!
We hope these tips help you on your next curvy sewing adventure! Which one do you think will help you the most?
If you have any more sewing questions, pop on over to this post in the Andrie Designs Patterns Facebook Group and we will get to them soon!
Happy Sewing