
Pattern Hacks
Zip Top Stand Up Clutch
 Hey bag makers! We have a fun pattern hack today, adding a zipper to the top of your Stand Up Clutch! Putting the zipper across the top changes the look ever so slightly and adds that extra security to your clutch opening. Read on to make your very own Zip Top Stand Up Clutch today!
Not familiar with the Stand Up Clutch pattern? Not to worry! You can find it here.
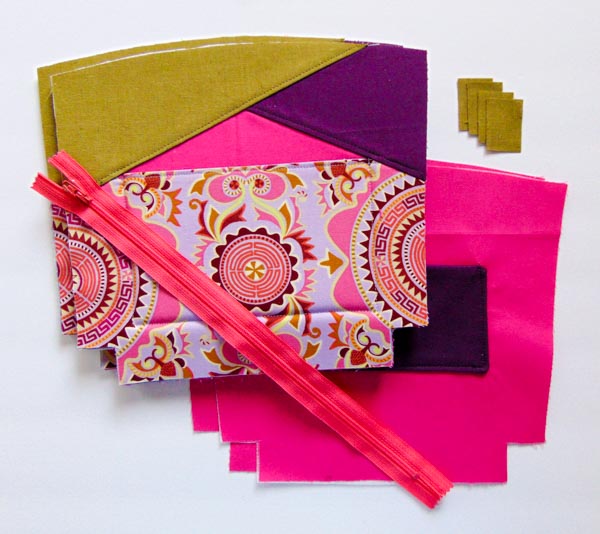
You want to have all your outer pieces completed, however, not sewn TOGETHER. You will have 4 completed pieces.
Other items you will need:
- Zipper – 9″ (23cm) for Small, 11″ (28cm) for Medium or Large
- 4 Zipper tabs cut at 1″ wide by 1.5″ long (2.5cm by 4cm) (if you are using #5 or larger zipper, adjust the width to fit)
- Wonderclips and various sewing tools
Adding the Zipper Tabs
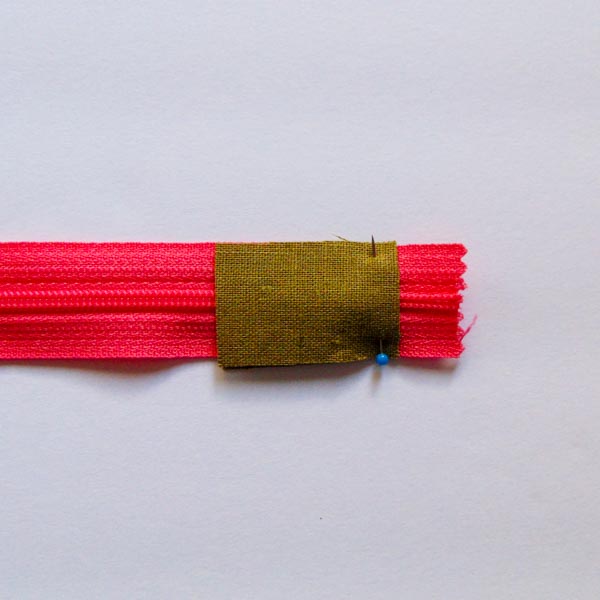
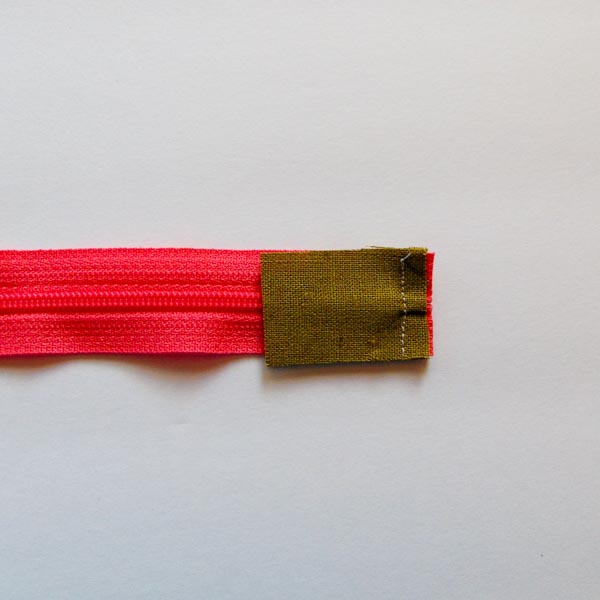
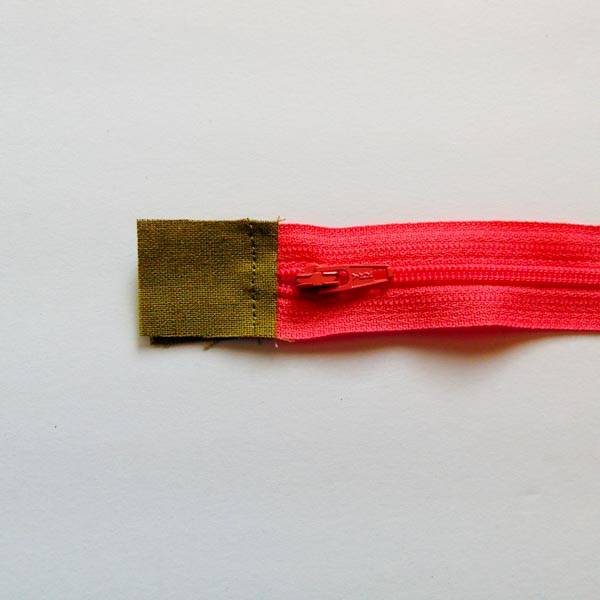
Mark 1/4″ (0.6 cm) away from the stopper at the end of the zipper. Line up 2 zipper tabs on either side of the end you just marked using a 1/4″ (0.6 cm) seam. Cut excess zipper tape off, flip the tabs right sides together and topstitch!

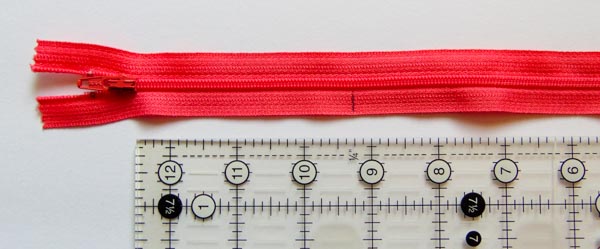
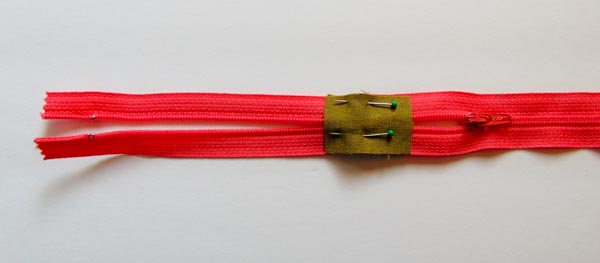
To apply the other end of the zipper tabs, mark the opposite side as follows from the end of the tab zipper WITH the tab on. Include the tab in your measurement:
- Small 8″ (20 cm)
- Medium 9 1/4″ (23.5 cm)
- Large 10″ (25 cm)
Use this line as a guide and line up the other 2 zipper tabs and stitch down using a 1/4″ (0.6 cm) seam allowance.
Snip off the excess zipper (save for another project if desired) and turn tabs right sides together and topstitch.

Attach the Zipper to the Body
Take one of your exterior pieces and place it RIGHT SIDE UP. Lay your zipper RIGHT SIDE DOWN on top of it. Snip the curve of the zipper if you are finding it’s not following the curve as nice as you want, just make sure you don’t snip too much! Baste it down with a 1/8″ (0.3cm) seam allowance.

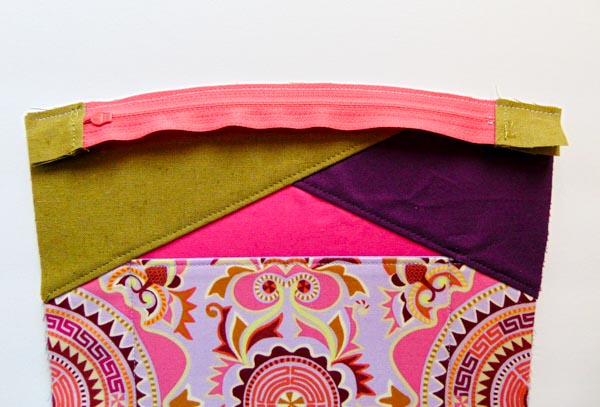
Now lay your lining piece RIGHT SIDE UP and lay the piece you’ve just sewn with the zipper, on top with RIGHT SIDES facing. Using a 1/4″ (0.6 cm) seam allowance, sew this side down following your previous stitching.
Now flip that out so the wrong sides are together and topstitch along the zipper. I find I don’t need to trim the foam as it has been stitched twice so is fairly flat. Trim if you desire before topstitching.

Repeat Steps above for the other side! *Tip- open the zipper as you topstitch the other side. It will be much easier!


Sew it all together.
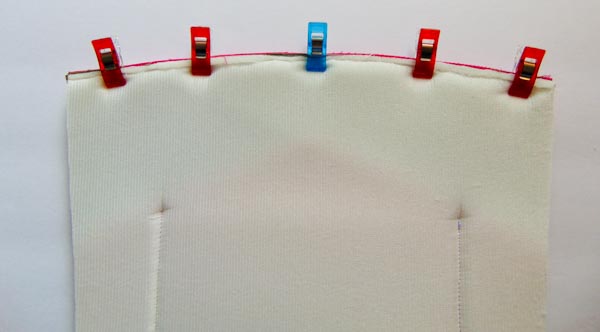
This is where things get a little different from the pattern! We are going to place everything RIGHT SIDES together. Outer will face outer, inner to inner. Pin along the sides and bottom! BUT FIRST-> Open your zipper, don’t do what I did and struggle 😀
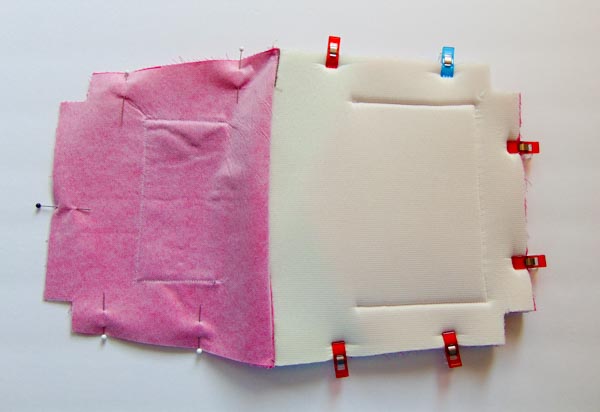
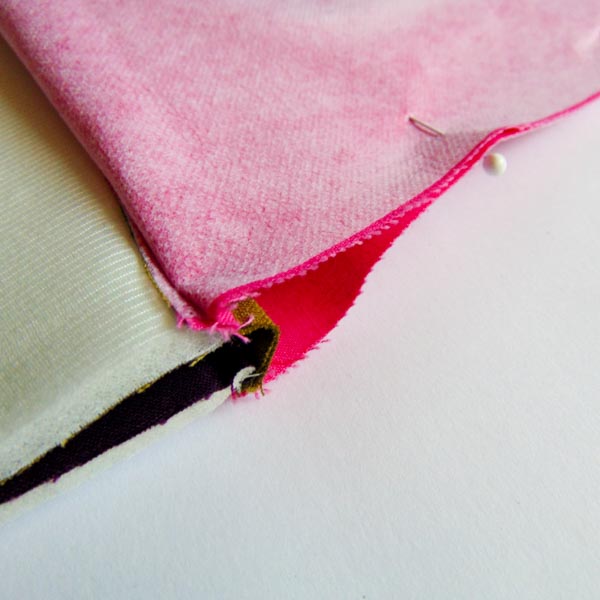
Now here is a trick to getting perfect zipper tabs! You want the zipper tabs to be facing or pointing towards the LINING! This will give you perfect corners every time! This photo will explain what I mean –
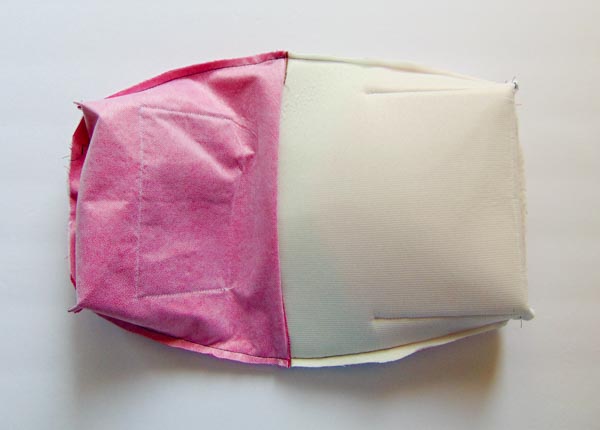
Using a 1/2″ (1.2cm) seam allowance, stitch the 2 long sides, the outer bottom. Be sure to leave an opening on the lining bottom to turn it. Once done you will square your corners as per the Stand Up Clutch Pattern!
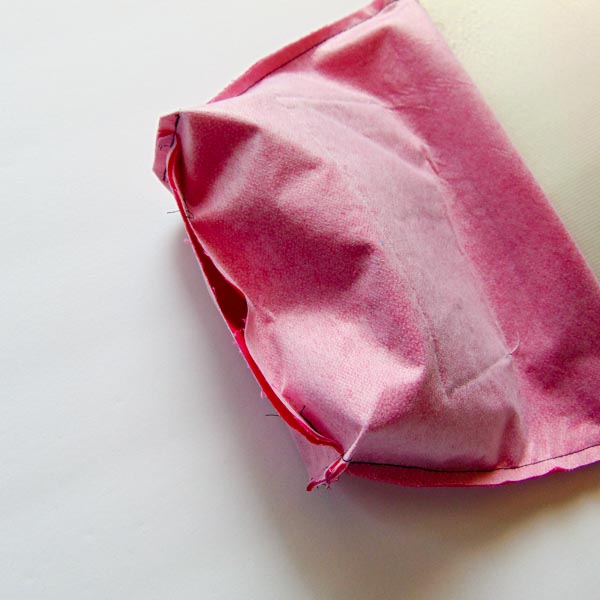
Now turn that clutch out, topstitch your lining opening and admire your little beauty!

Adding a zipper top isn’t hard if you know all the little tricks! Now that you do, you can add zippers to ALL THE CLUTCHES…. or maybe that’s just me who has the zipper obsession.


Once you’re all zipped, head to the Andrie Designs Facebook Group and share your Stand Up Clutch. We love seeing your creations! Will you be trying this tutorial out? I cannot wait to make more small ones! <3 Aimee The Little Bird Designs