
Pattern Hacks
Bree’s Box Lunch Caddy!

As a parent, I frequently hack Lisa’s patterns for my kid! I have turned the Stand Up Clutch into a case for a Nintendo DS and when the Bree’s Box Toiletry Caddy came out, I just knew it had to become a lunch bag! Check out the tutorial below to get the steps to make your own Bree’s Box Lunch Caddy today!
Not familiar with the Bree’s Box Toiletry Caddy pattern? Not to worry! You can find it here. Plus! There’s also a comprehensive video class available for this pattern as well! Click here to find out more!
What you’ll need:
- Bree’s Box Toiletry Caddy pattern
- Outer pieces cut in your fabric and fused to interfacing
- Outer pieces cut in Insul-Bright (information about Insul-Bright cand be found here!)
- Lining completed or ready to be completed
- 1 piece of fabric 4″ by 8″ (10cm by 20cm) for the handle
- 1 piece of light/medium interfacing 2″ by 8″ (5cm by 20cm) for the handle

We won’t be using fusible fleece or foam for this project so we have to take a few extra steps with the Insul-Bright or you will end up with one floppy lunch caddy!
Place your outer pieces on top of their coordinating Insul-bright pieces and bast in place.
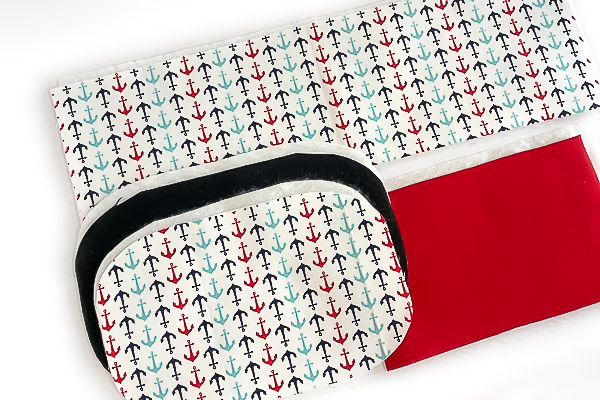
You are then going to lightly quilt them. You only need a few lines of stitching to hold them down. If you are going to do some extra quilting, cut the pieces out larger than needed, quilt and then cut to size. Quilting slightly shrinks your project!
Complete your exterior as per the pattern step 11, Assembling Your Outer Bag.
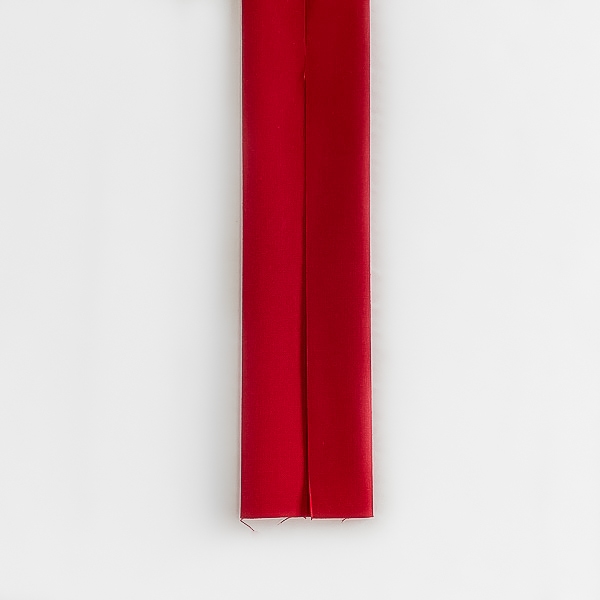
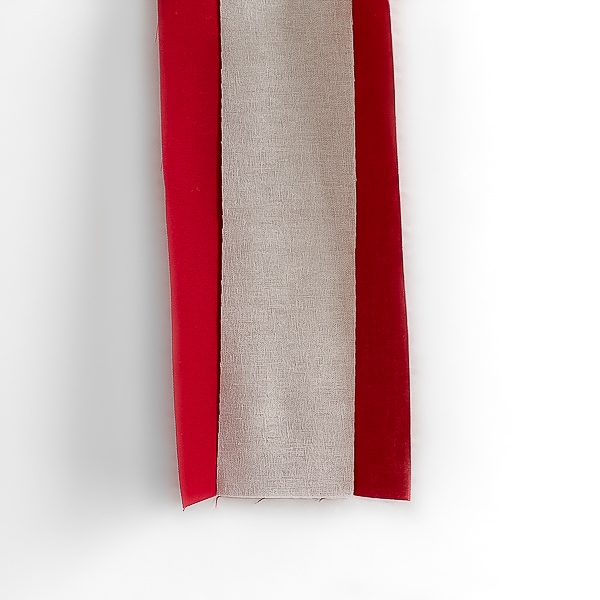
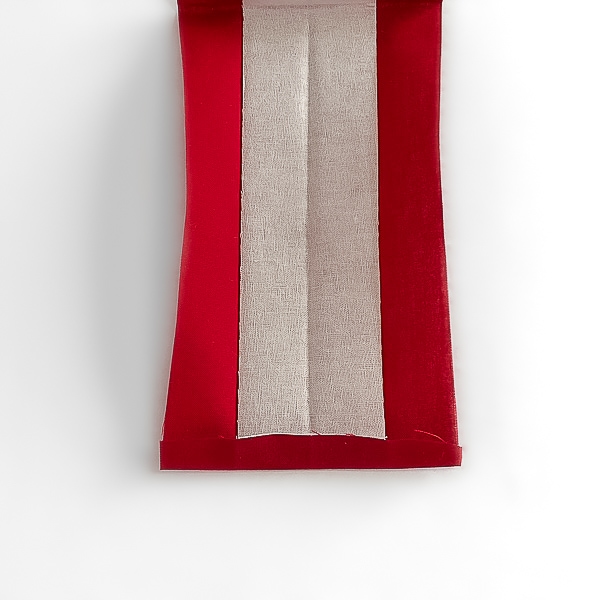
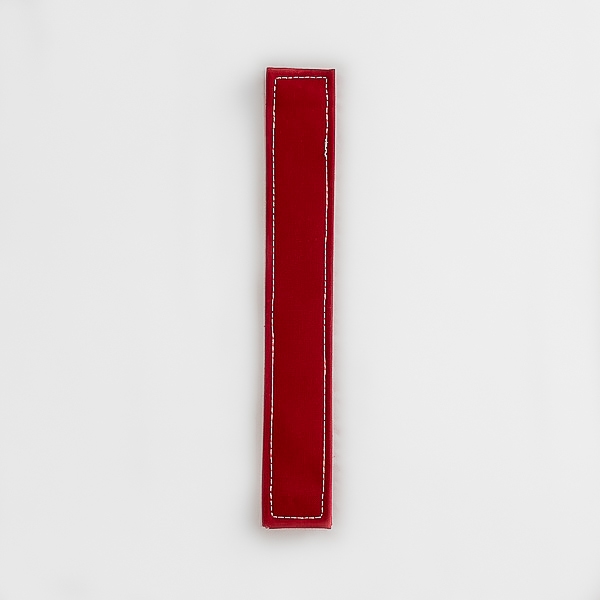
Take a Handle piece and fold it in half with wrong sides together, matching long sides. Press. Open it out and fold each side into the middle. (1) Press. Open it out and fuse a corresponding piece of interfacing down the middle of the fabric. (2) Unfold handle completely, fold short ends in 1/4”(0.6cm) and press. (3) Re-fold the handle and press well. Topstitch around all four sides using a 1/8” (0.3cm) seam allowance. (4)
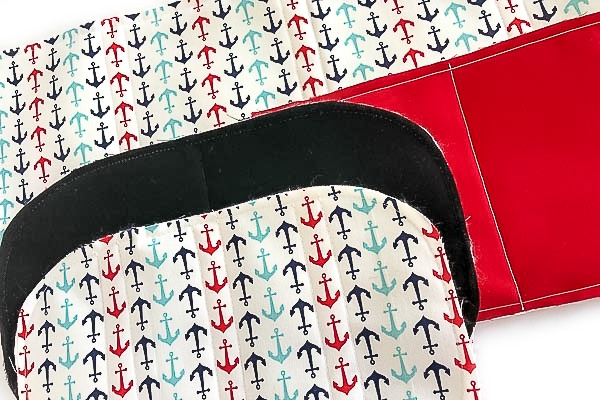
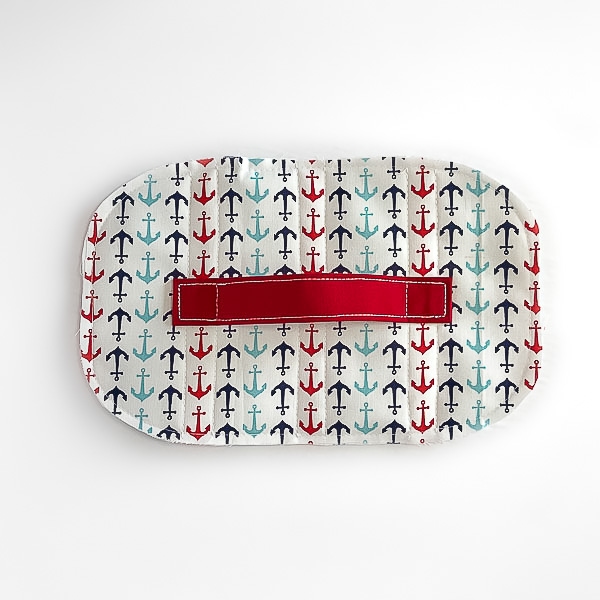
Take your Exterior Flap piece and find the centre points along the short edges. Measure in 2″ (5cm) from each side and place a pin. This will be where your handle ends will sit. Pin your handle in place.
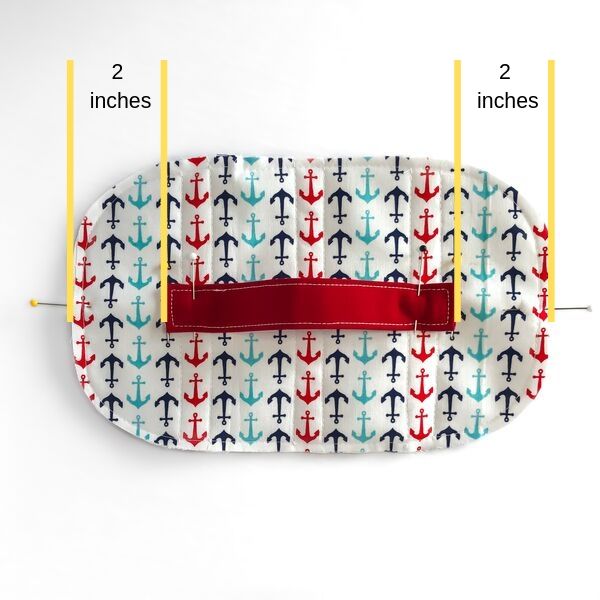
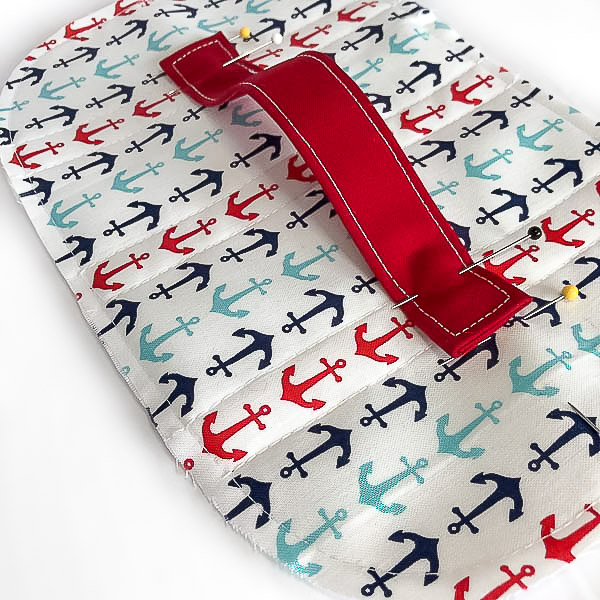
Stitch down a 1″ (2.5cm) square box at the end of the handles, along your previous stitching from your handles topstitching.


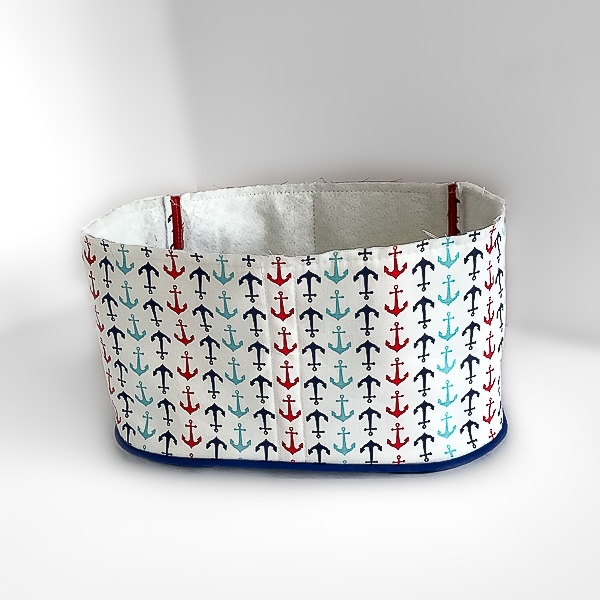
Complete your lid as per step 18 Creating and Attaching Your Lid in your pattern. Complete lining if needed as well and complete your bag.
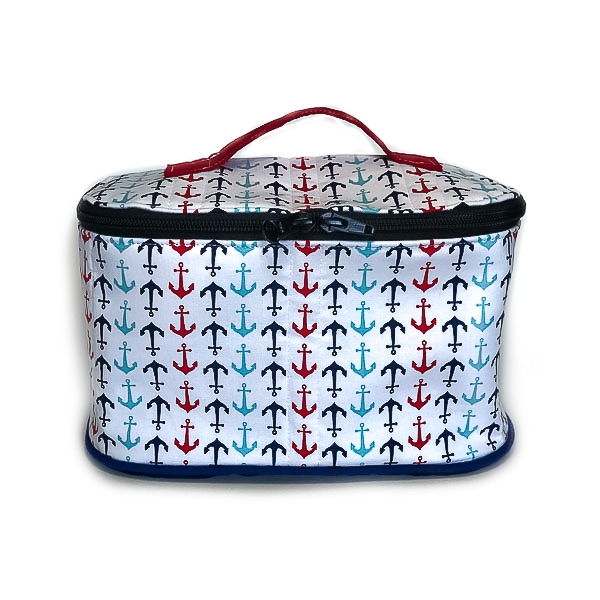
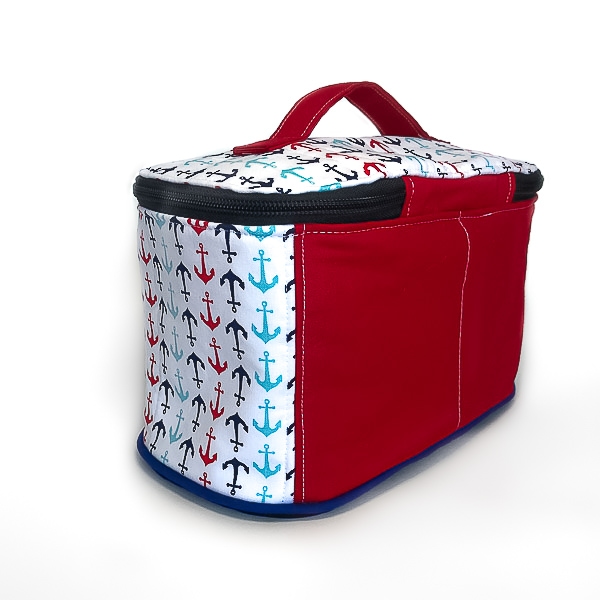
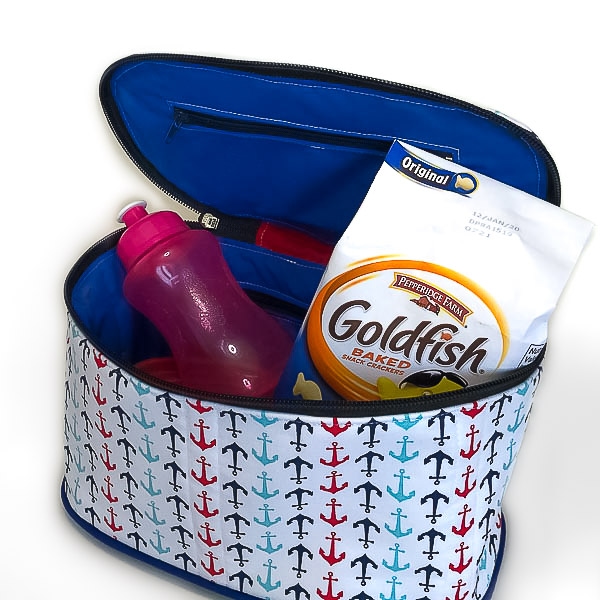
As you can see, it is the perfect size for a lunch caddy! You can fit multiple containers inside and even a small water bottle! My favourite thing about the lining pockets is that you can store ice packs in them and It stops your lunch from getting wet!
Are you excited to make a Bree’s Box Lunch Caddy? This one is going off to my husband because he just piles his lunch within his bag so hopefully, this keeps him tidy!

If you make a Lunch Caddy, hop into the Andrie Designs Patterns Facebook group and share it with us so we can see it too!
Grab the Bree’s Box Toiletry Caddy pattern for this pattern hack here. Or get the comprehensive video class available for this pattern here!
Happy sewing! <3
-Aimee
The Little Bird Designs