
Pattern Hacks
Grocery Bag to Pretty Tote

Hi bag makers! We have a short and sweet pattern hack for you today! The Reusable Grocery Bag is one of our easiest patterns and doesn’t need any hardware so let’s hack it a little bit! Read on today to see how moved the contrast panel to turn it into a pretty little tote in this tutorial today!
Not familiar with the Reusable Grocery Bag? Find the PDF Pattern in the shop!
Materials required:
- Outer Fabric cut as per Pattern
- Contrast Panel cut at 17″ by 9″ (43cm x 23cm)
- Lining cut as per pattern
- Handles cut as per pattern
- Optional: Interfacing for each piece

Before we get started, you will need the Reusable Grocery Bag pattern for some of the measurements so make sure you have it on hand as you move through the tutorial!
Take your outer piece of fabric and fold it in half, wrong sides together, matching the top edges (short sides) together. Cut along the fold so that you now have 2 outer pieces. (Note- I am using scraps that are pieced together!)

Take your Contrast Panel and fold it in half, wrong sides together, matching the top edges (long sides) together.

Along the bottom folded edge, cut squares out of each corner as per the pattern measurements. Ensure you are cutting the squares out of the bottom folded edge of your fabric, not the top raw edges. (Step 2 in the Pattern)

Your Contrast Panel should look like this when opened out.

Lay one of your outer fabric pieces right side up. Place your Contrast Panel along the bottom edge and sew using a ¼” (0.6cm) seam allowance.

Press seam towards Contrast Panel.

Repeat for the other side.

Topstitch on the Contrast Panel, 1/8” (0.3cm) from the edge of the seam.


Complete your handles as per Step 6 in the pattern. Don’t bother folding up the short edge by ¼” (0.6cm) because the raw edge will be hidden.
At the top of your outer pieces, make small vertical placement marks 3.75″ (9.5cm) in from each side seam. This is where the outside edge of each handle will sit.


Baste your straps in place.

Complete the outer bag following Step 12 in the pattern. (You can skip over the part about stitching elastic!)

Complete your lining as per Step 15 in the pattern. (Note- I like to have my turning opening at the side seam instead of at the top!)

Follow Step 16 – Putting it All Together in the pattern to complete your tote bag.

I like to do 2 rounds of topstitching for a tote like this. It just gives it a little bit of extra security to the straps!

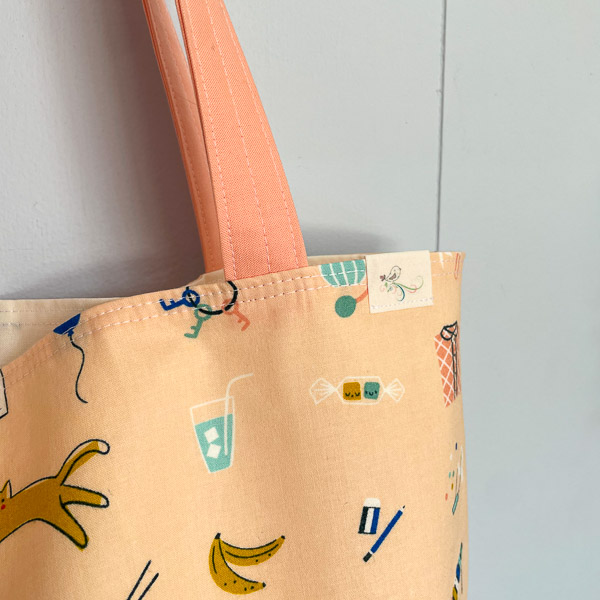
Not you have a sweet little tote with a contrast panel on the bottom instead of the top!

The beauty of this pattern is that it can be made lined, unlined and with or without interfacing! The possibilities are endless!


Are you going to give this simple little Reusable Grocery Bag pattern hack a sew? If you do, pop on over to the Andrie Designs Patterns Group on Facebook and share with us so we can see your pretty totes!
Happy sewing

Gostei muito!!😍
Poderia ter vídeo passo a passo.