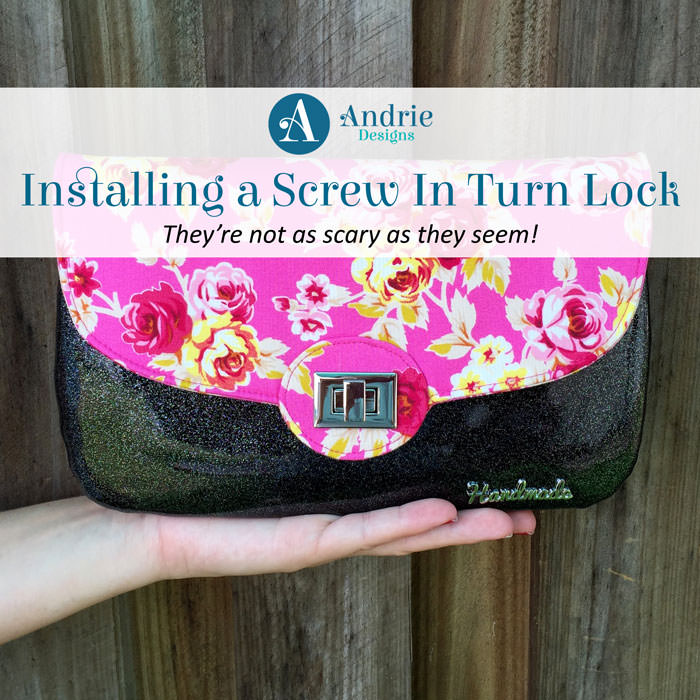
Hardware Heaven
Installing a Screw In Turn Lock
 Well hello! Lovely to have you here! Today I want to talk about turn locks… One of my most favourite types of handbag hardware (well, at the moment anyway…)!
When it comes to making bags, I feel hardware is one of the key elements that really sets the bag apart from the next. I reckon beautiful handbag hardware can transform a ‘home made bag’ into a ‘handmade stunner’!!!
Of the different closures available in the bag-making world, I have become particularly fond of turn locks. Aside from being a great piece of hardware to use to securely close your bag, they add an extra special element to your piece and really take it to the next level. *sigh*…

Turn locks (also known as twist locks) typically come in one of two options – prong back or screw in. Prong back turn locks have prongs on the female half of the lock, making them a touch faster to install. Screw in turn locks have teeny tiny screws on the female half of the lock, making them a bit more secure and professional (in my opinion).
Contrary to what many think, they are NOT that difficult to install! Below I’m going to step you through exactly how to install a screw in turn lock, so you’re ready to tackle it head on next time you have a project that calls for a turn lock.
Materials required:
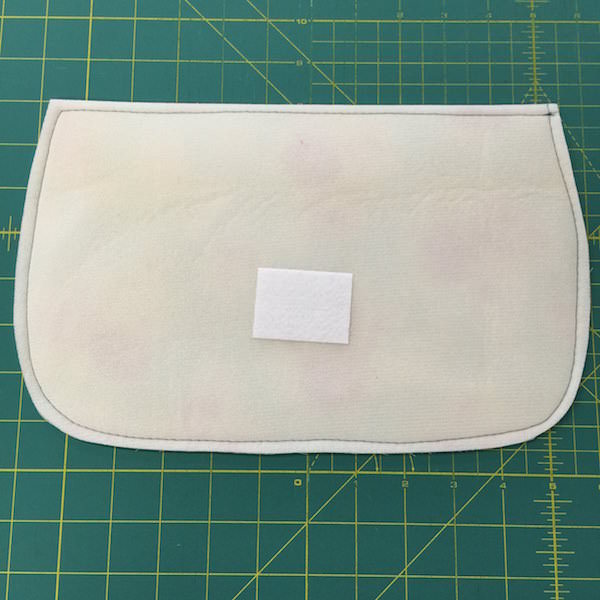
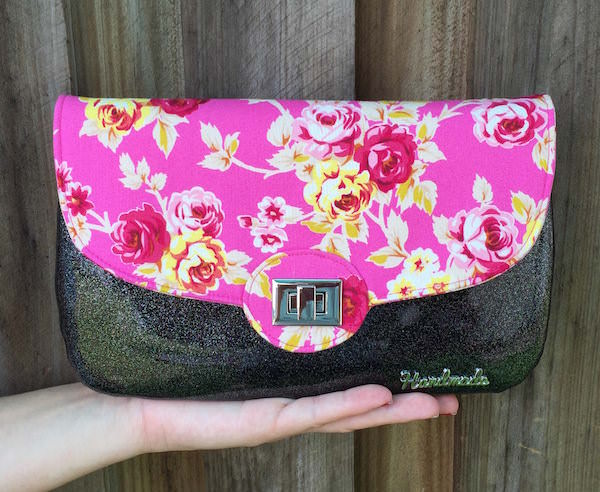
- Project you’re working on (I’m working on a Statement Clutch)
- Screw in turn lock
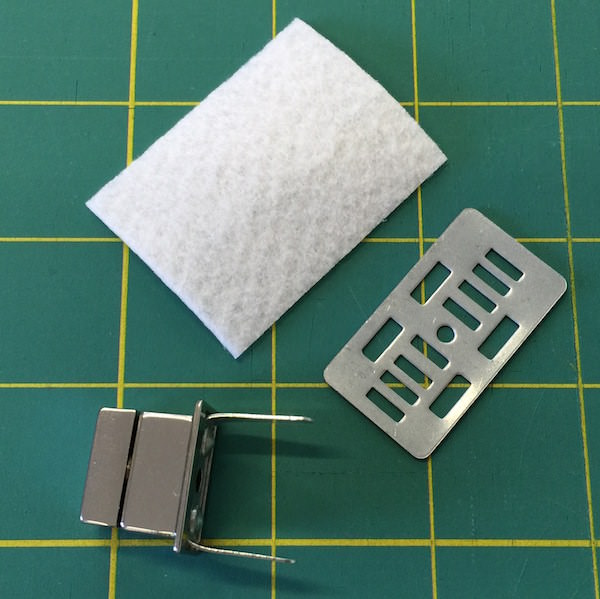
- Piece of fusible stabilizer (such as Peltex 71F), 1½” x 2” (4cm x 5cm)
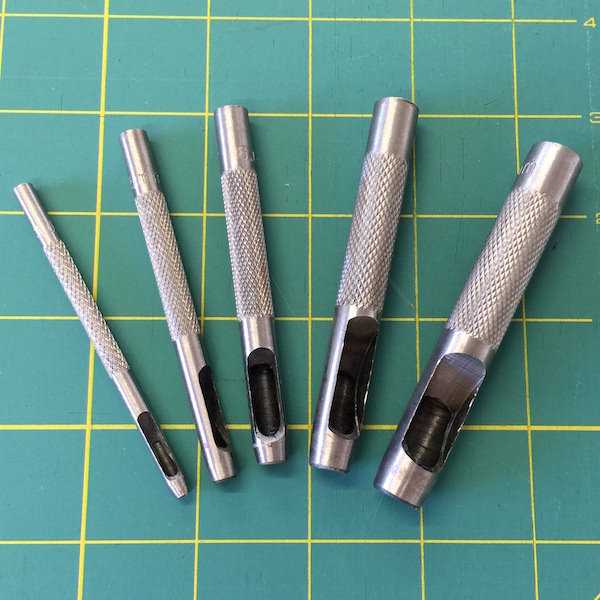
- Set of leather/craft punches (or a pair of sharp, pointy scissors)
- Hammer/mallet
- Anvil (or something to put behind your work while you punch the hole out)
- Small screw driver
- Craft glue and thin brush
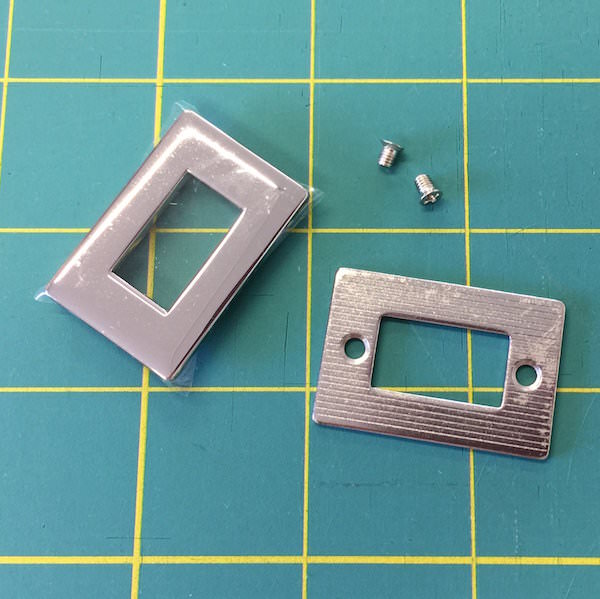
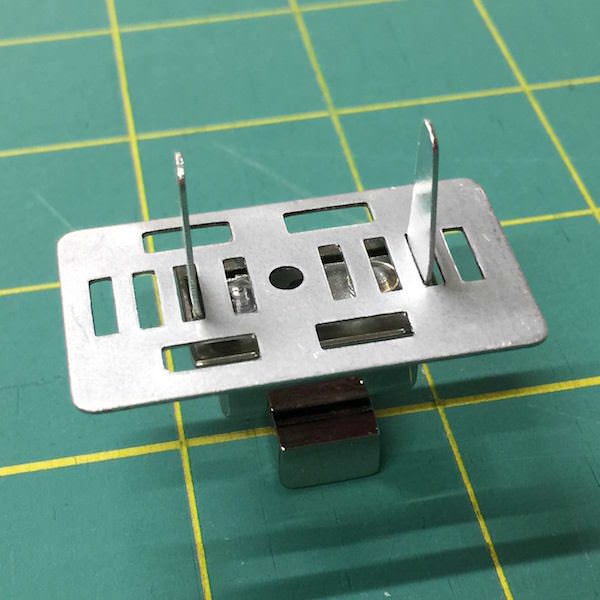
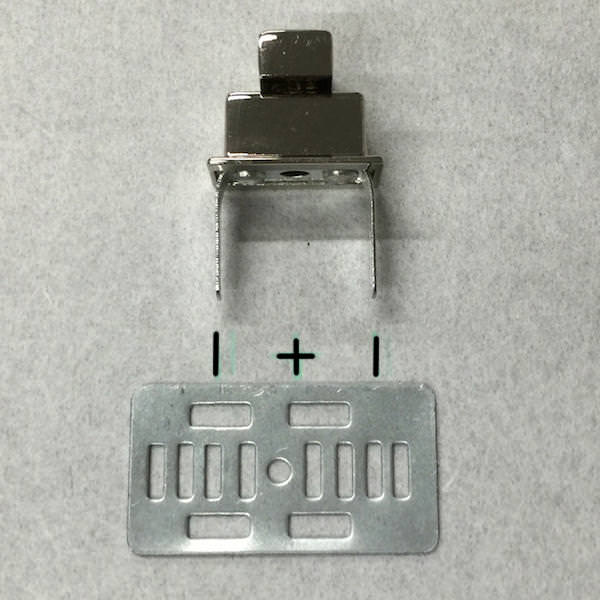
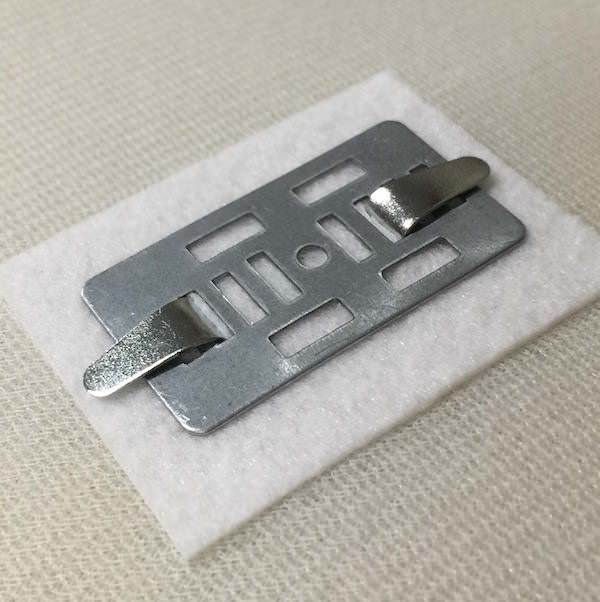
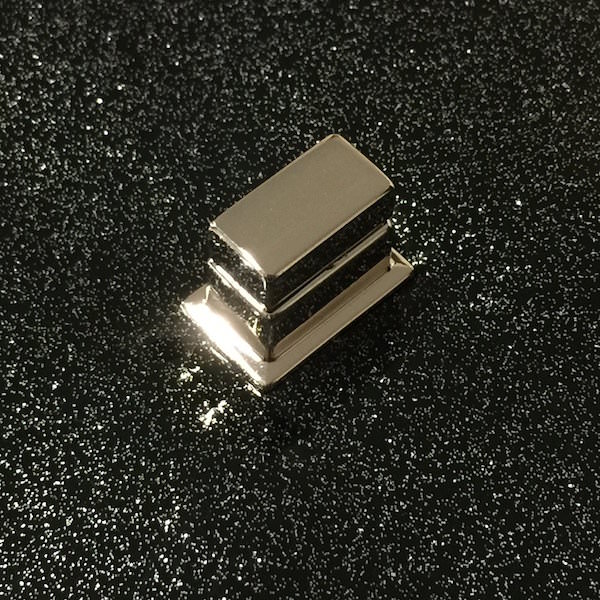
 Lets break that materials list down a bit more shall we? Below is a typical screw in turn lock. It is made up of a male part, consisting of the lock itself and a washer (flat metal with lots of slots cut out of it), and a female part, consisting of the front and back pieces and two little screws.

Next come punches… These come in countless shapes and sizes so keep in mind that these are the ones I have (found at my local hardware store (Bunnings) and on eBay) and the ones you find will most likely be completely different and that is ok! As long as they are leather/craft punches and will cut through your fabric, you will be set!
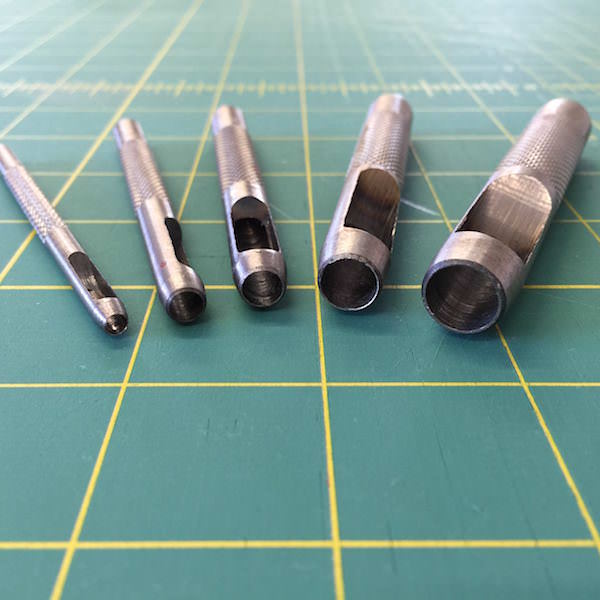

Finally there’s a hammer/mallet and anvil. I chose to go with a rubber head hammer – mainly so I didn’t have to listen to the tink tink each time I hit the punch, LOL! Pretty much any hammer will do the job though. As far as anvils go, my one is handmade by my darling hubby and it’s simply a piece of stainless flat bar with the edges rounded so it’s not sharp. It’s amazingly heavy (you wouldn’t think so!) but stays put on my cutting table which is what you want. However, a spare piece of (clean) timber or an old chopping board would also do the trick here.
 Once you’ve assembled your tools, you’re ready to get started!
First we’re going to be installing the female part of the turn lock. On the area you are going to install your turn lock, measure and mark the centre of where your turn lock is going to go using tailors chalk or an air erasable marker.
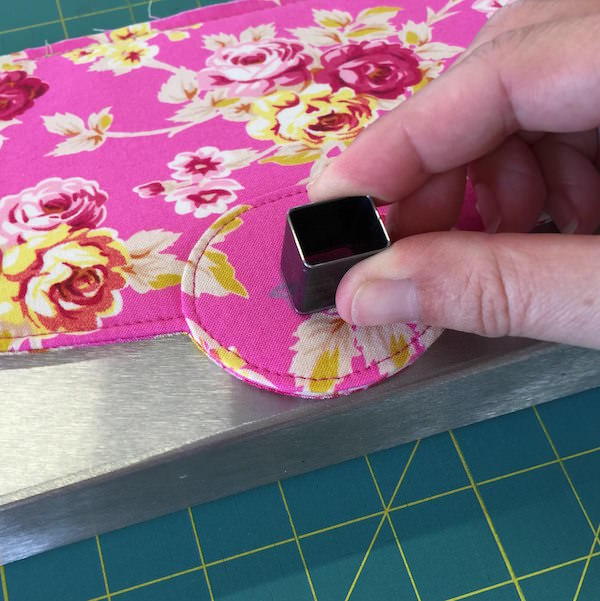
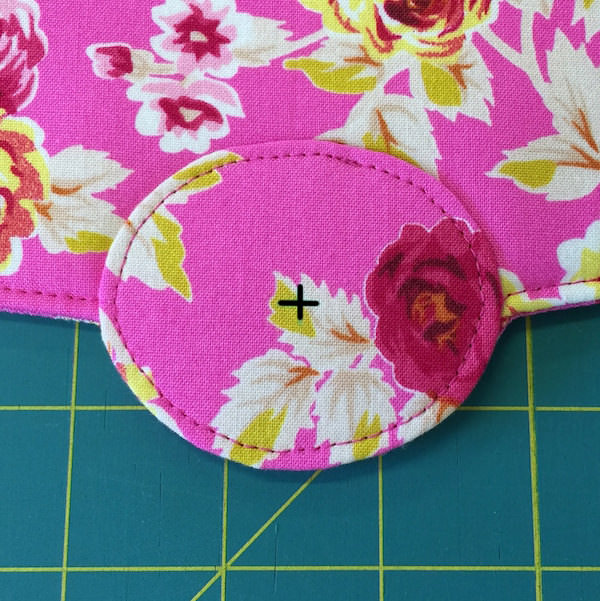 Centre the front (outer) piece of your turn lock over the mark you have just made (upside down) and draw around the inside of the hole to mark where you’re going to cut out.

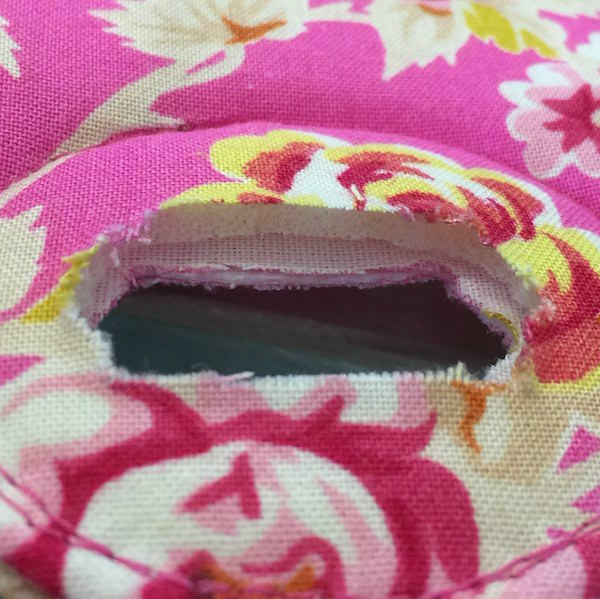
Place your marked area on top of your anvil and using a hammer and punch (or pointy scissors), carefully remove the fabric inside the line you have just drawn.
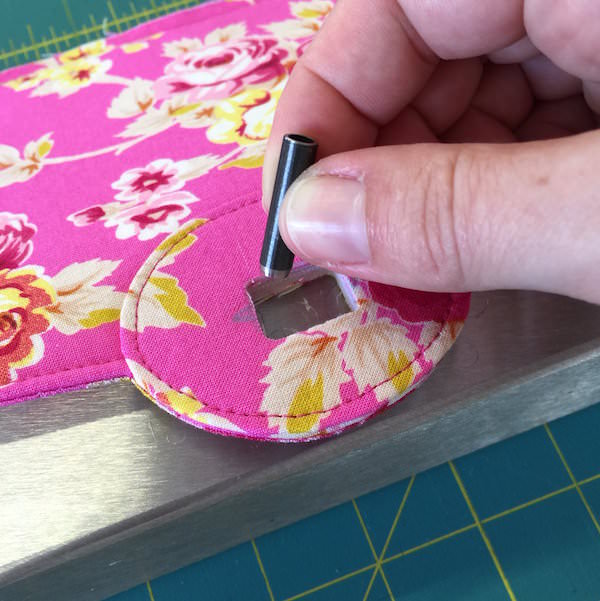
Check the front piece fits well within the hole you’ve just cut out – it should be a snug fit and not too sloppy. A good way to check the fit is to turn your fabric over (holding the front piece in place) and look to see if the edge of the fabric is sitting just inside the edge of the front piece and clear of the screw holes.
If the fabric is still overlapping the inner edge of the front piece, trim the edge of the hole back a little bit more and check again.

It may take a couple of attempts to get the fabric trimmed back far enough to expose the screw holes and inside edge. Just take it little by little and remember that you want the front piece to sit snugly within the hole when finished.

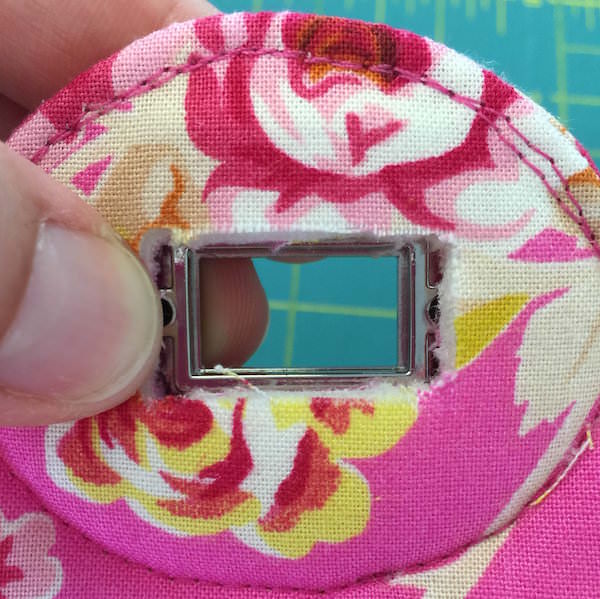
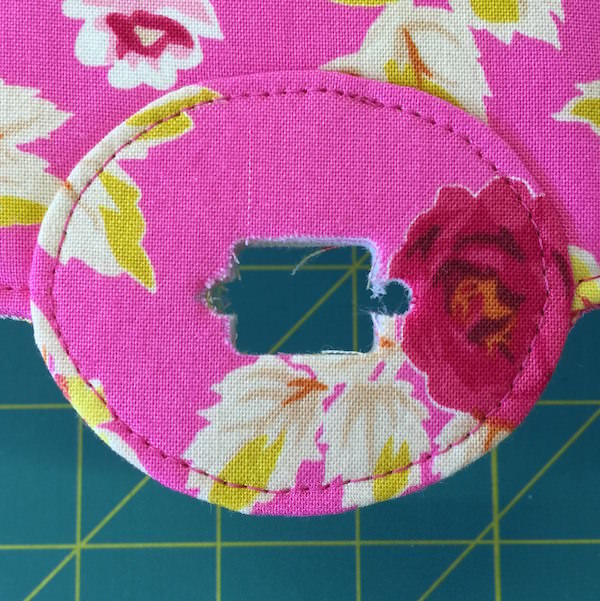
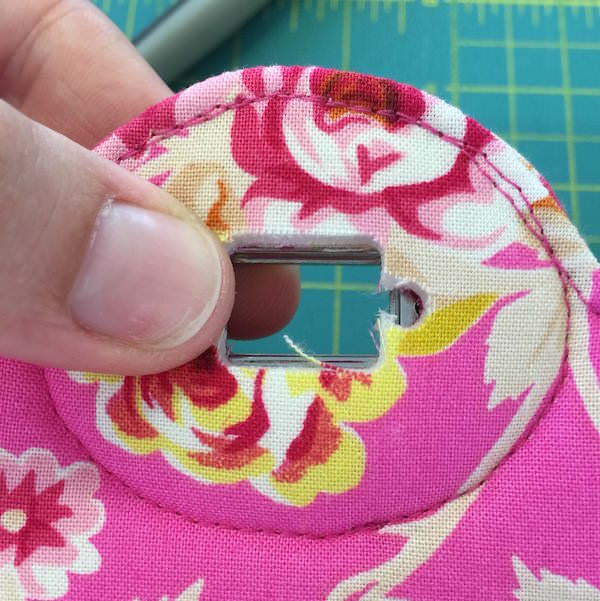
You also need to ensure that when the back piece is lined up on the back, the two pieces meet nicely in the middle (through the hole) and there isn’t any fabric/threads in the way (you will need to squeeze the plates together to check this).
IF you find the combination of fabric/foam/fleece/stabilizer/interfacing etc. is too thick for the two pieces of your turn lock to meet together nicely through the hole you’ve cut, you may need to carefully trim back the inner foam/fleece/stabilizer etc. between the outer fabric layers to reduce some of the bulk. When doing this, be VERY careful not to trim the outer fabric though!
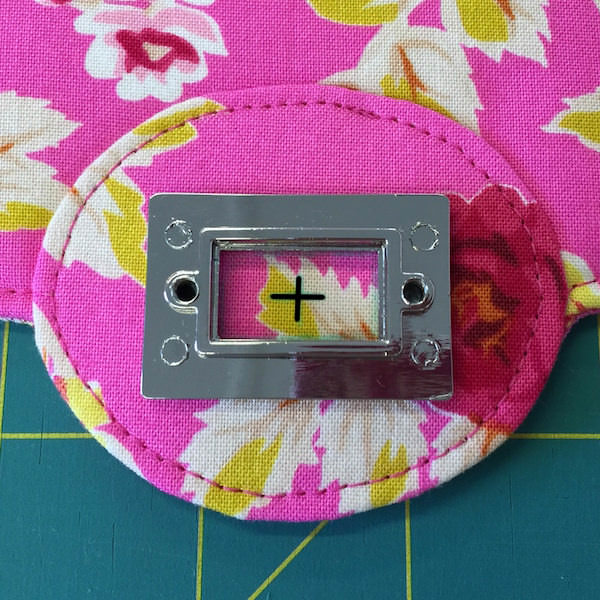
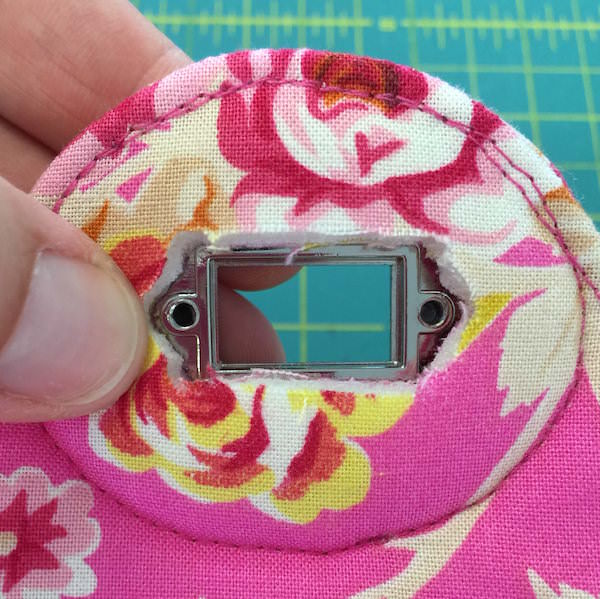
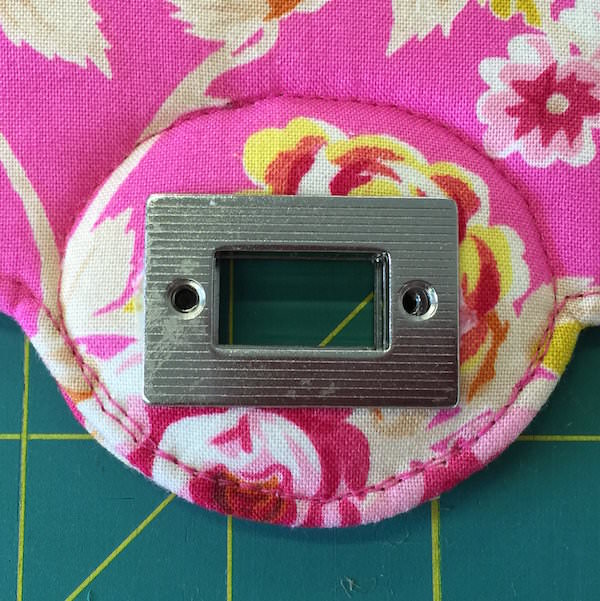
 Once you’re happy with your hole and the two pieces fit nicely together ‘through’ the hole, attach them permanently by first applying a small amount of fabric glue on the outer side around the edges of the hole, and position the front piece in the hole as shown.


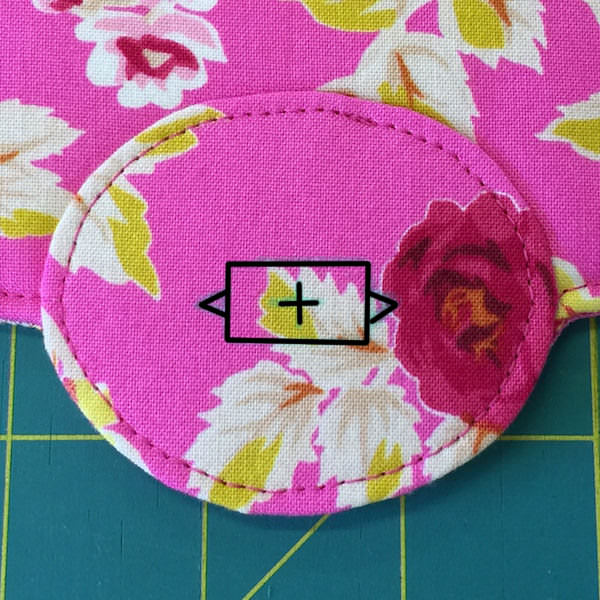
Carefully turn your work over (holding the front piece in place) and apply a small amount of glue to the lining side of the hole before positioning the back piece in place, matching it up with the front piece as shown.
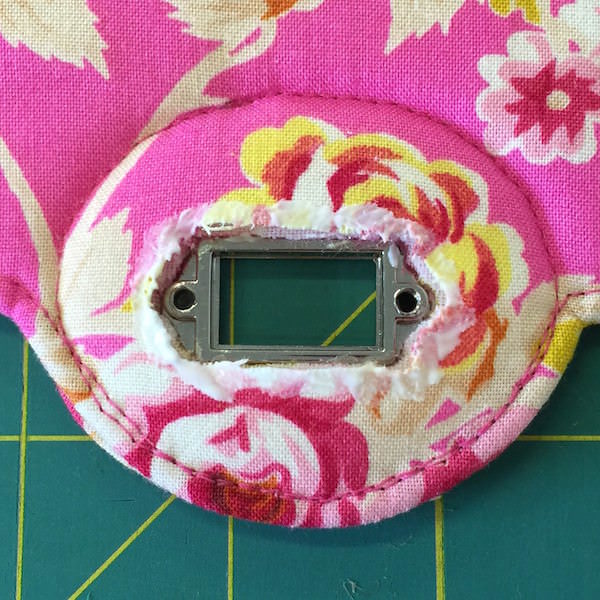

Temporarily secure the turn lock pieces together by screwing the screws into place so they just grip and hold the front and back pieces in place. Now carefully turn your work over and have a look at how the turn lock is sitting – it should be centred (in my case, both vertically and horizontally) and the lock should be level. If it’s not, simply ease it up/down/across bit by bit until it’s sitting where you want it.
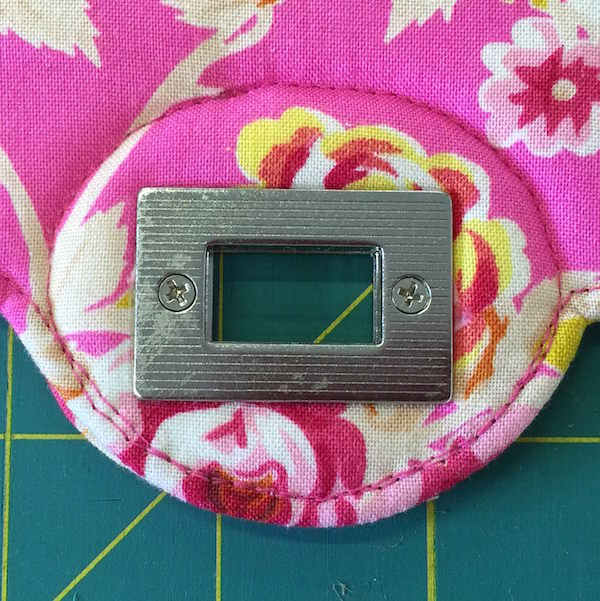

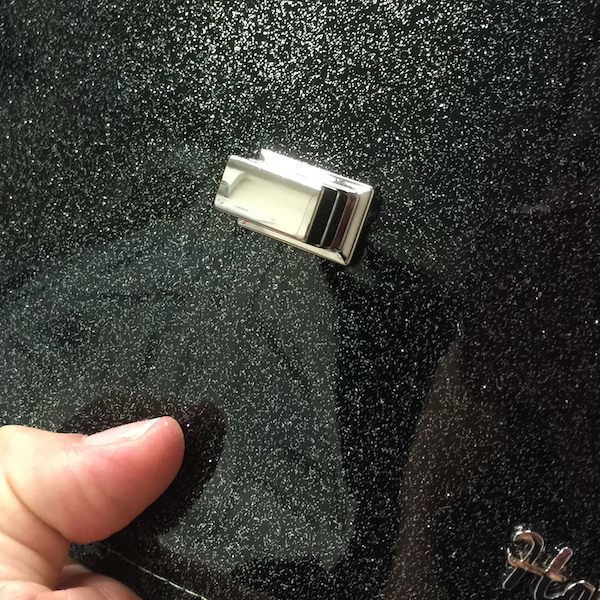
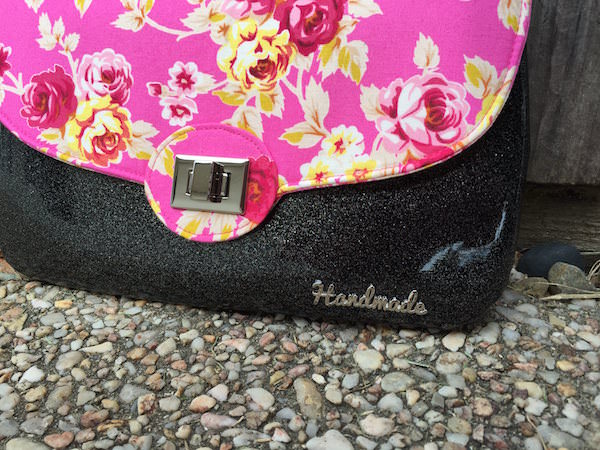
Now turn your work back over and finish tightening the screws to completely lock the female piece in place (you may need to really squish the front and back pieces together to get them to meet nicely in the hole) and ta-da! She’s finished!
Give yourself a pat on the back as you’ve just installed the harder of the two parts to a turn lock! Now onto the male piece…
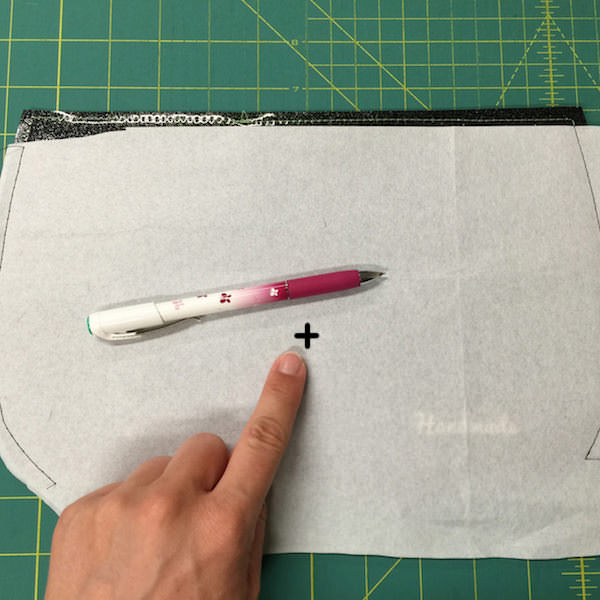
Take the fabric you are going to install the male piece of your turn lock on (in my case, the outer front panel of my Statement Clutch) and make a mark on both the right and wrong sides of your fabric where the centre of the turn lock piece is going to go. (And yes, I have temporarily stitched paper – well, tear away interfacing to be exact – over top of my outer panel… It seems glitter vinyl is most difficult to mark/draw/write on!!!)
 Take your piece of stabilizer and fuse it to the wrong side of your fabric, centred directly over top of the mark you have just made. (Hopefully you get your piece of stabilizer a bit more level than I did!).
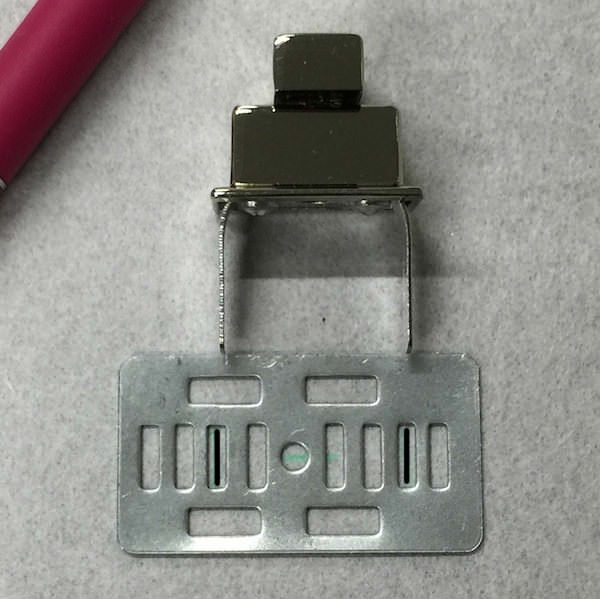
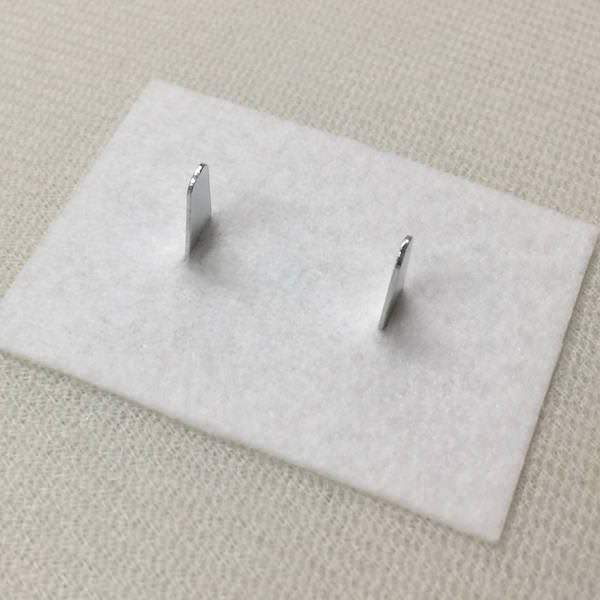
 Take the male part of your turn lock and the accompanying washer that came with it and lay them out on your work surface as shown, lining the two prongs on the male part up with two slots in the washer either side of the centre hole/mark.
Depending on your turn lock, there may only be two slots available which makes it quite easy. In my case, the washer had multiple slots and the lock lined up with two slots that were not equally spaced out from the centre – this was not a problem, it just meant that I had to readjust where the centre of my washer was so the lock was still centred on my fabric.

Take the washer and place it directly over top of your mark (centred), on the right side of your fabric. Draw lines in the corresponding slots using tailors chalk or an air erasable marker to create cut lines for the prongs of the male piece of your turn lock.
Using pointy scissors, a seam ripper or a craft knife, carefully cut along the outer lines you’ve just drawn (NOT the centre mark), cutting through all layers. Check the fit of the turn lock prongs – it should be a snug fit, not too loose and sloppy.
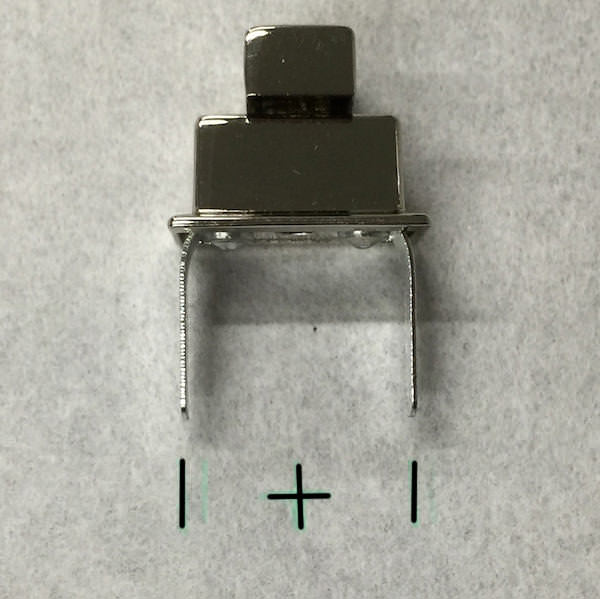
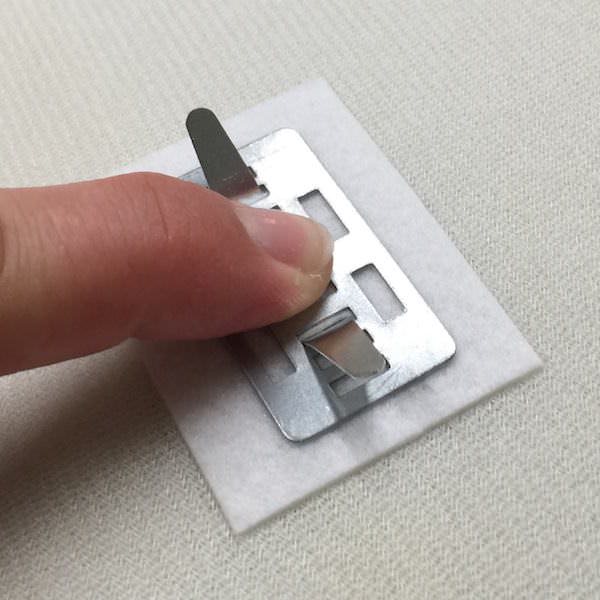
Once you’re happy with the size of your cuts, place the washer over the prongs (on the wrong side of your fabric) and bend the prongs out to each side as shown to secure the turn lock in place. Make sure you press down quite firmly in the middle of the washer so the prongs are nice and tight against the fabric once folded out.


And just like that, you’ve installed the male part of your screw in turn lock!!! Congratulations – that’s all there is to it!
 Make sure you take a moment to admire your handy work and give yourself a pat on the back while you’re at it!
 I hope this post has been helpful and has given you a bit more confidence to give it a try yourself. Once you’ve installed a couple of turn locks, you’ll wonder why you were so hesitant to give them a go in the first place! Trust me! 🙂
As always, if you have any questions or comments, please feel free to post them below. Alternatively you can contact me via my Contact page.
Happy sewing!
Lisa x
Pingback: Installing a Prong Back Turn Lock - Andrie Designs formerly Two Pretty Poppets
Pingback: Adventure Time Backpack Sew Along: Day Five - Creating the Lining - Andrie Designs