
Pattern Hacks
Layla Made Easy

The Layla Essentials Purse launched earlier this month for the Bag of the Month Club and we already have SO many ideas for pattern hacks! The first one we’re bringing to you is a simplified version of Layla. We have been asked a few times how to make it more masculine so today we are going to show you one option. PLUS we are going to show you how to turn the purse along the outer seam instead of the zipper pocket! So let’s hop to it!
Not part of the Bag of the Month Club yet? Head over to the site today to join us!
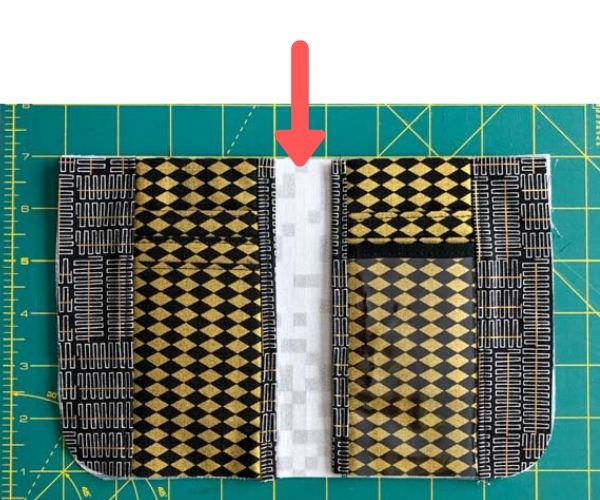
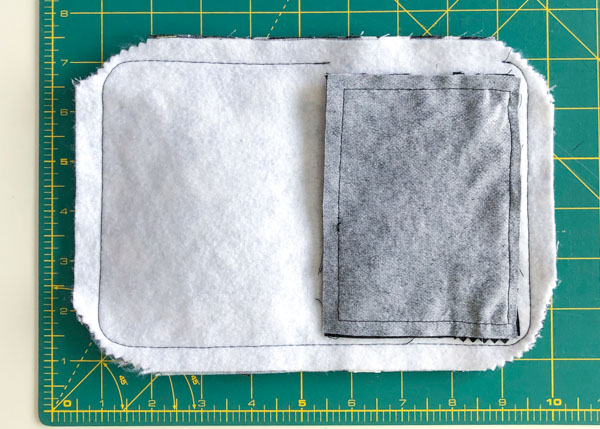
For this simplified Layla, we are going to omit the entire center card slot pieces and because of this, we will change the piece we use for the Notes Pocket – OUTER piece. We don’t need it to have a seam, so instead, you will need to cut a second Notes Pocket – LINING out of fabric and interfacing! You will be placing it behind the finished card slots, lining up the curved edges as in the photo below.
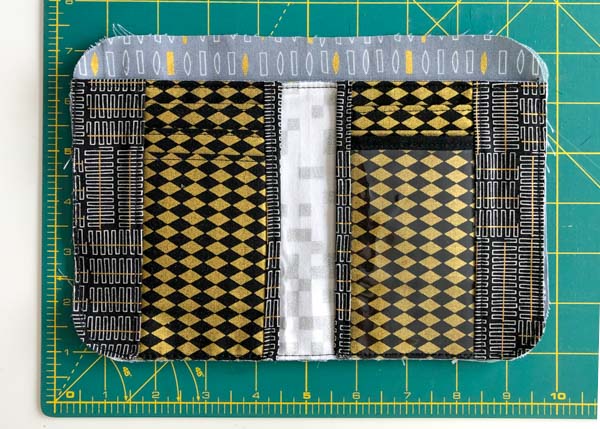
Note – You will still need the Notes Pocket – LINING without the interfacing for Step 12 in the pattern!
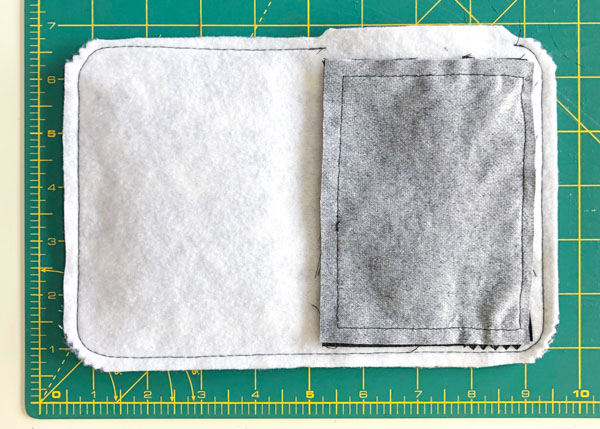
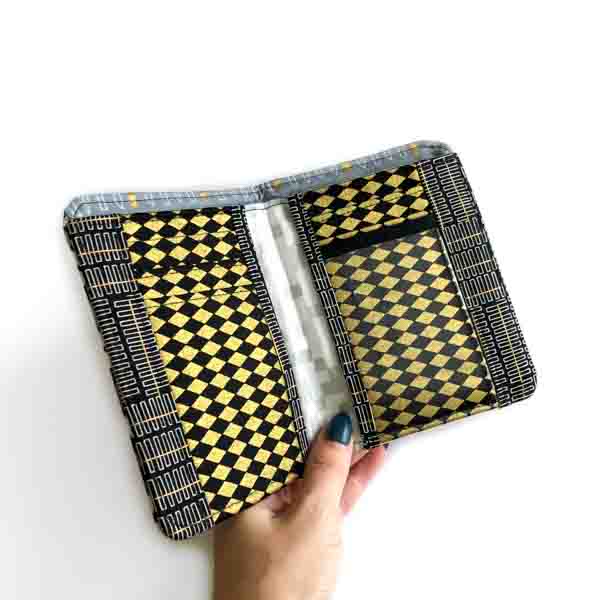
Complete your interior as per Step 12 in the pattern and baste to your Main – Lining Piece.
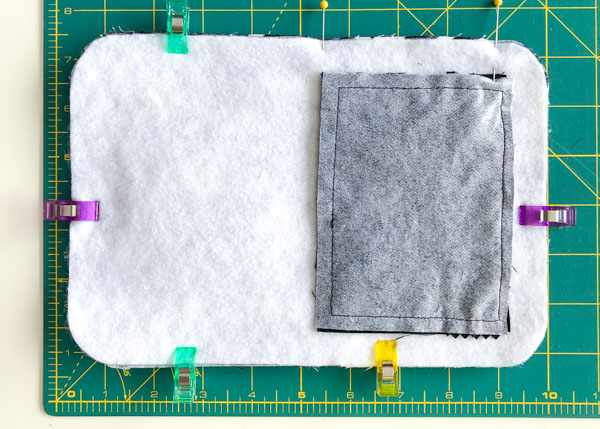
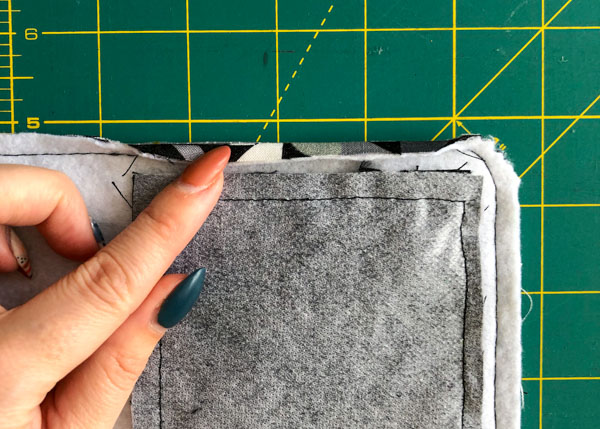
Now we can go ahead and assemble to the final wallet! I have done the zipper pocket, if you have too, make sure the zipper pocket is face down on the SAME side as the ID Pocket. This will ensure that your zipper pocket lands on the back!
Note – Same goes if you are making one with a flap! This will ensure the flap is snapped on the right side!
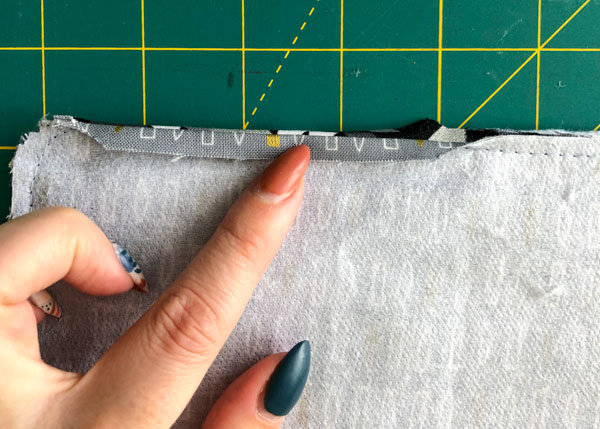
I personally prefer to stitch on the fusible fleece side. It means all the lumps and bumps are under so you don’t have to fight with your machine foot going over them! It also helps to prevent any stretching you might get around the curves!
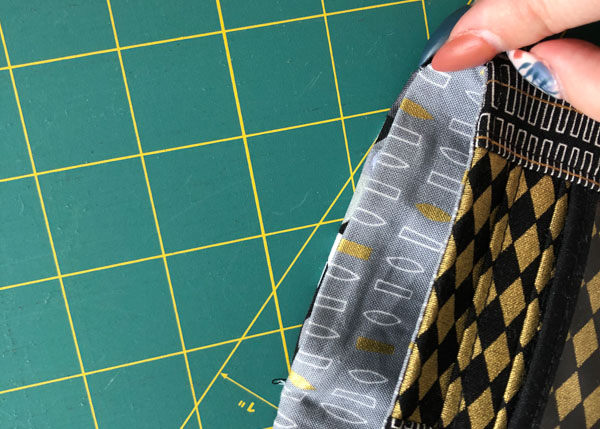
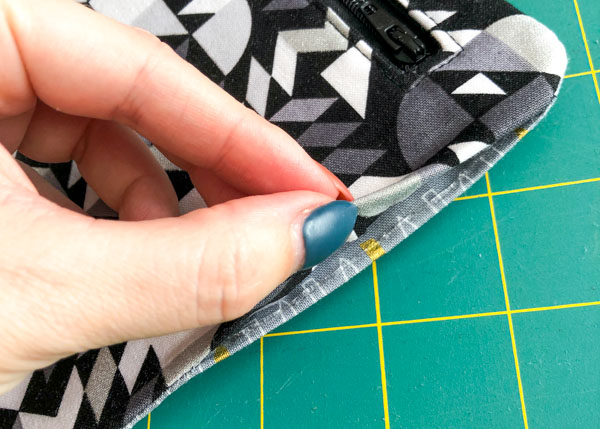
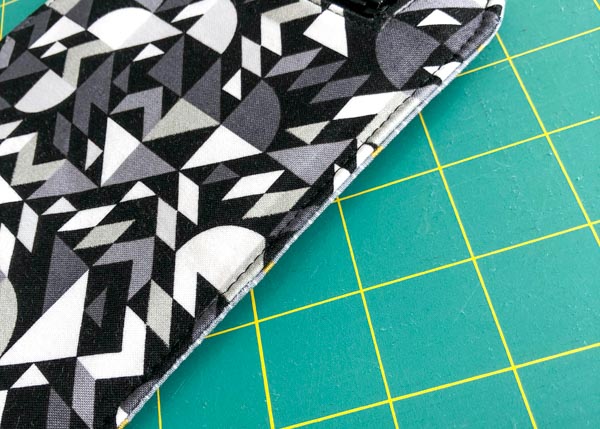
You can see below where I have placed two pins at the TOP EDGE; we are going to leave this spot between the pins open. By placing the opening above the zipper pocket side, you ensure that the opening is not at the front of the wallet in case you have some stretching with the final turning.
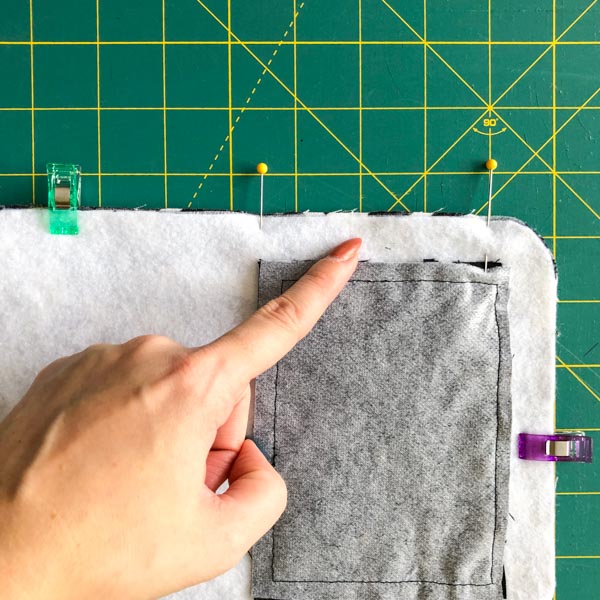
Stitch around using a 1/2 inch seam allowance as per the pattern, leaving that one spot open.

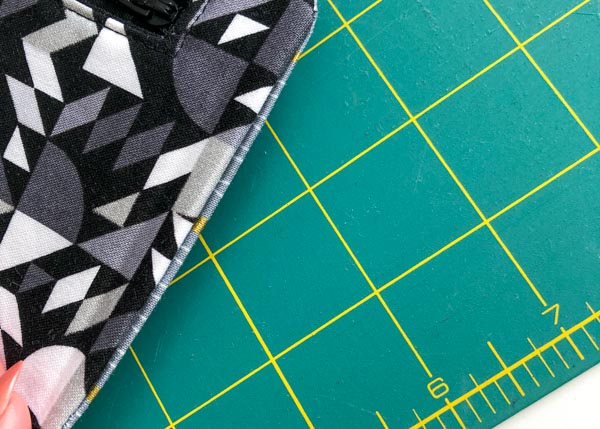
Snip the curves using pinking shears. You may have to separate the layers to do so.
Trim all the straight edges to 1/4 inch EXCEPT our opening. Leave that slightly larger than 1/4 inch so we can be sure to catch it when it is time to topstitch!
Bonus tip #1: Before you turn, I have a simple trick to keep the opening smooth and easier to topstitch in the end. Fold the opening OPEN and press back to get a nice crisp edge. Do this for the exterior and interior. Go ahead and turn or “birth” the wallet.
This is what that edge will look like immediately after you have turned the purse through but BEFORE you press it.
Give that purse a good press. Make sure you press well from both sides and be careful near your clear vinyl. If you want nice smooth topstitching, use some steam and/or pressure to flatten things well!
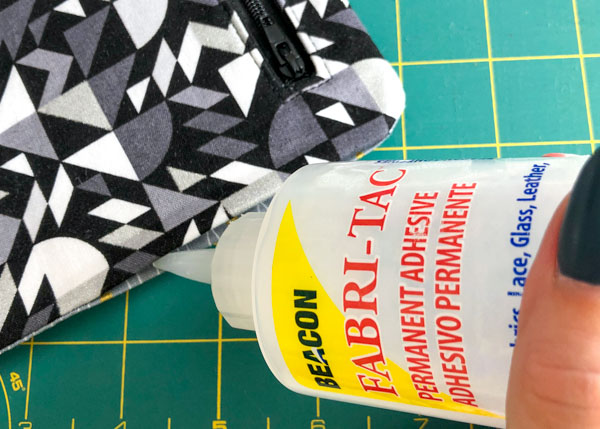
Bonus tip #2: To make that opening smooth and stay closed when you topstitch, use fabric glue! I personally love Fabri-Tac because it is permanent and doesn’t gum up your needle! You can find it at most craft stores and large fabric chain stores!
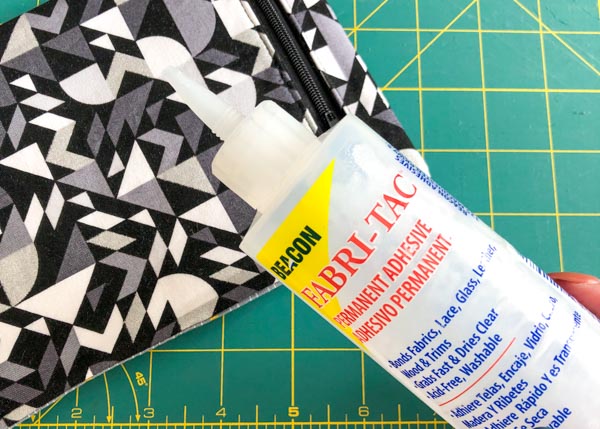
You want to place that glue as close to the edge of the opening as you can. Once you have done that, press again from both sides to really saturate the glue into the layers.
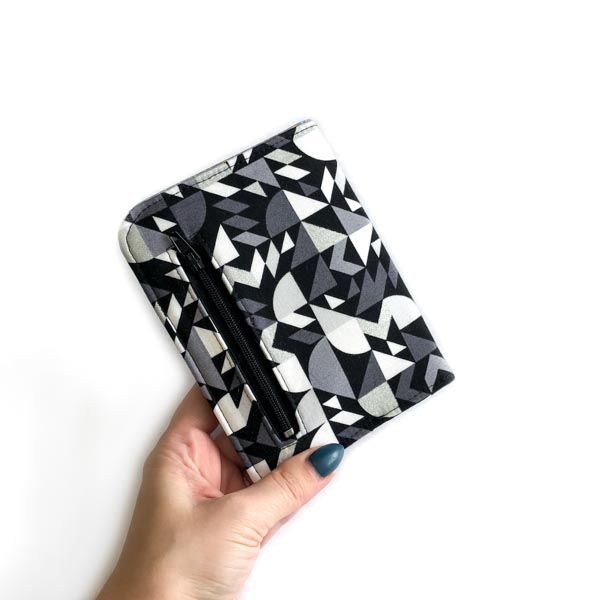
Now we can go ahead and topstitch! I ALWAYS stitch on the outer main piece. This will be the easiest way to do it because all the bumps will be underneath! Start your topstitching on the BOTTOM below the zipper pocket. It gives a cleaner finish and means your final backstitching is on the back of the wallet!
Bonus tip #3: Did you know that if you pull UP on your presser foot lever, your presser foot will go slightly higher to get bulky things in! Give it a try if you find this step difficult!
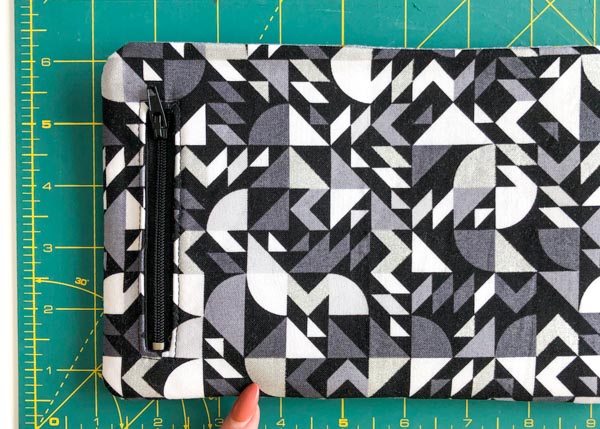
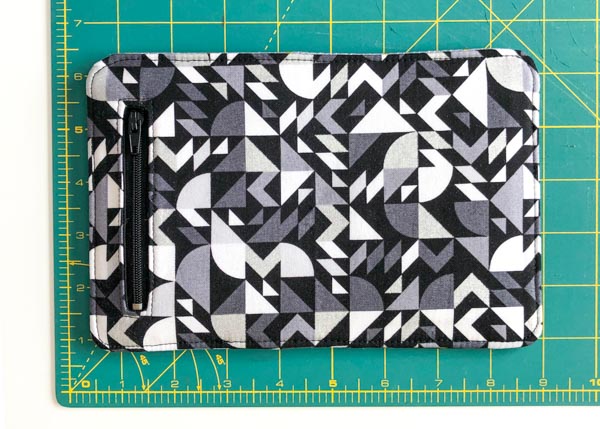
If you take a peek at the opening after you topstitched, you will see it is closed nicely with no wavy edges from turning!
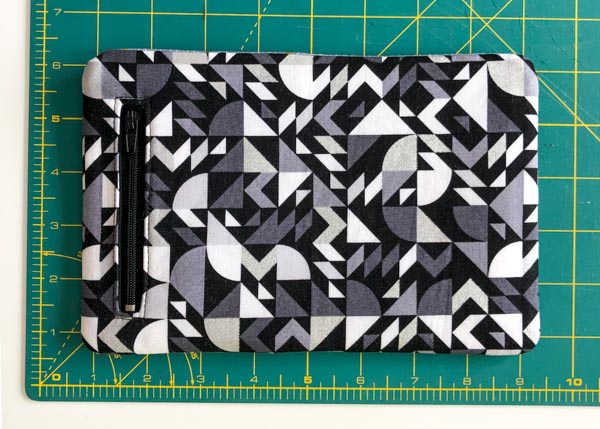
Now that it’s all done, you can give your new simplified Layla a good press while it’s folded and enjoy it OR give it away to a loved one!

Are you excited to give this simple little hack a go? Make sure that you are sharing your purses in the Bag of the Month Club AND the Andrie Designs Patterns Group on Facebook so we can see them!
Happy sewing
Not part of the Bag of the Month Club yet? Head over to the site today to join us!
That’s brilliant, Aimee! Thank you.
Thank you for the hack – love the fact that your blog isn’t covered with ads that makes reading the blog difficult and then give up.
You’re most welcome! Glad you enjoyed it! 🙂
Hello and Happy Valentine’s day! I hope your daughter had a fun 7th Birthday celebration. Do you have an estimated date for the video tutorial release? I am anxiously and patiently awaiting it’s release. Excited to give this little wallet a try. Thank you very much for doing a video for those who are much better learning from seeing “hands on” tutorials.
Sincerely,
Margie
Hi Margie! The Layla Essentials Purse comprehensive video class has now been released to Bag of the Month Club subscribers (it was released early last week). You can find directions on how to access the video on the last page of the Layla PDF instructions file. Happy sewing! 🙂
Finished my Layla this morning using your brilliant video. Thank you so much. I love it, know I have to figure out how to upload my picture. Again thanks for the pattern and video.
Marcia
Oh that’s so great to hear Marcia!! Can’t wait to see it! 🙂