Pattern Hacks, Tips & Tricks
Shrinking Patterns

Hey bag makers! Today we have a fun and creative little hack for you! Today, we are sharing some tips and tricks on shrinking patterns! We often see patterns being enlarged, but we share some of the things you need to know when you want to make them smaller. I’ve chosen 3 different patterns to shrink so read on to see all the tips and tricks depending on the pattern you choose!
Before we begin: the patterns I chose, all have printed pattern pieces. This is a beginner’s introduction to shrinking patterns, reducing patterns with printed pieces is much easier than measuring them out!
Printing & Assembling Pattern Pieces
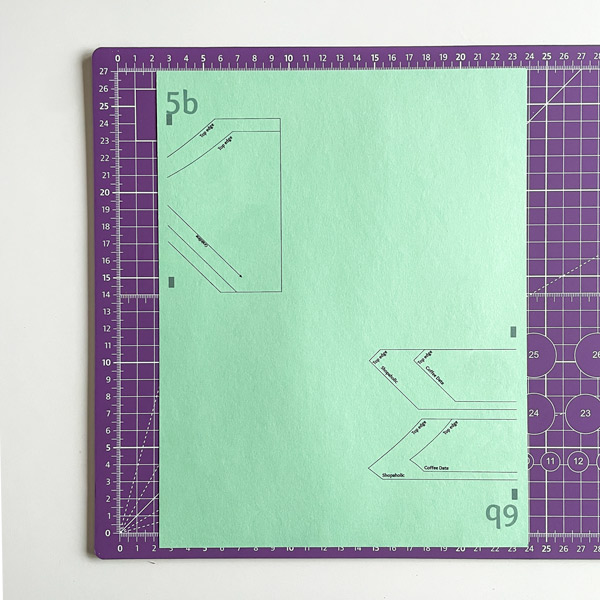
The hardest thing about printing smaller is the amount of wasted space you will have around the pages. If you have your page set to “Auto” for the orientation, it will print it in the middle of the page. If you set it to portrait, it should be put in the corner of the page.
If you watch your page as it comes out of your printer, you can flip the page so you can fill both the front and the back of the page with pattern pieces. When I printed 5b, I flipped the page to get 6a. once those were done, I turned the page upside down and repeated it with 6b and 7a. It’s a little tricky to get right so you might waste a page on your first try!

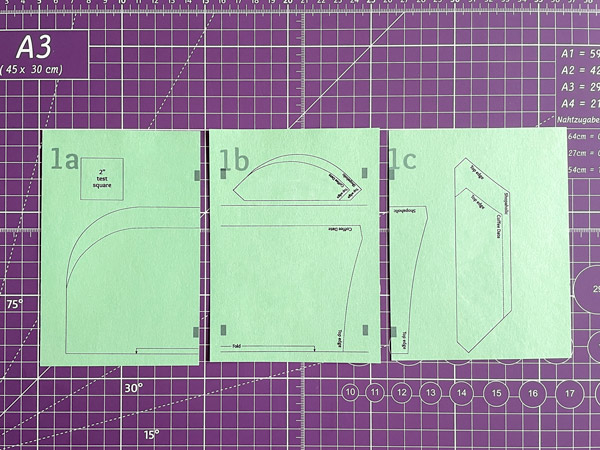
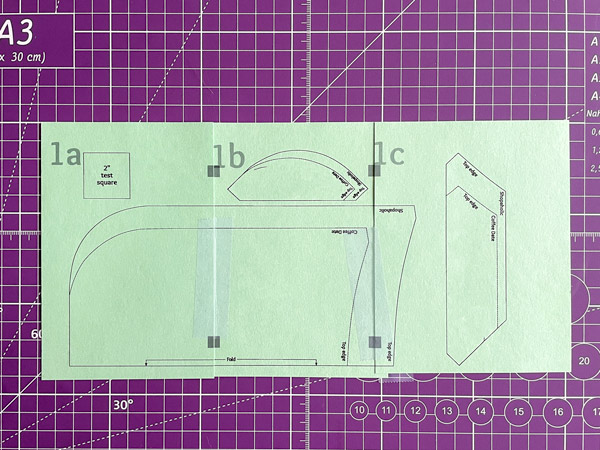
When you are assembling the pages, your squares to line up are going to be much smaller. In the original size, your square boxes finish at 1/2″ (1.3cm). Whatever you reduce the pattern by, it will reduce the size of the squares as well. I reduced by 50% so my squares finished at 1/4” (.6cm).
Seam Allowance
When reducing a pattern, you also need to reduce your seam allowance. I chose to reduce the Stand Up Clutch, Classic Clutch and Feature Me Everyday Tote by 50%. This means my 1/2″ (1.3cm) seam allowance is now 1/4” (.6cm).
If you decide to reduce even more, add an extra 1/4” (.6cm) to the edge of your seams ESPECIALLY the outer exterior edge seams. The exterior edge seams have a lot of stress points so having that minimum of 1/4” (.6cm) ensures your seams don’t burst. This also ensures that you are not working with unusual seam allowance factions and ensure accuracy in lines.
Stand Up Clutch
The beauty of the Stand Up Clutch is the way the pieces are made with the seam allowance visibly on the edges. For the exterior pieces you can draw the seam allowance easily regardless of how much you reduce it. It takes the guesswork out of the fractions!
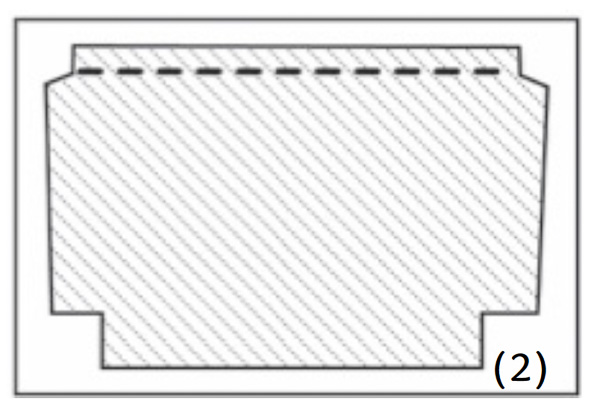
When you get to Step 19 for the exterior pocket stitching lines, you are using your seam allowance as your drawing guide. In my case, I drew one horizontal line 1/4” (.6cm) UP from the upper edge of the cut-out corners. Two vertical lines 1/4” (.6cm) IN from each inner edge of the cut-out corners. Use the image in your pattern as a guide.
The Stand Up Clutch is an easy pattern to reduce because of the ease of the seam allowances. Once you have the pieces cut you can go ahead with assembling everything with your seam allowance, in my case, 1/4” (.6cm).
For my clutch, I made the smallest size so skipped the magnetic snap. It came out so wee with the following measurements: 3.75″w x 3″h x 1″d (9.5cm x 7.6cm x 2.5cm).
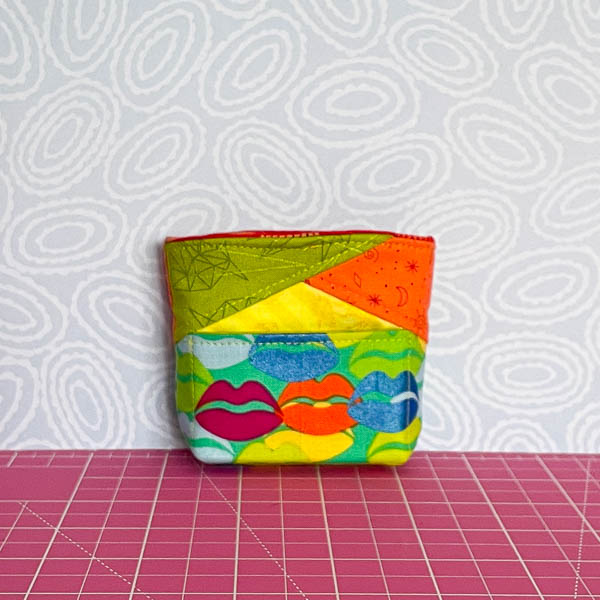

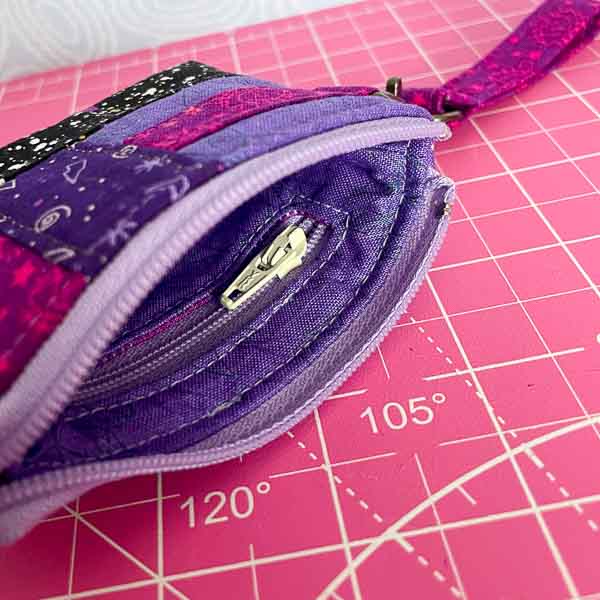
Mini Classic Clutch
The Classic Clutch is a great one to make a small little coin purse to attach to your keychain.
For your strap connector piece, you are going to take the original measurement 1 1/2” down (3.8cm) and reduce it by whatever you reduced your pattern at. For my 50% reduction, I placed my strap connector .75″(1.9cm) down from the raw edge.
When assembling the exterior pieces, use your new seam allowance measurement to attach all the panels together.
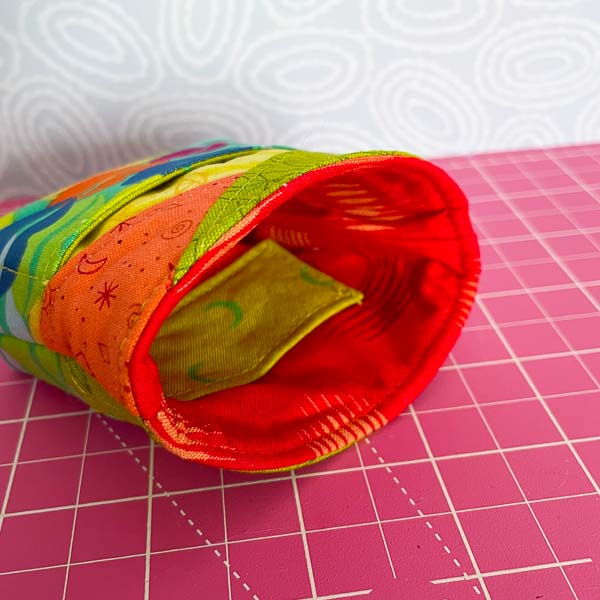
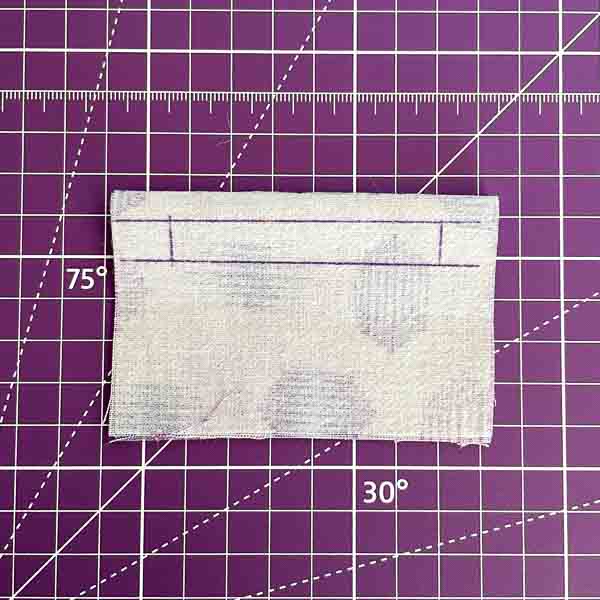
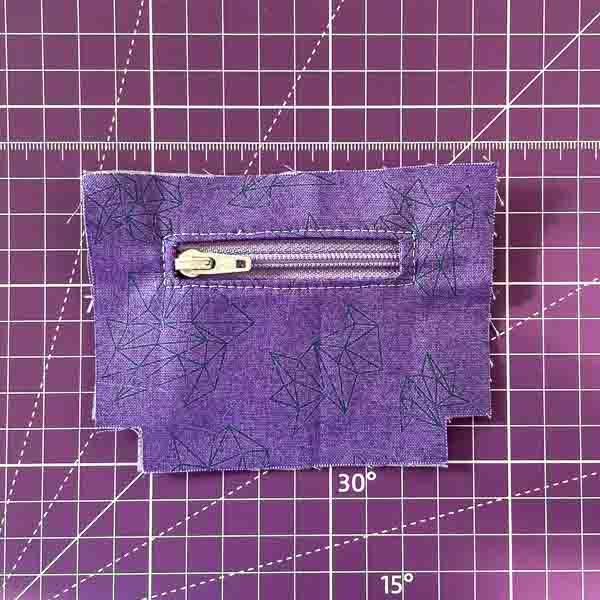
Now for the wee zipper pocket if you are brave enough! Because it is so small, I drew my first line 1/4” (.6cm) down from the top edge and made the box a total of 2 1/2″ (6.3cm) wide. I placed it 1/2″ (1.3cm) down from the top edge. Leave the bottom edge open so you can use the small pocket for turning in the end.
To install the main zipper, you will again be reducing the measurement in Step 14 which is 1 1/4″ (3.2cm) to 5/8″ (1.6cm).
Bonus Tip: For me, I found it easier to measure in centimetres. Fractions and I don’t get along so counting out the millimetres was easier and more accurate. Know that this is an option and to pop into the Andrie Designs Patterns Facebook Group if you need help!
For the Zipper Tab, I left it the original size. When adding it to the zipper in Step 19, I drew 2 lines, one at 1″(2.5cm) and then another at 2″(5cm), cutting at the 2″ line. Line up the zipper tab to the 1″ line and sew in place. See your pattern for the diagram.
Final Measurements of the Mini Version: 4″w x 2.5″h x 1″d (10cm x 6.4cm x 2.5cm) with a Strap that is 3″ (7.6cm) on the swivel hook.

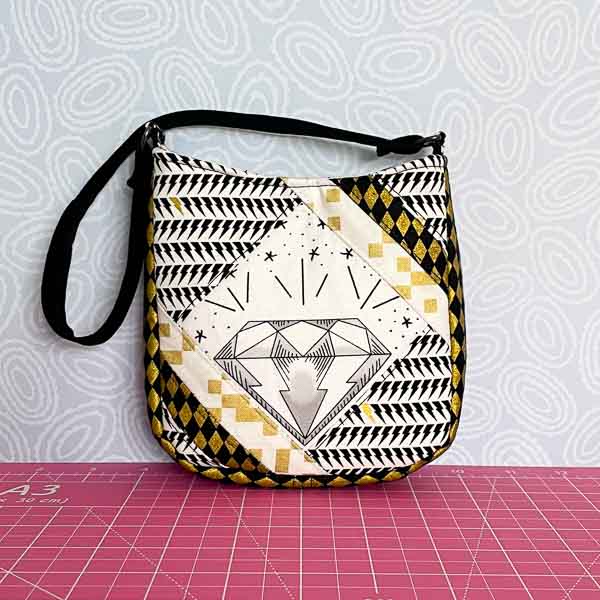
Feature Me Everyday Tote
Much like the Stand Up Clutch, the pieces on the front of the Feature Me Everyday Tote have the seam allowance built onto them, making it easy to assemble them!
When it comes to your zipper pocket, you are going to take all the pocket measurement lines and reduce them. My final pocket opening is 4″(10cm) wide.
With the smaller size, you will want to place your magnetic snap 1″(2.5cm) down from the raw edge.

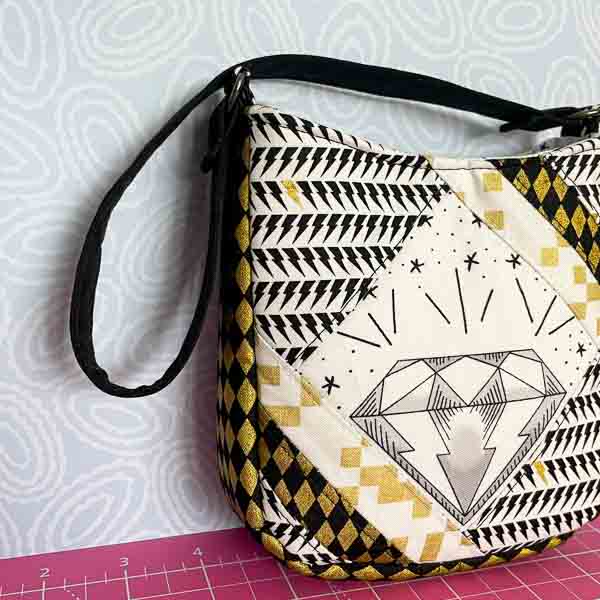
For your strap, you want to go with what works for the hardware you can find. I made the Coffee Date size at 50% so the strap connectors landed perfectly at .75″ (2cm). So with that in mind, I cut my strap at 3″(7.6cm) x 16″(40.5cm).
Bonus Tip: To get the perfect strap or connector width for your hardware, take your hardware opening measurement and multiply it by 4. This gives you the double fold for your strap.
Final Measurements: 5.25″w x 5.25″ x 1.25″d (13.3cm x 13.3cm x 3cm)


This cute and tiny little collection was so fun to experiment with and put together! Which one is your favourite of the 3?
If you have any questions at all about shrinking patterns pop them in the comments below or in the Andrie Designs Patterns Facebook Group and we’ll do our best to answer them!
Happy Sewing!
-Aimee
The Little Bird Designs