Pattern Hacks
Little Freehand Pack Flap & Handle Hack

Hi bag makers! We have a fun and trendy pattern hack for you today! The Little Freehand Pack is a sweet little backpack or hip bag that we see pop up from time to time so let’s give it a little update! Read on to see how to add a flap and handle in this tutorial today!
Not familiar with the Little Freehand Pack pattern? Not to worry! You can find it here.
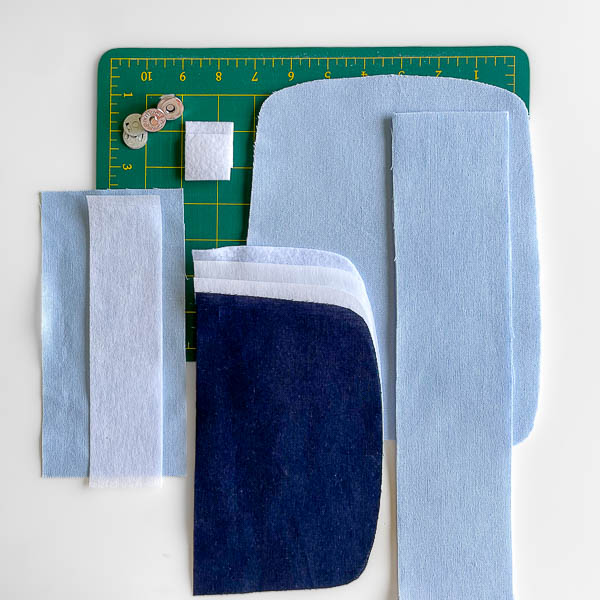
What you’ll need:
- Little Freehand Pack pattern
- Outer piece prepped and ready for sewing
- Lining completed or ready to be completed
- 1 piece of fabric 3″ by 8″ (8cm by 20cm) for the handle
- 1 piece of light/medium interfacing 1.75″ by 7″ (4.5cm by 17cm) for the handle
- Main Panel pattern piece
- Fabric for flap
- Interfacing and Fleece for flap
- Magnetic Snap
- 2 squares of Peltex or heavy felt 1.5″ by 1.5″ (4cm by 4cm)
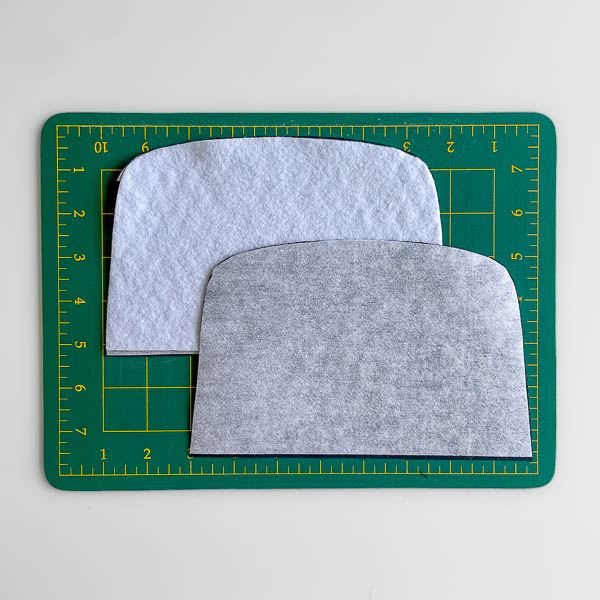
Let’s start with the flap. Take your Main Panel piece and cut 2 pieces on fold from the top down, 5″ (13cm).
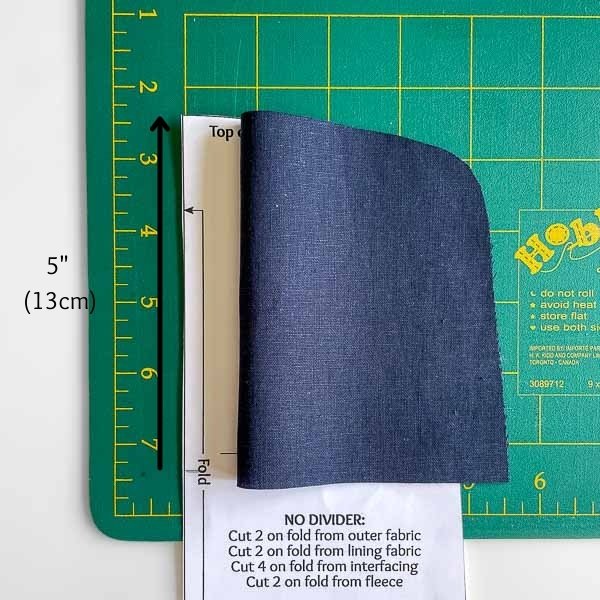
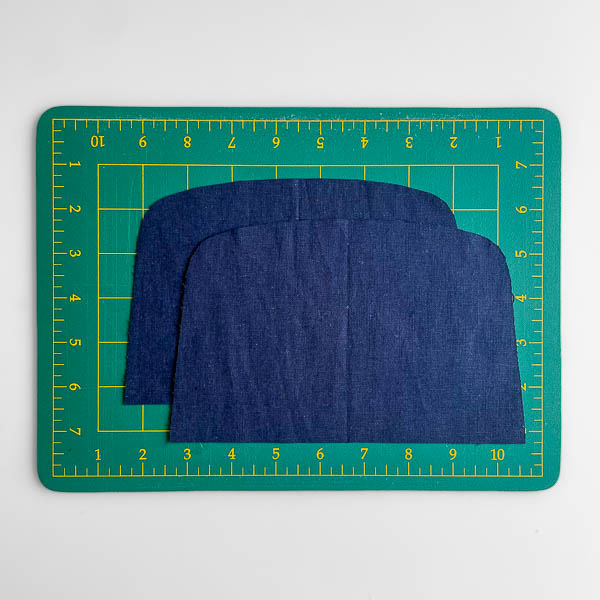
Repeat for 2 pieces of interfacing and 1 piece of fleece.

Apply interfacing to the backside of the fabric. One piece will get the fleece as well.
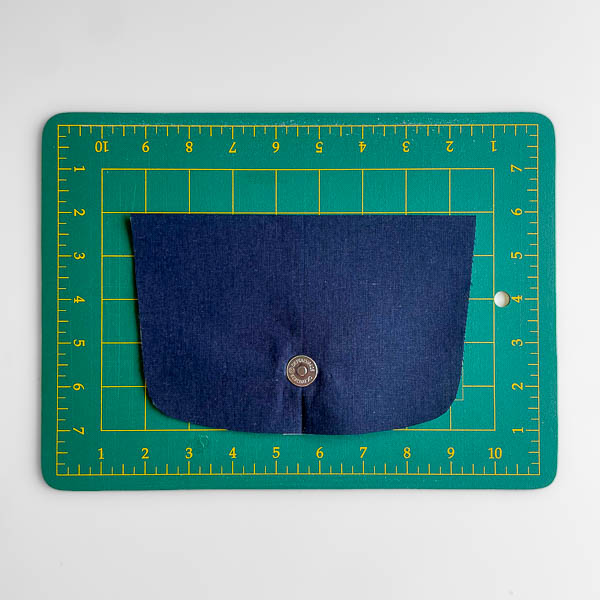
On the flap with just interfacing, measure from the middle of the curve up 1.5″ (4cm). Add the male side of your snap here.

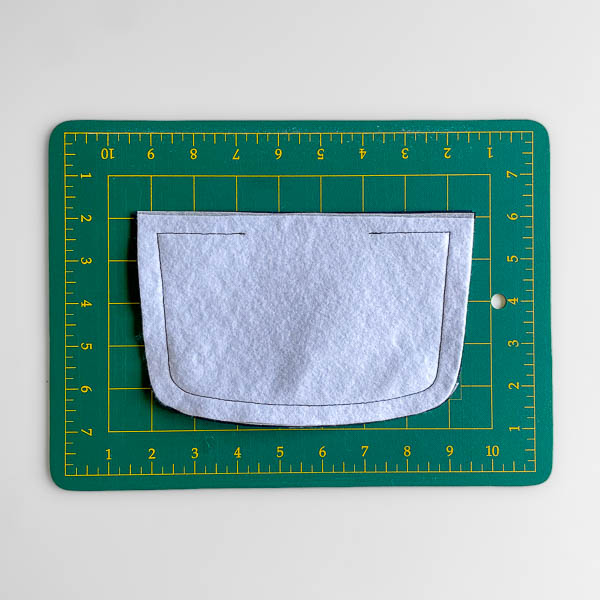
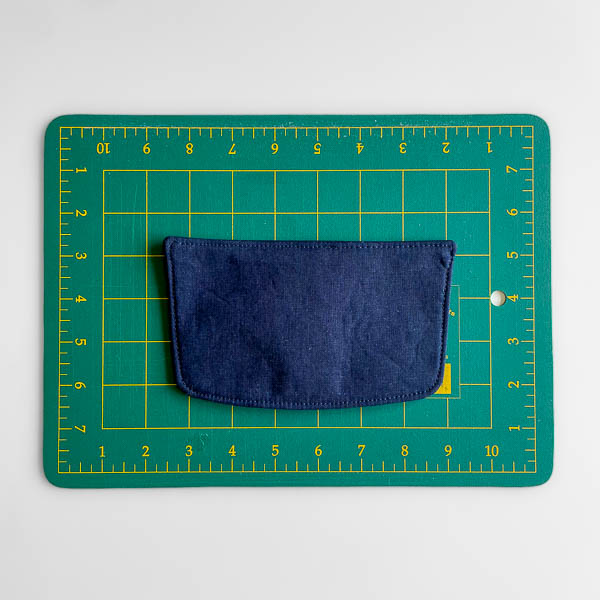
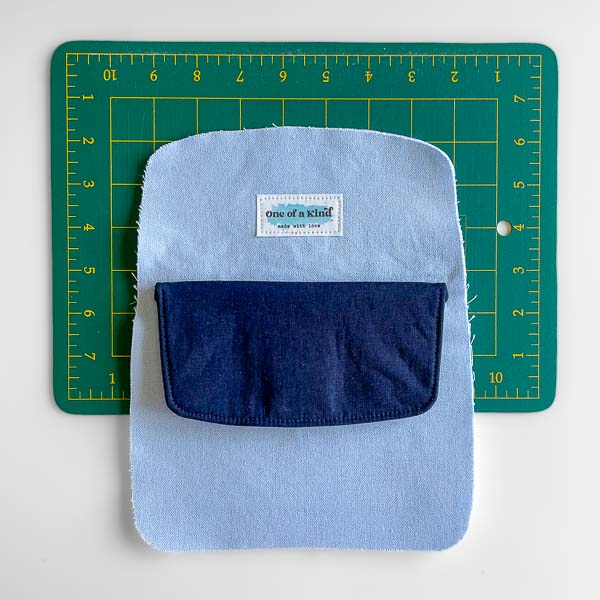
With the right sides together, sew around the flap with a 1/2” (1cm) seam allowance leaving a 3″ (8cm) opening along the straight edge.
Trim the seam allowance to 1/4” (0.6cm) and clip the curve and corners.
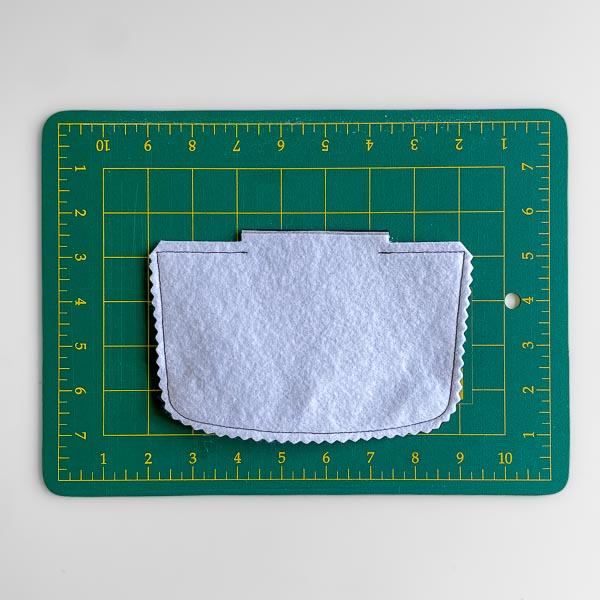
Turn and topstitch all the way around with a 1/8” (0.3cm) seam allowance. Set aside for now.
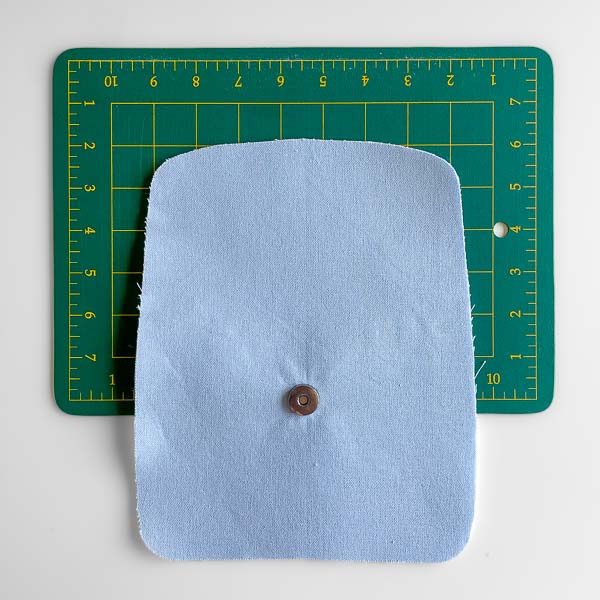
For the other side of the snap, measure 4″ (10cm) up from the bottom of your Front Main Panel. Add the other side of your snap here.

Sew on the zipper pocket as per step Creating Your Front & Back Panels in the pattern. Measure up 1/2″ (cm) from the top edge of the zipper pocket fabric stitching and draw a line.
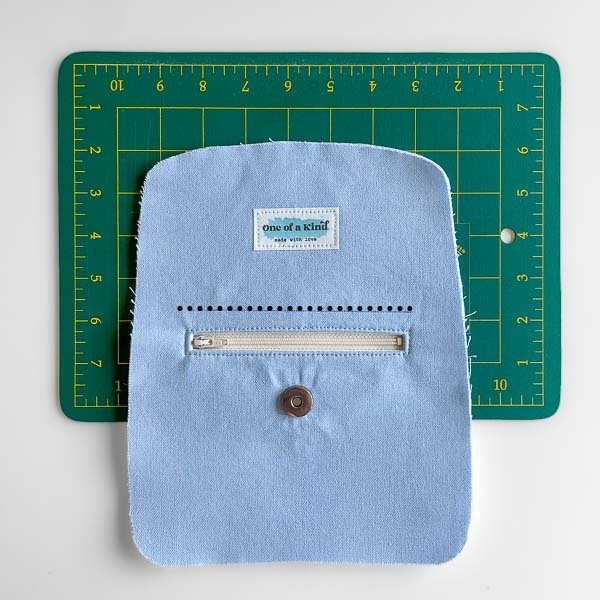
Place your flap on this line with the lining side up. Stitch down along the straight edge topstitching. Make sure to backstitch to the ends but not over the ends.
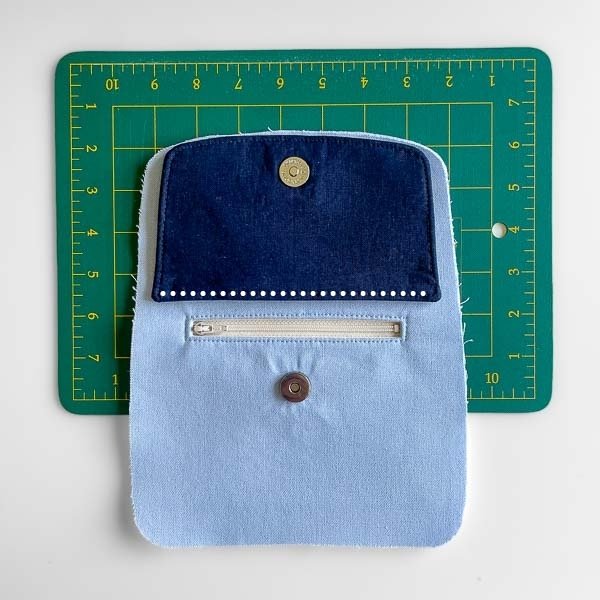
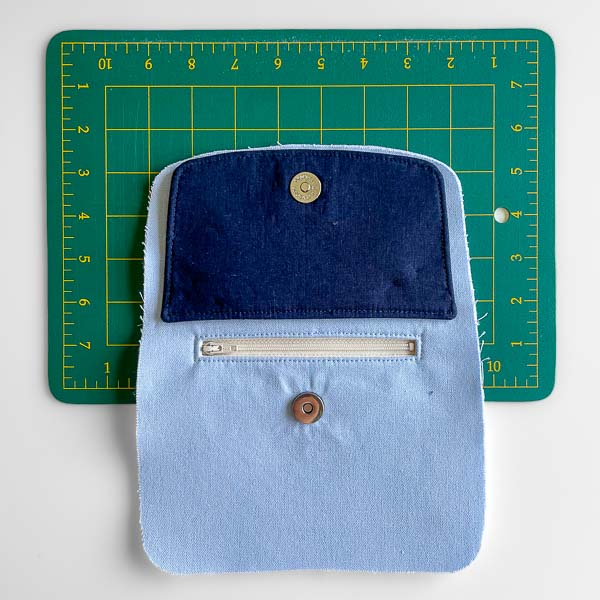
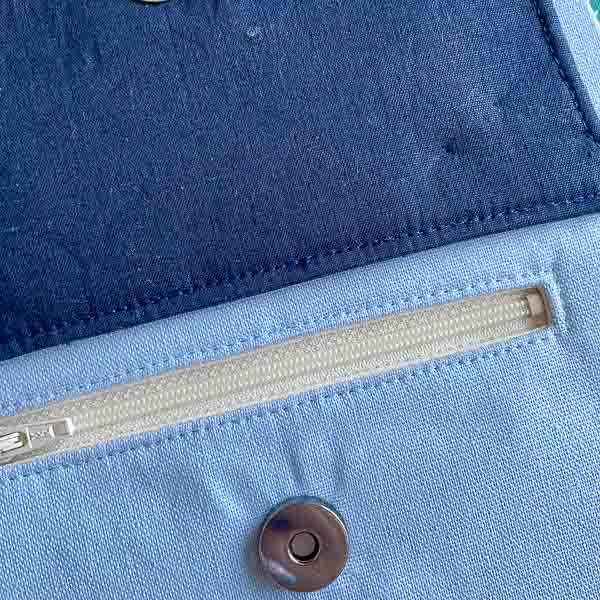
Fold over the flap and give it a good press along the seam. Be mindful of your zipper underneath. Set aside for now.

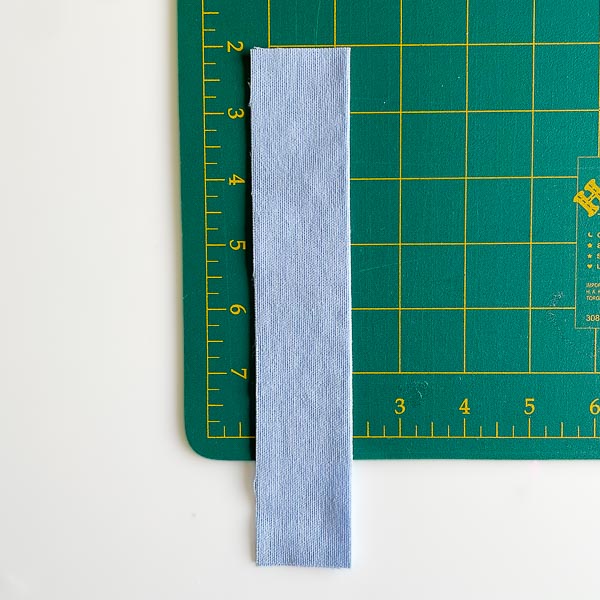
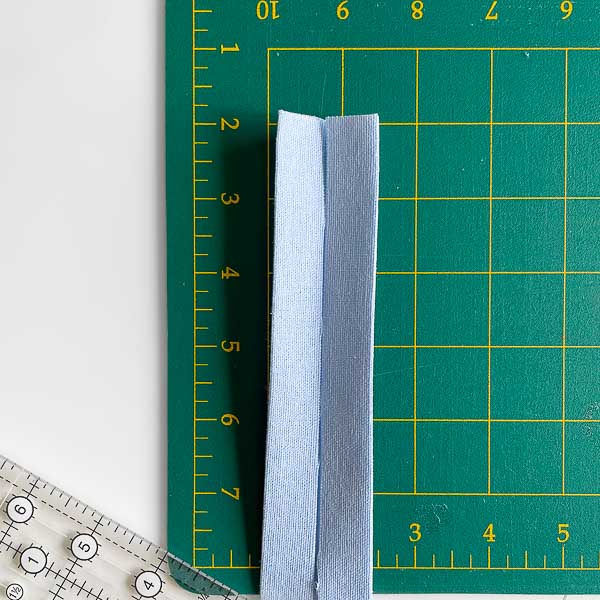
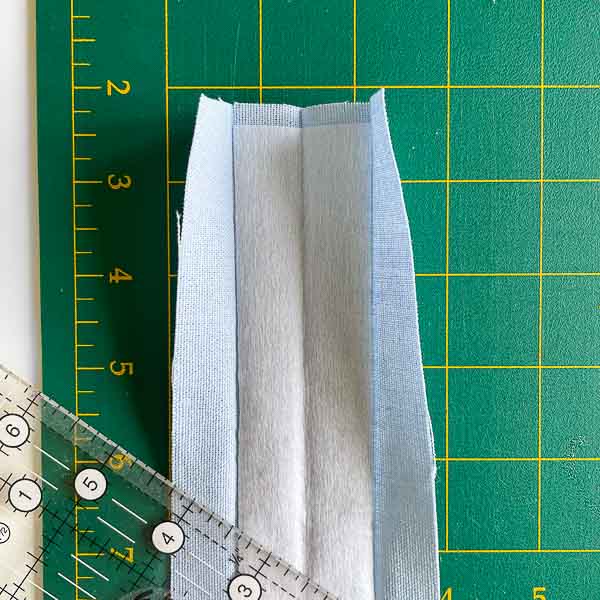
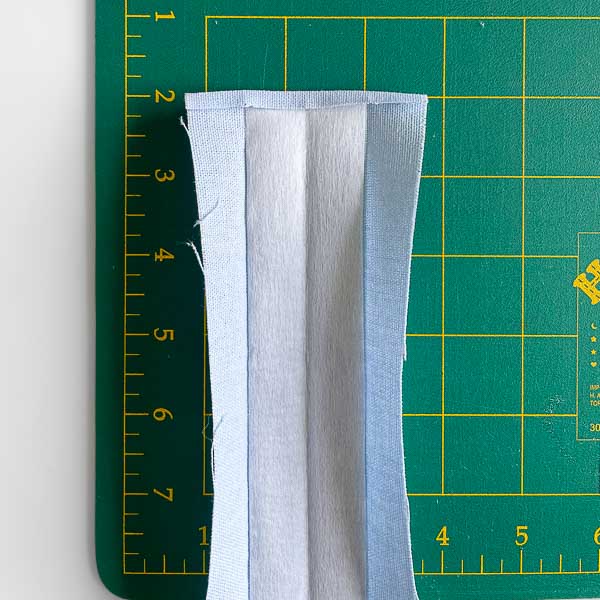
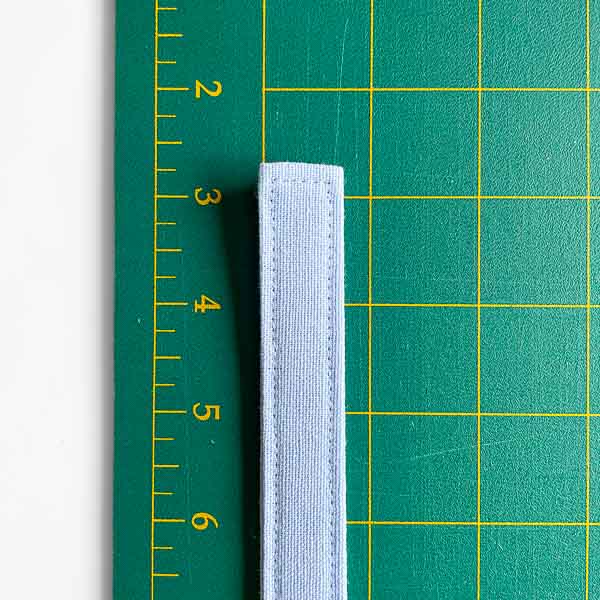
Take a Handle piece and fold it in half with the wrong sides, matching long sides. Press. (1) Open it out and fold each side into the middle. Press. (2) Open it out and fuse a corresponding piece of interfacing down the middle of the fabric. (3) Unfold the handle completely, fold short ends in 1/4” (0.6cm) and press. (4) Re-fold the handle and press well. Topstitch around all four sides using a 1/8” (0.3cm) seam allowance. (5)
Take your back completed Top Panel piece and find the centre on the side that will be attached to the back of the bag. Measure out 3″ (cm) from the middle on each side and place a pin. Centre your handle and pin in place. Your handle should sit 3/4″ (2cm) away from the raw edge and 1/4″ (.6cm) from your zipper stitching.
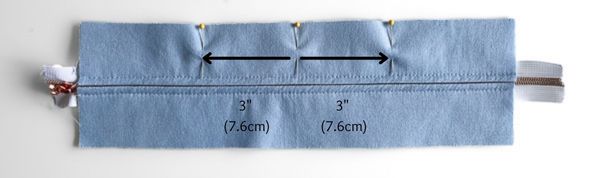
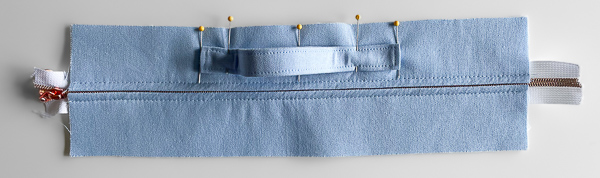
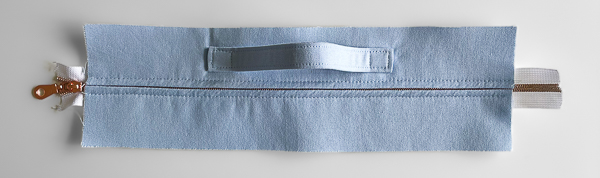
Measure 3/4″ (2cm) from the edge of the fabric and stitch a square box at the end of the handles, along the previous stitching from your handle’s topstitching.

Complete your Little Freehand Pack. Your flap will be close to the seam allowance so make sure you don’t catch your flap when you are stitching the sides of your main panel!
Now you have a super cute and trendy version of the Little Freehand pack!

You can now quickly carry it by the little handle or on your back/hips!
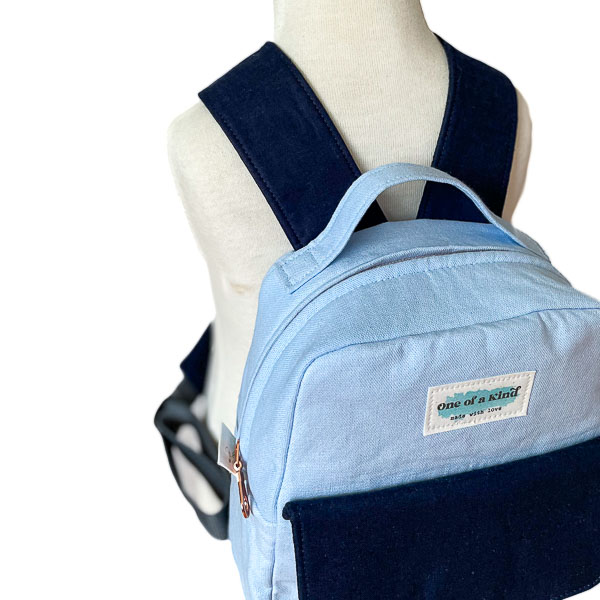
Plus you have your front zipper pocket safely hidden by a flap!

If you make this fun little hack, hop into the Andrie Designs Patterns Facebook Group and share it with us so we can see it too!
Grab the Little Freehand Pack pattern for this pattern hack here.
Happy sewing! <3
-Aimee
The Little Bird Designs