Pattern Hacks
Polly Turn Lock Hack
Hi bag makers! We have a short and sweet little pattern hack for you today! The Polly Crossbody Pouch is one of our quicker and easier patterns so why not step it up a little and add some fun hardware! Read on today to see how and where we’ve added a turn lock in this tutorial today!
Not familiar with the Polly Crossbody Pouch? Find the PDF Pattern or Comprehensive Video Class in the shop!
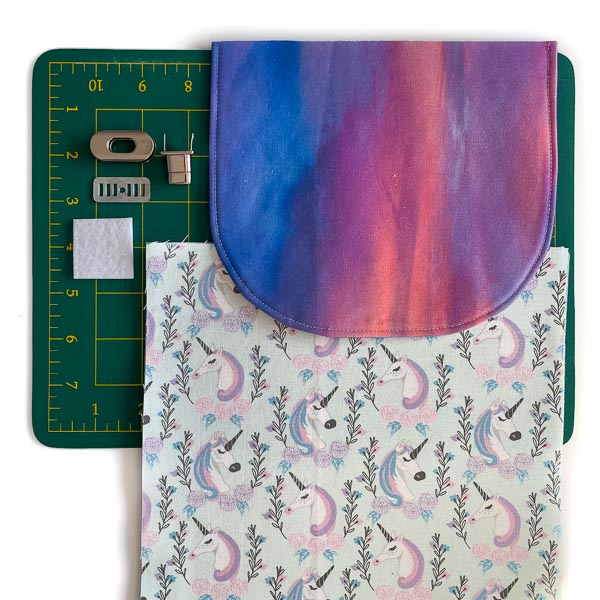
Materials required:
- Polly flap completed
- Front exterior panel piece – WITHOUT pocket sewn on
- Screw-in turn-lock
- Piece of fusible stabilizer (such as Peltex 71F), 2” x 2” (5cm x 5cm)
- Pair of sharp, pointy scissors (or a set of leather/craft punches)
- Small screwdriver
- Pliers
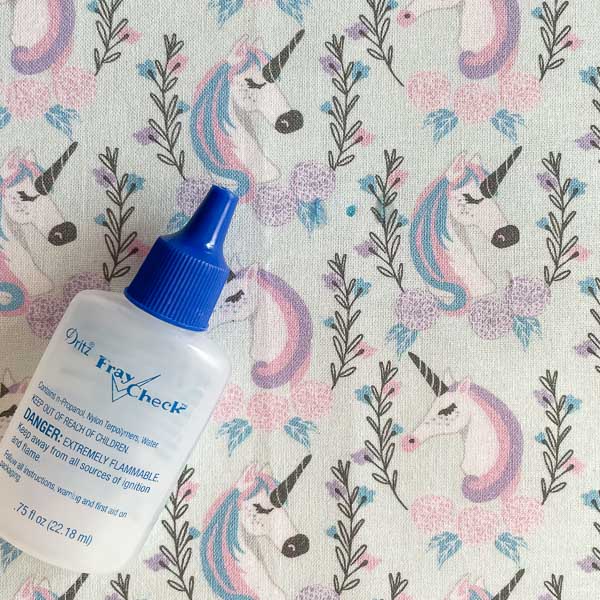
- Fray Check (or craft glue and thin brush)
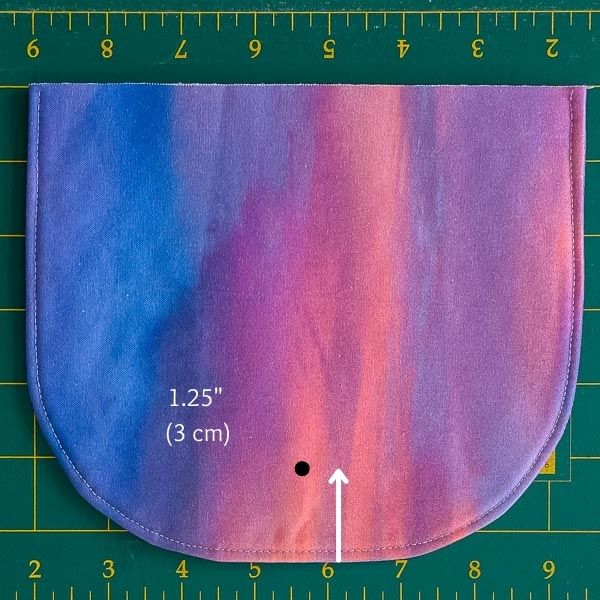
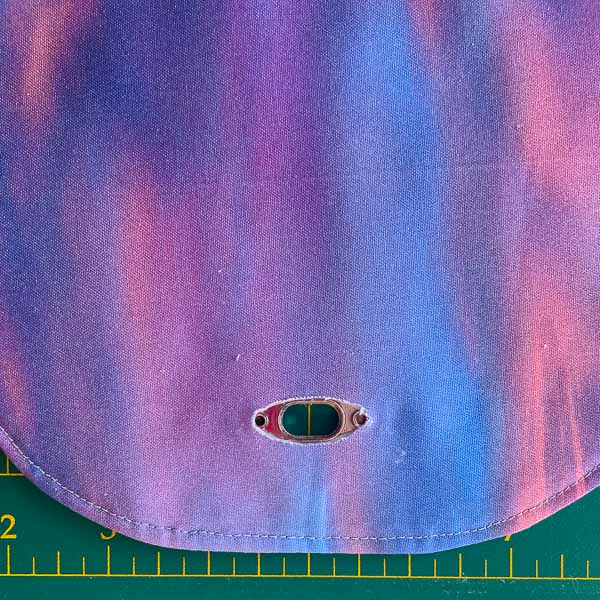
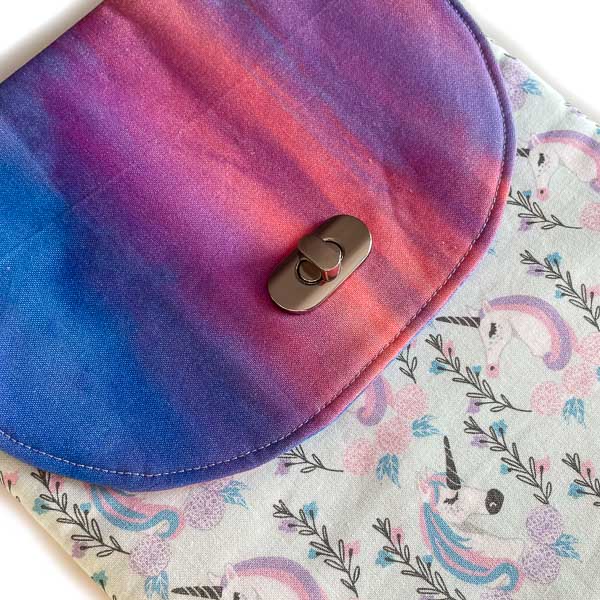
On the front of the finished flap, make a mark 1.25″ (3cm) up from the bottom curved edge and centred.
Centre the front (outer) piece of your turn lock over the mark you have just made and draw around the inside of the hole and the 2 screw holes to mark where you’re going to cut out.

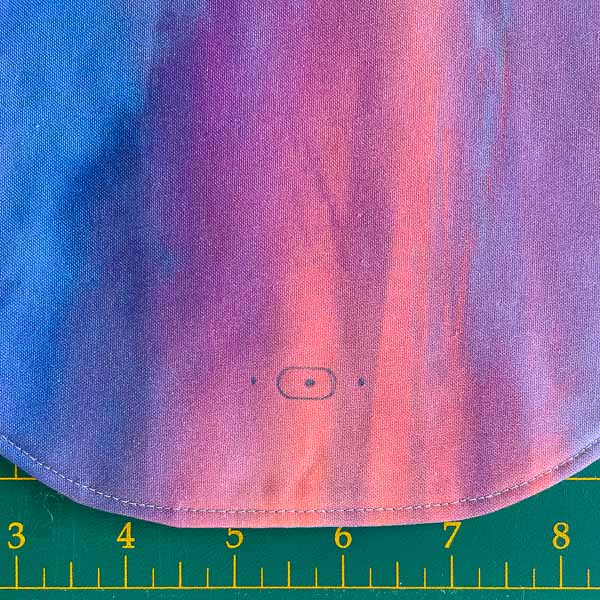
For this turn lock, you nead to connect the screw hole dots with the middle to create an oval shape. Carefully cut the fabric inside the line you have just drawn. Check the front piece fits well within the hole you’ve just cut out – it should be a snug fit and not too sloppy. A good way to check the fit is to turn your fabric over (holding the front piece in place) and look to see if the edge of the fabric is sitting just inside the edge of the front piece and clear of the screw holes.

Once you’re happy that it fits nicely ‘through’ the hole, place some glue or Fray Check along the fresh cut edges on both sides. This helps to prevent stretching.
Temporarily secure the turn-lock pieces together by screwing the screws into place so they just grip and hold the front and back pieces in place.
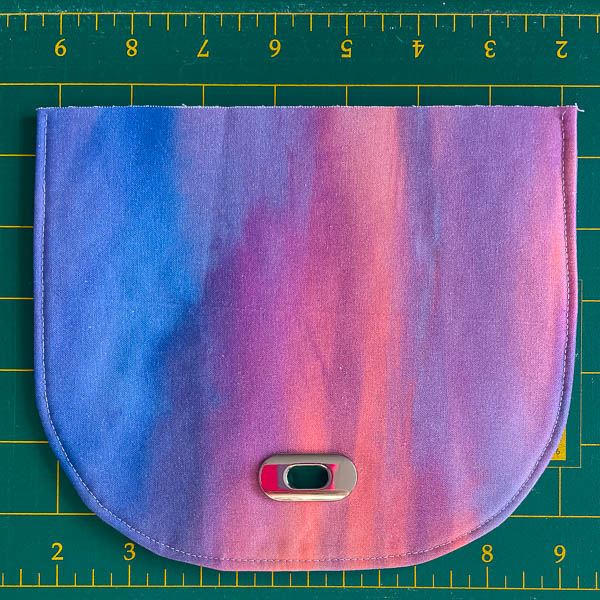
Now carefully turn your work over and have a look at how the turn lock is sitting – it should be centred and the lock should be level. If it’s not, simply ease it up/down/across bit by bit until it’s sitting where you want it. Now turn your work back over and finish tightening the screws to completely lock the female piece in place (you may need to really squish the front and back pieces together to get them to meet nicely in the hole)!

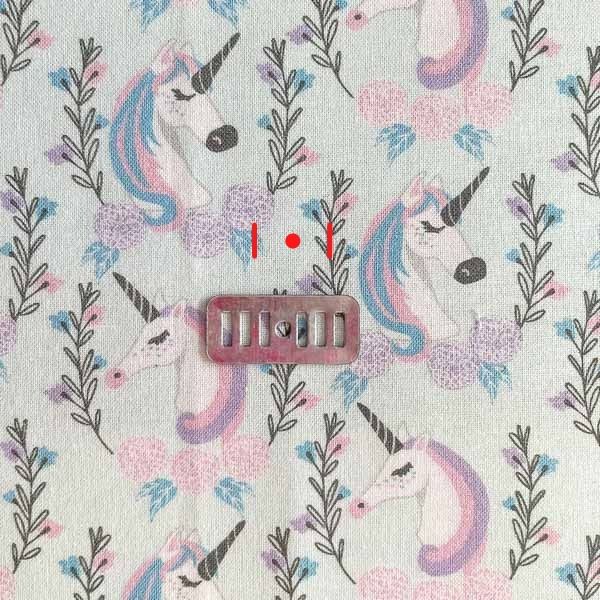
On the right side of the Outer Front Panel, make a mark 5.25″ (13.3cm) up from the bottom edge and centred.
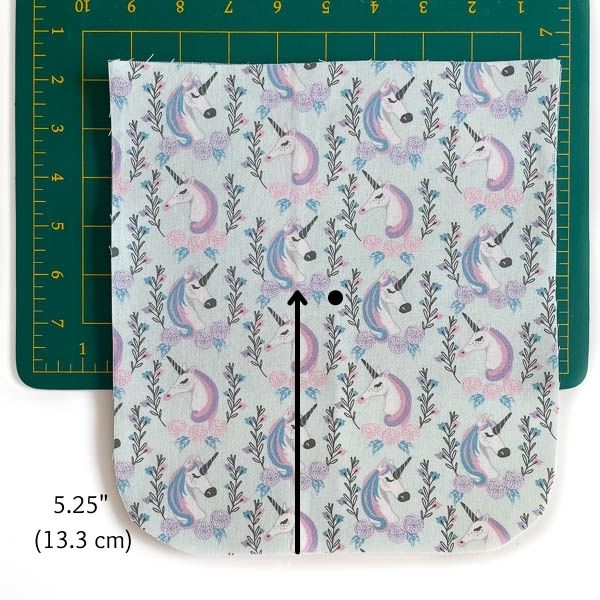
Take the washer and place it directly over top of your mark (centred), on the right side of your fabric. Draw lines in the corresponding slots using tailor’s chalk or an air erasable marker to create cut lines for the prongs of the male piece of your turn lock.
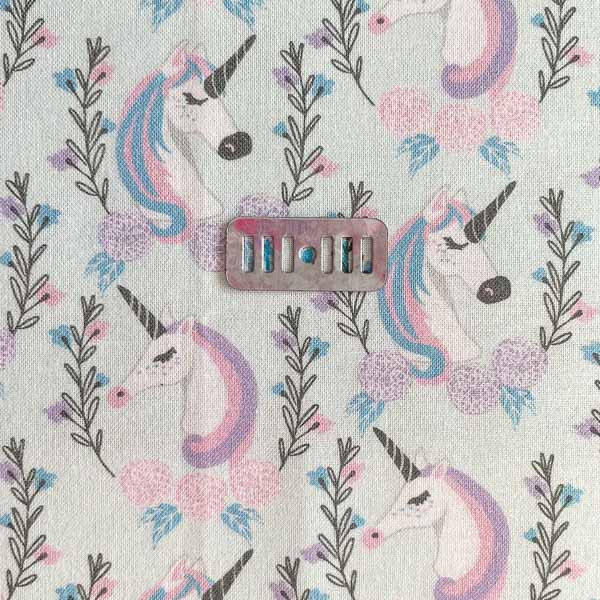
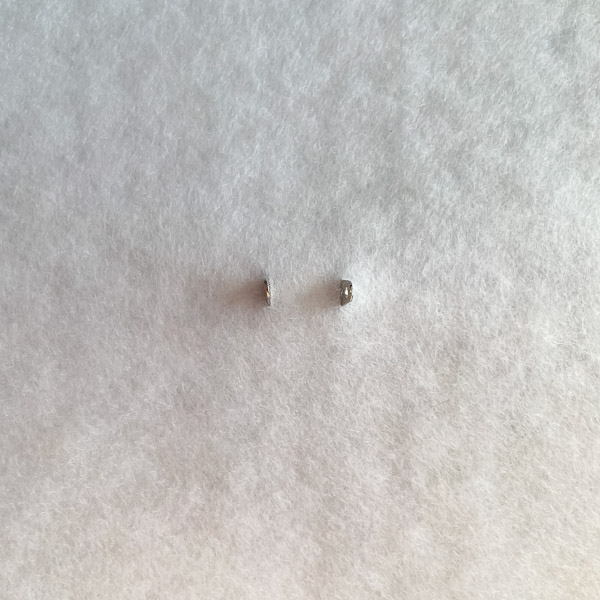
Using pointy scissors, a seam ripper or a craft knife, carefully cut along the outer lines you’ve just drawn (NOT the centre mark), cutting through all layers. Check the fit of the turn lock prongs – it should be a snug fit, not too loose and sloppy. Apply a little bit of Fray Check or glue to these lines to prevent stretching.
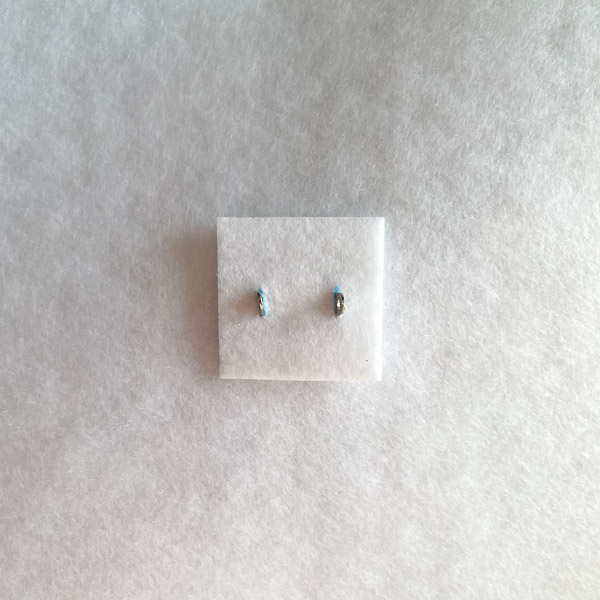
Repeat for your small scrap of Peltex. (Fray Check is not needed for this piece!)
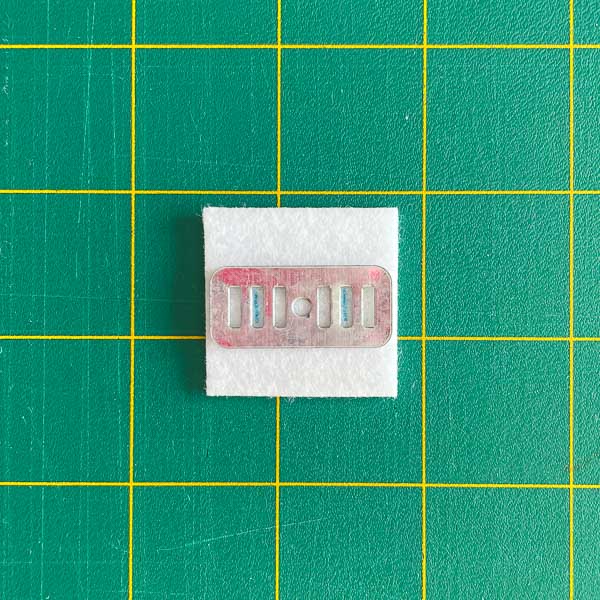
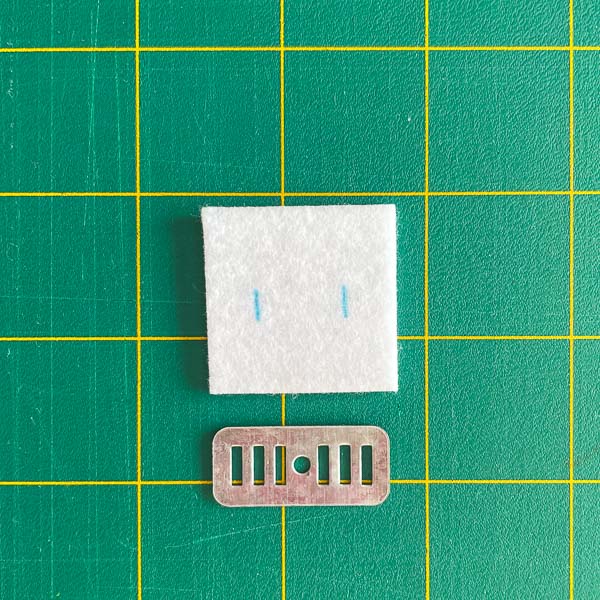
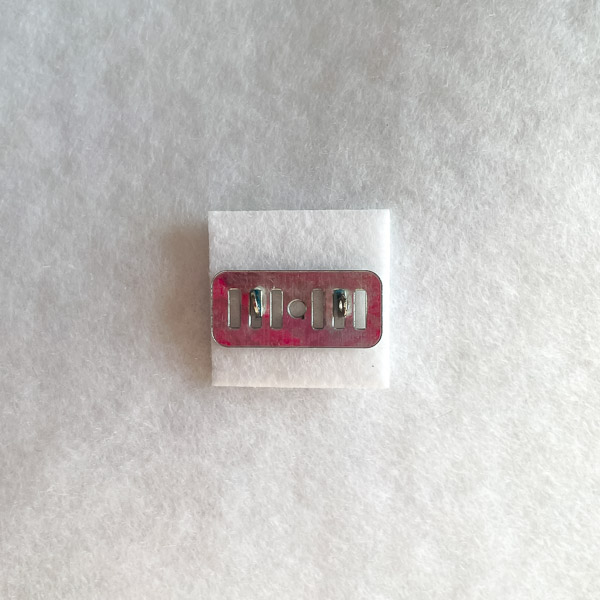
Once you’re happy with the size of your cuts, place the peltex then the washer over the prongs (on the wrong side of your fabric) and bend the prongs out to each side as shown to secure the turn-lock in place. Make sure you press down quite firmly in the middle of the washer so the prongs are nice and tight against the fabric once folded out.

And just like that, you’ve installed the male part of your screw in turn lock!
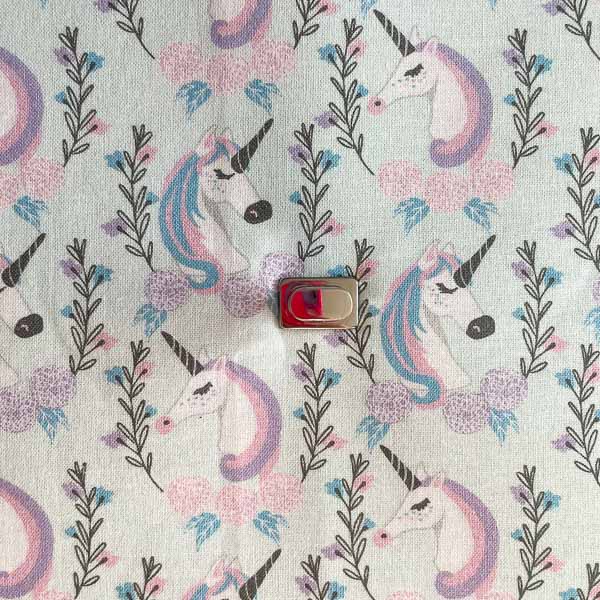
You can now move onto finishing your Polly Crossbody Pouch!
Bonus tip: you will find that the fabric for the pocket will not lay flat because of the male part of the turn lock. Simply pin your fabric in place closer to your stitching line and sew slowly as you get close to the turn lock!

Once you have finished Polly, you will notice that by adding a turn lock instead of a magnetic snap, you really class up this little pouch and give it som pizazz!

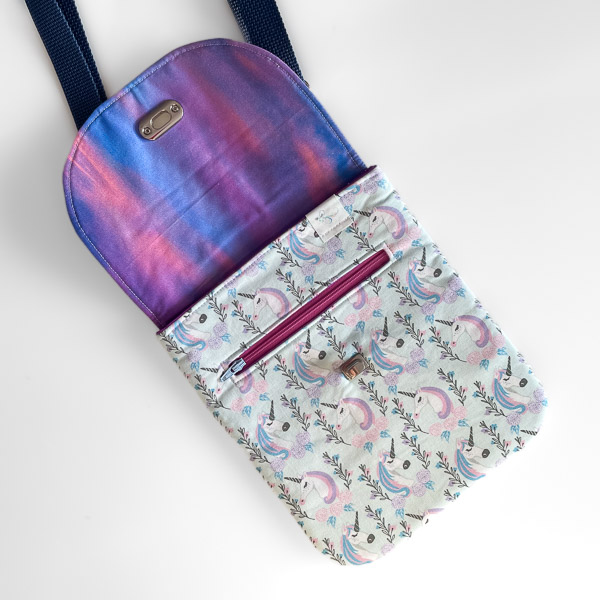
This little touch of bling is perfect for those times you want to do a simple fabric on the flap but still want it to pop!
Are you ready to give this fun little hack a go? Once you do, pop on over to the Andrie Designs Patterns Group on Facebook and share with us so we can see your pretty creations!
Happy sewing
