
Pattern Hacks
Stand Up Clutch Gets Zipped!

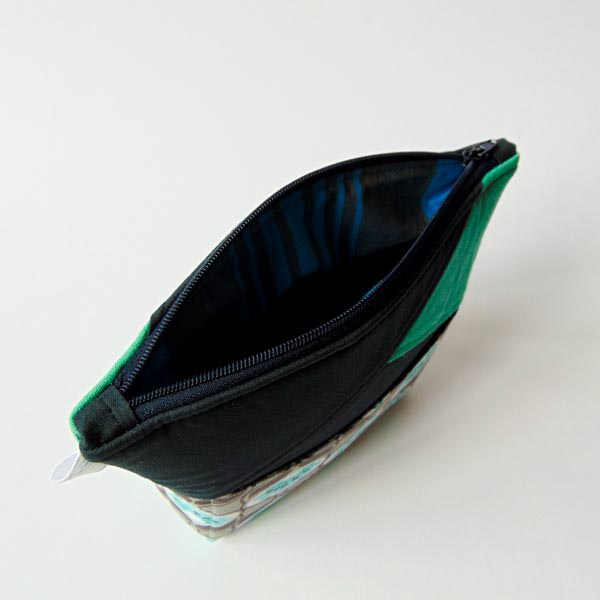
We have a very exciting hack to share with you today, one that has been requested a lot lately… Adding a zipper to the top of your Stand Up Clutch! Some time ago I had been asked to make a custom clutch for a little girl so decided to write up a tutorial for a zipped top Stand Up Clutch. Putting the zipper across the top changes the look ever so slightly and adds that extra security to your clutch opening.
Not familiar with the Stand Up Clutch pattern? Not to worry! You can find it here.

In my tutorial, I show you how to add zipper tabs to the ends, plus a trick to make them look good and square each and every time!


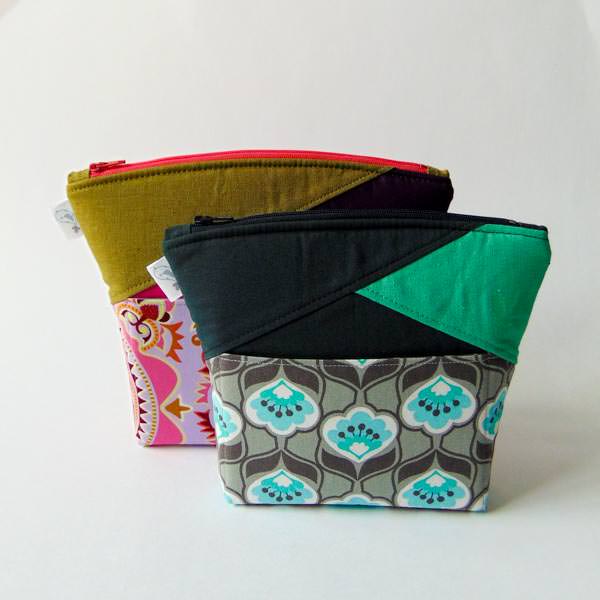
I’ve included zipper measurements for all 3 sizes as well. I’m partial to the smallest size because everything looks better mini! The large Stand Up Clutch works excellent as your travel make up bag once you add that zipper across the top!
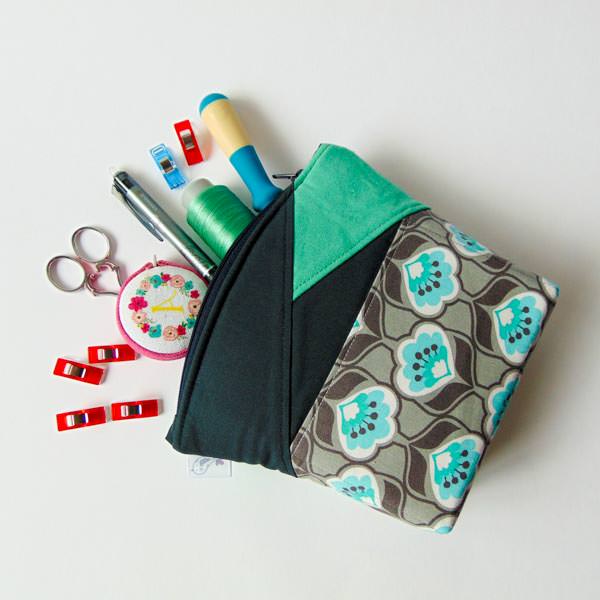
My absolute favourite use for the zipped clutch is to us it for my sewing notions. It’s perfect for carrying your goods to sewing classes or keeping your sewing space nice and tidy. Plus, with all those pockets, you’ve got room for so many supplies!
To get the steps to make your very own zipped Stand Up Clutch, hop on over to the tutorial on The Little Bird designs today! Once you’re all zipped, head to the Andrie Designs Facebook Group and share your Stand Up Clutch. We love seeing your creations!
Will you be trying this tutorial out? I cannot wait to make more small ones!
<3 Aimee
The Little Bird Designs

Pingback: Customer Creations - March 2018 - Andrie Designs