Tips & Tricks
Beginner’s Guide to Sewing Your First Bag – Part 2
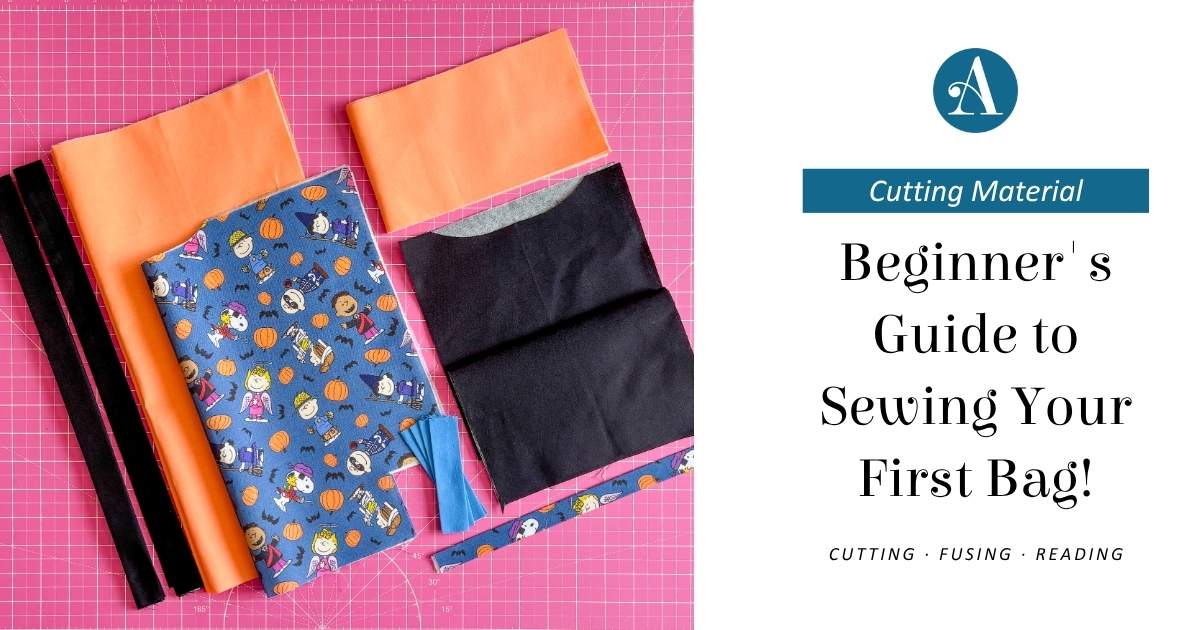
Hey bag makers! Welcome to Part 2 in the Beginner’s Guide to Making Your First Bag series! Today is all about cutting your fabric and interfacing, as well as fusing it and preparing any zippers and piping that you will need. So let’s dive right in and get to work!
Week 2 – Cutting into Your Fabric
Week 3 – Sewing and Finishing Your Bag!
Reading Through Your Pattern
It’s really tempting just to jump in and start cutting everything out, but we strongly recommend reading through your pattern from start to finish before touching your scissors. Why do you need to do this? Sometimes when you are cutting out your fabric, it can be hard to imagine where the pieces go and how it’s all going to make sense going together. When you read through, you can get a basic idea for each material, and it gives you a chance to make adjustments to fabric placement if needed. It also allows you time to highlight any section that you’re unsure of so you can look up some tips & tricks or check out a YouTube tutorial. It’s much easier to do this at the start than if you are halfway through a project. No one likes taking a break once they get sewing!
What Fabric for Where
I’m sure you’ve noticed while shopping for fabric that the prints are usually a considerably higher price than the solids. When you are picking out the fabric for your bag, keep this in mind. I like to choose a solid for my straps, lining, and pockets to keep costs down. Making a bag can be quite pricey when you are starting, so this small tip can help make it a little less daunting!
Use your prints for the exterior, strap connectors and contrast panels instead. If you really want a print inside, I like to search the clearance or sale bins. You can still have a fun interior, but really, the outside is the star, so make it the most stunning!
Preparing Your Fabric
Before cutting anything, you need to have your fabric smooth and ready to go. We strongly recommend pre-wash your fabric (such as quilting cottons) to remove any excess dye and chemicals, but it really does come down to personal preference here.
Once you are ready to cut, iron all of your fabric to get everything nice and smooth. If you like to use a spray starch, now is the time to use it. Having your fabric smooth before you cut ensures that your cuts are square and accurate and that there are no wrinkles to make jagged edges.
Cutting on the Fold
Now that we know where everything is going, we can start cutting out our fabric! First up, let’s chat about cutting on folds, as you will be doing that so often in bag making. You need top make sure you fold from selvage to selvage, to work with the natural grain and stretch of the fabric. Selvage is the “finished” edges of the fabric that often have the print collection name on them. For fabric with prints, cutting your fabric from selvage to selvage ensures the print goes in the intended direction. If your print does not have a direction or you are using a solid print, simply fold selvage to selvage.
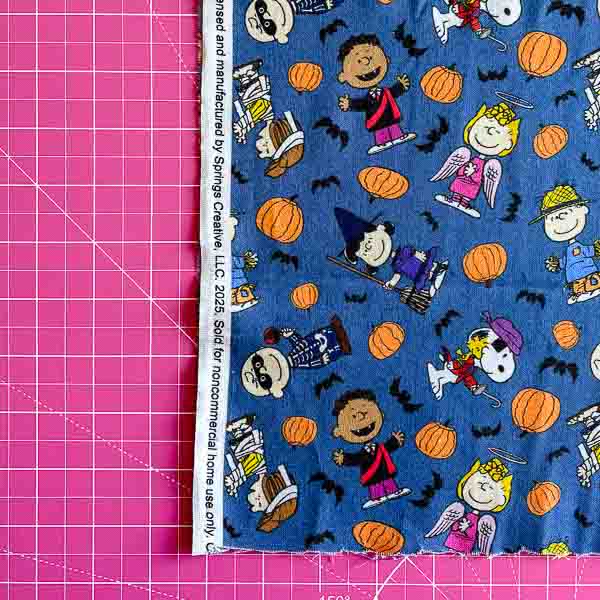
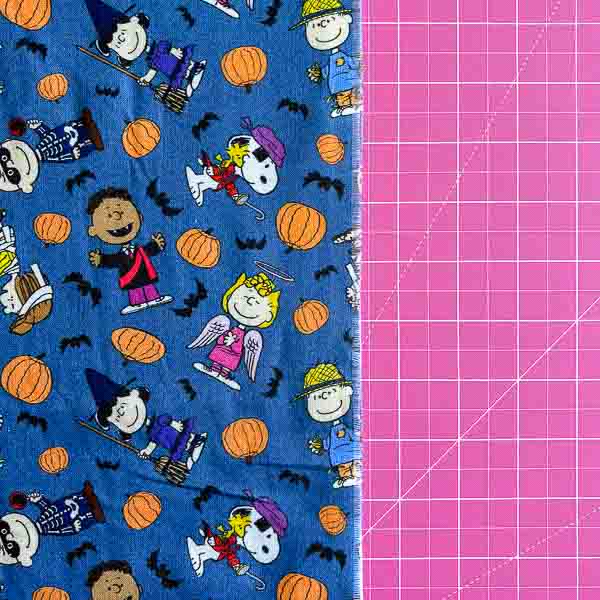

To make sure your cuts are straight, folding selvage to selvage helps, but what if you have a scrap or fat quarter to work from? Take a look at the grain of the fabric; use a magnifying glass if needed. You should be able to see the weave in the fabric or in this case, you can follow along the loose threads of the messy bottom cut. If you pull a thread loose a little bit, you will get a straight line to mark from. I like to take a ruler and draw a line following the weave along the bottom edge of my fabric. Once that’s drawn, you can cut along it and have a perfect straightedge to fold along.


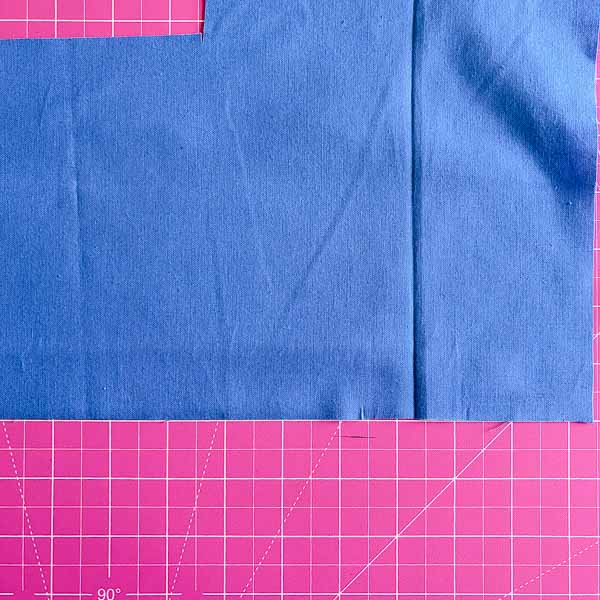

If you are using a directional print, it is easy to line up your fabric straight. Fold and line up the print images from front to back. Make sure you are folding along the middle of the print repeat so you get the best-looking bag.


You want to make sure that you are NOT folding on a diagonal (the bias), or your fabric will stretch. The ONLY exception to do this is for binding or piping. Those both need the stretch to work around curves! If you are making a bag like the Roll With It Tote and need piping, check out our free video course called Master Piping for Bags to learn how to make it so you’re ready to sew next week!
Cutting Direction
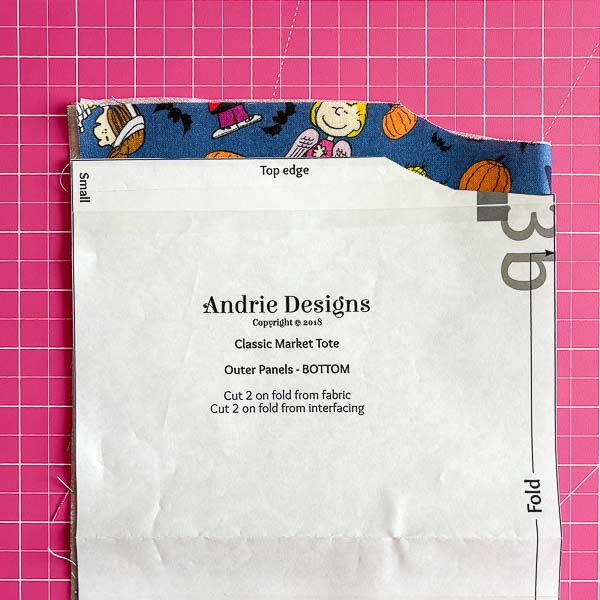
Okay, now that folding is out of the way, what about pattern piece direction? There’s nothing worse than cutting out a piece and realising it’s upside down! Thankfully, at Andrie Designs, we add a note on all pattern pieces that are directional, so you know how to cut! You will see a “Top Edge” indicating that this is the top of a print to ensure no mistakes are made! Other patterns may have the word “Grainline” with arrows indicating which direction to place the pattern piece on your fabric. Pay close attention to these so you don’t waste fabric! You can even use a highlighter along these notes so you don’t forget!


Reduce Waste
When you are cutting out your fabric, try to keep your pattern pieces as close as possible to the edge of the fabric so you have the least amount of waste. I like to lay out my pieces BEFORE cutting anything to see how I can maximise space and reduce little scrap pieces of fabric in the end! While most fabric is a standard width of 45 inches, you’ll often find some that are a little bit bigger or smaller. Planning out your pattern piece placement lets you see just how much you will actually use!

Cutting Tools
When I am cutting out a bag, I almost always use a rotary cutter. Want to know my biggest secret to making this easier? I print my pattern pieces on cardstock or trace them onto cardboard! That little bit of thickness allows you to easily cut around most pieces without the need for a ruler. This works best if you are using a fresh blade. A duller blade will require a ruler edge for safety!

You can easily draw on your pattern pieces and cut with a pair of scissors if you wish, but I often find that a rotary cutter is not only straighter but more accurate. Plus it is much kinder on your hands and wrists over time. Find a rotary cutter that works best with your mobility to make it as easy as possible!
There are a few moments when you need a ruler for your bag making, and that’s your straps! Having a nice long ruler that is at least 6” (15cm) wide makes cutting out straps so much quicker and easier! And remember, always measure with your ruler, NOT your cutting mat. Your cutting mat will get distorted over time with use, and there will be inaccuracies from mat to mat, so using your ruler ensures you always get an accurate cut!
Cutting Out Interfacing
Interfacing might be the most boring part of cutting out a bag, but it is the most important part! It can be really tempting to skip it, but trust me, you will have a much prettier bag for it! Unlike your fabric, interfacing can be cut out in any direction! Once your interfacing has been fused to your project, the grain really isn’t going to make a difference!
The fusible side of your interfacing will have little “bumps” or a shiny side – that is the adhesive.
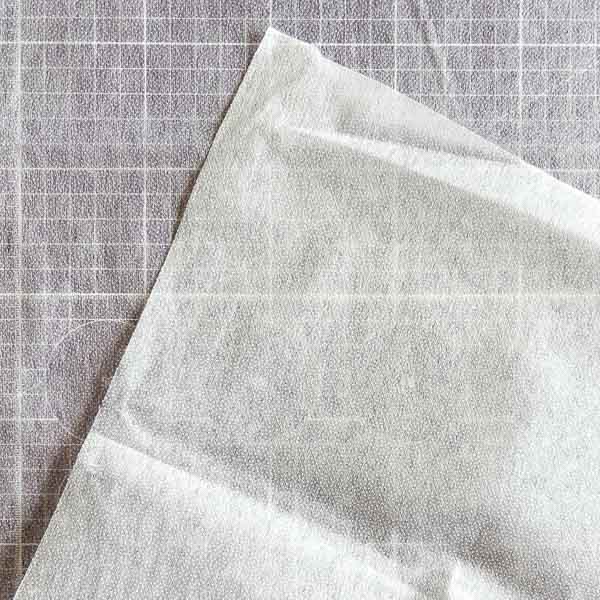
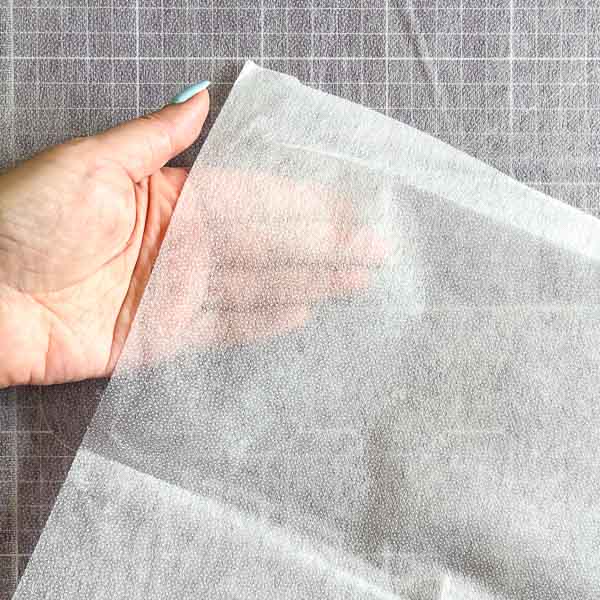
When you are cutting out your interfacing, be mindful of what the pattern pieces say! For a clutch like the Stand Up Clutch, the upper sections have a specific direction so the pattern pieces point you in the direction of where the fusible side of your interfacing will be. I have seen firsthand folks cut these pieces wrong, so I highly recommend highlighting those parts on your pattern piece so you don’t forget!

Cutting Out Stabilisers
When cutting out your fleece or foam, be mindful of the fold. When I use fleece, I find cutting on the fold comes out accurate because it isn’t nearly as thick as foam! When I cut out foam? I can often get a little frustrated because that fold can add up to half an inch to my width.
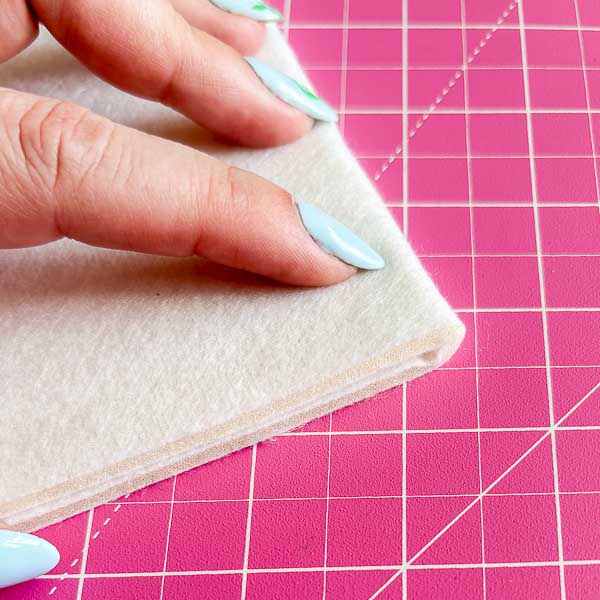


What I like to do instead is copy the pattern piece that needs to be on a fold and turn it into one big piece instead. It makes it way easier and faster to cut around, especially for something large like the Stand Up and Tote Notice or Adventure Time Backpack!
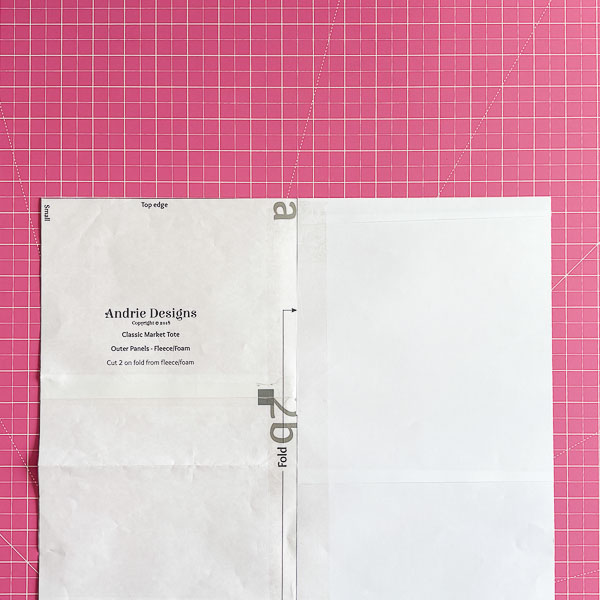
For both foam and fleece, you don’t have to worry about the grain line. Once it’s attached to the fabric that has been interfaced, it’s not moving at all!
One last note: Have a separate pair of scissors or rotary cutter for these materials, especially non-woven interfacing/stabilisers. These materials are essentially plastic with a fusible adhesive, and they will dull your tools over time. For me, once my fabric rotary cutter becomes a little too dull, it moves on to become the interfacing blade. Then eventually turns into a paper blade. This allows you to use the full life of a blade and make the fabric ones last longer!
Basting or Fusing Interfacing and Stabilisers
To steam or not to steam, the question that pops up for interfacing a lot. When it comes to interfacing, you need to get to know your iron and follow the manufacturer’s instructions. Every type of interfacing is different, as are irons. If you have never used interfacing before, practice with some scraps of cotton and a small cut of interfacing to see the perfect temperature for the best adhesion. Steam is often not recommended when it comes to fusing, as that little extra moisture can delay the adhesion, and if you are using non-woven, it can often cause wrinkles. So try to avoid it for the initial fusing.
Note about fusing: Unlike ironing shirts or smoothing out your fabric, you PRESS your iron into the fabric to fuse the interfacing into place. If you press and move your iron, you risk stretching the fabric or causing wrinkles in the fabric as you fuse. It’s much more effective to press, lift, or float the iron, and press again.
Basting your foam, while an often boring extra step, gives you such a prettier bag. Plus basting is really quite easy! Lay your fabric (with interfacing fused to it) onto your foam, pin/clip in place and and sew around it, following the pattern instructions for seam allowance, using a long stitch length. The one bonus to this is you often have the perfect trim line, once basted, to cut along when you get to the trimming step in the pattern!
Here at Andrie Designs, we prefer a sew-in foam. You are absolutely welcome to use a fusible; however, we often find that it adds some really frustrating wrinkles to our final projects.
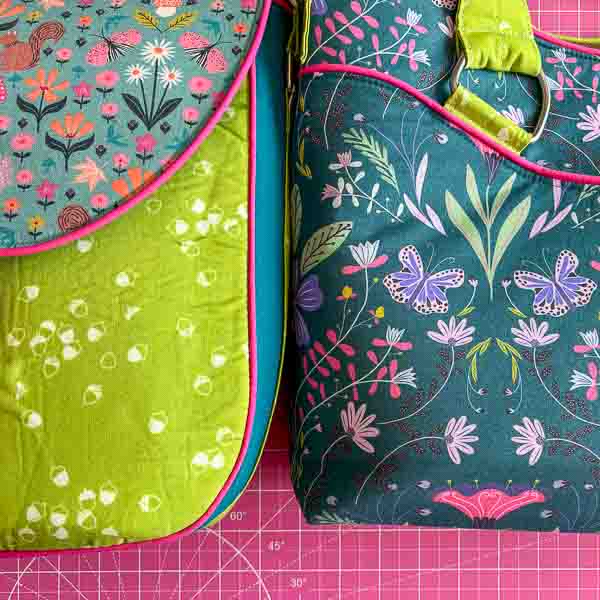
Fusing fleece is much like fusing interfacing. Follow the manufacturer’s instructions and avoid steam. Unlike fusible foam, fusible fleece doesn’t wrinkle nearly as much, if at all. Do be mindful of the fleece you buy. Some have terrible adhesion, and some can be really stiff. For your first project, I recommend going into a fabric shop and feeling the fleece if you can so you can get one you know you can handle/sew effortlessly!
Now for a really important note: when fusing anything, always iron the fabric side, ESPECIALLY for non-woven materials. If your iron is too hot, you risk melting the interfacing/stabiliser and running into a huge mess!
Preparing Zippers, Piping, and Any Other Attachments
Now that we have that part out of the way, we can prep all the other attachments you need for your project! At the beginning of every Andrie Designs pattern, we have the steps for your straps and strap connectors. If you want a head start on next week, you can get those folded and the interfacing fused in place so we can get to stitching. If you need some guidance, check out the video below!
For zippers, cut all your zippers to the size the pattern recommends. You will likely be trimming them later, but having them shorter makes it much easier! If you need a double pull zipper like that in the Keep Me Cool Insulated Lunch Bag? Check out our free tutorial Double Pull Zipper Hack on how to make one easily!

We certainly covered a lot in part 2 didn’t we! I’ve got all my pieces ready to go so once yours are ready too, pop back here next week where we will be covering sewing different aspects of your very first handmade bag!
Happy cutting!
-Aimee